[Grant Thompson aka “The King of Random”] has created a great tutorial on making sugar rocket motors. [Grant] is using a fuel based on potassium nitrate and sugar. Known as Rocket Candy or R-Candy in the amateur rocket community, various forms of this mixture have been used for decades. In fact, this is similar to one of the mixtures [Homer Hickam] and friends used to build rockets in his novel Rocket Boys.
[Grant] bought a cheap blender from the thrift store, which he used to grind his ingredients. You probably won’t want to use this blender for food after it’s been full of KNO3-based stump remover. The blender made quick work of grinding down the KNO3 to a fine powder. [Grant] then added in powdered sugar and carefully mixed the two by shaking, not by running the blender.
A 5″ length of schedule 40 PVC pipe made the rocket motor casing. The rocket motor’s end caps are made from ground clay cat litter. [Grant] rams the layers with a wooden dowel and hammer. First a top cap of clay, then the rocket fuel, then a bottom cap also of clay. With all the layers in place, he hand drilled a hole through the bottom cap and the entire fuel layer. Drilling all the way through turns the motor into a core burning rocket. The entire fuel cylinder burns away from the inside out, with more surface area than burning the end alone.
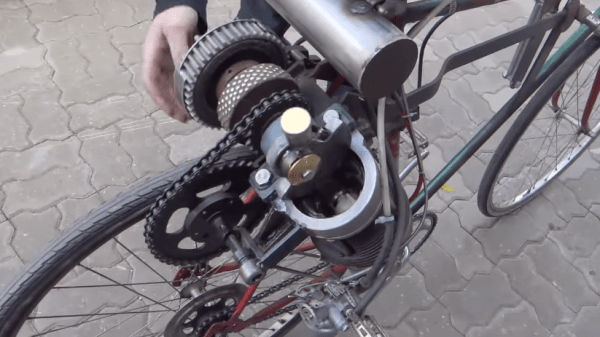
[Grant] tested his rocket motor at a remote location. We probably would have gone with an electric igniter rather than a fireworks style fuse, but the end result is the same. The rocket motor performed admirably, blasting up to over 2000 feet in altitude.
It goes without saying that working with solid rocket fuel isn’t something to be taken lightly. Something as simple as an air gap in the fuel could lead to a CATO, turning this rocket motor into a pipe bomb. We echo [Grant’s] suggestion to search for local amateur rocket clubs before trying this one at home.
Continue reading “I Love The Smell Of Rocket Candy In The Morning”
 The first step was determining which AMD processor variant to use. It turns out that only a few models of AMD’s chips were pin compatible with the 208 pin Small Quad Flat Pack (SQFP) footprint on the 701c’s motherboard. [Noq2] was able to get one from an old Evergreen 486 upgrade module on everyone’s favorite auction site. He carefully de-soldered the AM-5×86 from the module, and the Intel DX4 from the 701c. A bit of soldering later, and the brain transplant was complete.

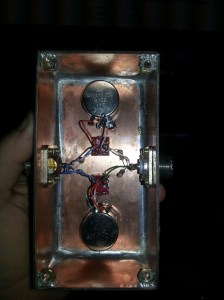


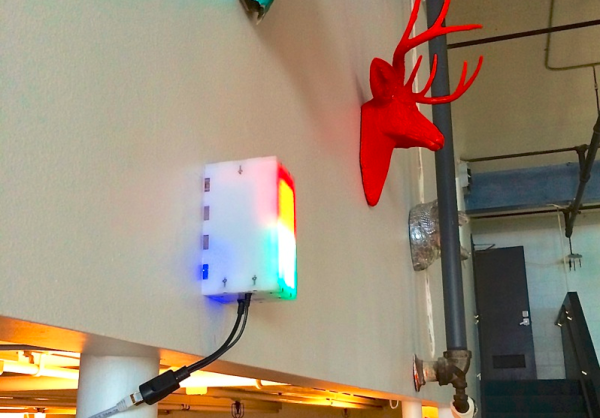
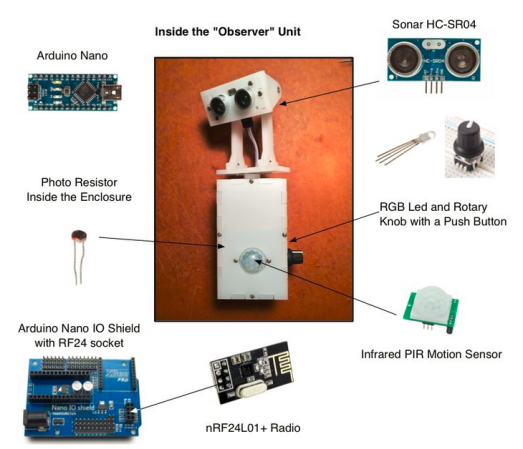 [kigster] began work on BORAT: Bathroom Occupancy Remote Awareness Technology. The initial problem was detecting bathroom occupancy. The easiest method would be to use door locks with embedded switches, much those used in aircraft. Unfortunately, modifying or changing the locks in a rented office space is a big no-no. Several other human detection systems were suggested and rejected. The final solution was a hybrid. Sonar, Passive Infrared (PIR), and light sensors work in concert to detect if a person is in the bathroom. While we think the final “observer unit” is rather cool looking, we’re sure unsuspecting visitors to the office may be wondering why a two eyed robot is staring at them on the throne.
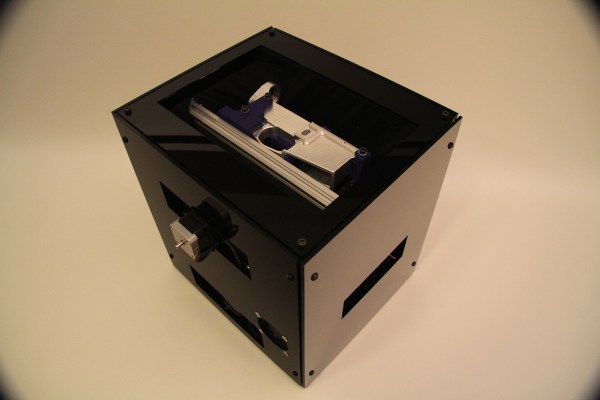
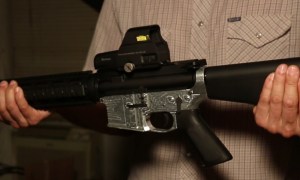 Anyone can legally buy a barrel, trigger, stock, upper receiver, and various other parts to build an AR-15. To complete the weapon, they only need to buy an 80% lower receiver and perform the last 20% of the metal work. This work can be performed with everything from a drill press to a milling machine to hand tools. Ghost Gunner partially automates this process, making it easier and faster to complete lower receivers and build weapons.


