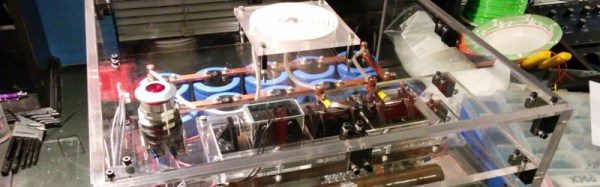
Project Hathor is an electromagnetic ring launcher that launches aluminium hard drive platters 45 feet skywards at the touch of a button. The hard work is done by a bank of capacitors which are charged to 2kV from a microwave oven transformer, before being discharged into a coil of wire on which the hard drive platter is sitting. The resulting burst of magnetic field induces a huge current in the platter, and that current in turn creates an opposing field which launches the ring into the air.
The launcher is the work of [Krux], at the Syn Shop hackerspace in Las Vegas, and he’s made a beautiful job of it. The capacitor bank has ten 3900uF 400V electrolytic capacitors wired as a single 1560uF 2kV capacitor, there are two 225W 2Kohm wire wound discharge resistors, and a beautifully designed home-made high voltage contactor featuring tungsten electrodes. The whole project has been carefully built into an acrylic case for safety, for as [Krux] points out, microwave oven transformers will kill you.
As well as the project web site, there is a YouTube playlist, an image gallery, and a GitHub repository containing all the project’s details. You can see the launcher in action in the video below, launching platters into the Nevada night right on cue.
Continue reading “Shoot Hard Drive Platters Skywards On The Power Of Magnetism”

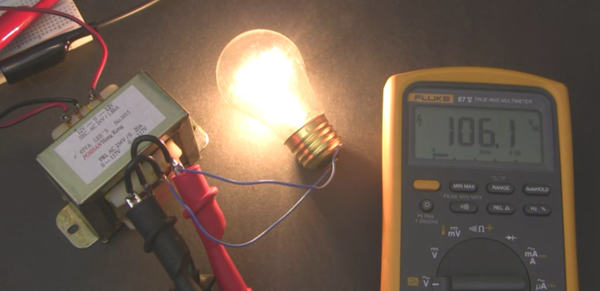
 [Afroman], no stranger to these pages, has published a video in which