When the COVID-19 pandemic hit, it became clear that organizers would have to pull the plug on any large social events they had planned. Many organizers decided to take their events online, but blurry web streams and meme-filled Discord channels can only get you so far. At this point we’re all keenly aware that, while they do have some advantages, virtual events are not the same as the real thing.
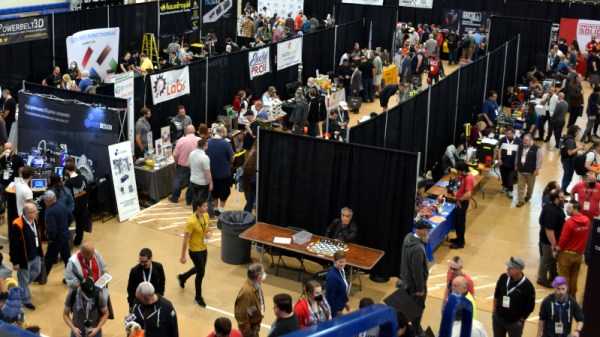
Which is why I was looking forward to making the trip down to Bel Air, Maryland for the first in-person East Coast RepRap Festival (ERRF) since 2019. I’m happy to report that the event, which was still in its infancy prior to the pandemic, was just as lively this year as it was doing my previous trips. Perhaps even more so, as local hackers and makers were eager for an outlet to show of their latest creations.
I’ll admit that part of me was concerned the two-year shutdown would have robbed ERRF of the momentum organizers had worked so hard to build. But judging by what I saw over the weekend, it seems even a global pandemic couldn’t slow down this fantastic event.
Continue reading “ERRF 22: After Two Years, Back And Better Than Ever”