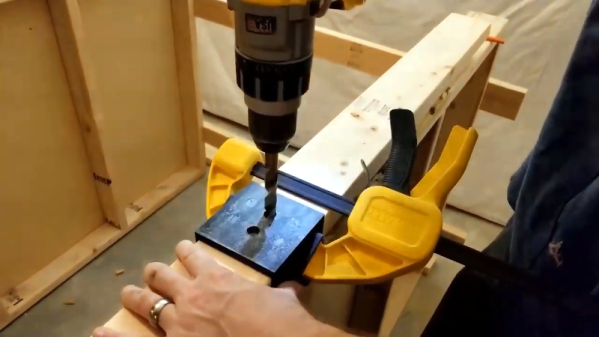
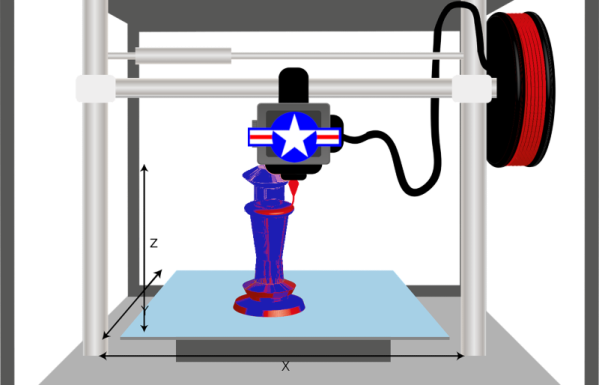
Home-based 3D printing is getting pretty unremarkable. Sure, printers aren’t as ubiquitous as, say, PCs. But you wouldn’t be any more surprised if your neighbor had a 3D printer than if you found out they had a drill press. In fact, sometimes the real value of 3D printing something isn’t to make a working part, but to make up something that helps you create other things using methods other than printing. That’s exactly what [iqless] does when he uses his printer to make some jigs to help him easily build shelves. (Video, embedded below.)
The issue is making dowel joints for the shelve’s feet. Sure, you could just drill a piece of scrap wood as a template, but with a 3D printer you can do better. Using OpenSCAD, it is possible to create a parameterized jig that fits exactly the job at hand.
[Billy Wu] has been writing for a few years about electrochemical 3D printing systems that can handle metal. He’s recently produced a video that you can see below about the process. Usually, printing in metal means having a high-powered laser and great expense. [Wu’s] technique is an extension of electroplating.
Boiling down the gist of the process, the print head is a syringe full of electroplating solution. Instead of plating a large object, you essentially electroplate on tiny areas. The process is relatively slow and if you speed it up too much, the result will have undesirable properties. But there are some mind-bending options here. By using print heads with different electrolytes, you can print using different metals. For example, the video shows structures made of both copper and nickel. You can also reverse the current and remove metal instead of depositing it.
This looks like something you could pretty readily replicate in a garage. Electroplating is well-understood and the 3D motion parts could be a hacked 3D printer. Sure, the result is slow but, after all, slow is a relative term. You might not mind taking a few days to print a metal object compared to the cost and trouble of creating it in other ways. Of course, since this is copper, we also have visions of printing circuit board traces on a substrate. We imagine you’d have to coat the board with something to make it conductive and then remove that after all the copper was in place. When you build this, be sure to tell us about it.
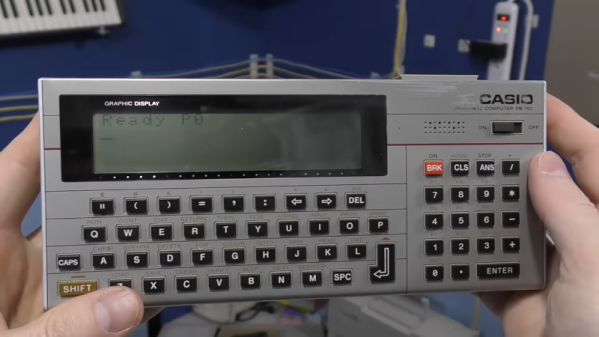
These days, having a little computer in your pocket is par for the course. But forty years ago, this was a new and high tech idea. [The 8-Bit Guy] has a great video covering the state of the art in pocket computers and personal digital assistants from the 1980s and 1990s. You can see the video below.
There are a lot of familiar faces on the video including the Radio Shack pocket computers, Palm Pilots, and some more obscure machines of varying quality.
It might impress you to know that the Radio Shack TRS-80 PC-1 pocket computer actually had two CPUs. Of course, each CPU was a 4-bit processor running at 256 kHz, so maybe not as impressive as it sounds. Still, what a marvel in its day, programming BASIC on a 24-character LCD.
We always like citizen science projects, so we were very interested in DECO, the Distributed Electronic Cosmic-ray Observatory. That sounds like a physical location, but it is actually a network of cell phones that can detect cosmic rays using an ordinary Android phone’s camera sensor.
There may be some privacy concerns as the phone camera will take a picture and upload it every so often, and it probably also taxes the battery a bit. However, if you really want to do citizen science, maybe dedicate an old phone, put electrical tape over the lens and keep it plugged in. In fact, they encourage you to cover the lens to reduce background light and keep the phone plugged in.
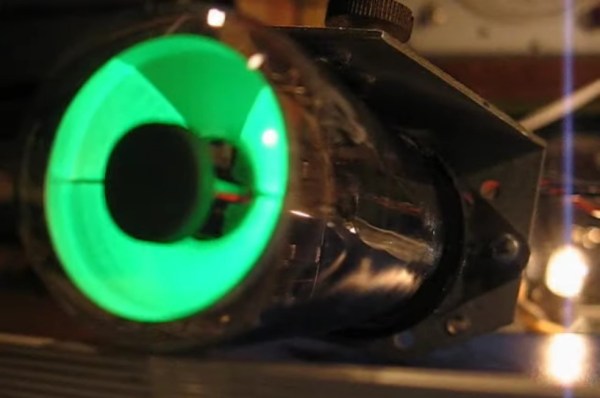
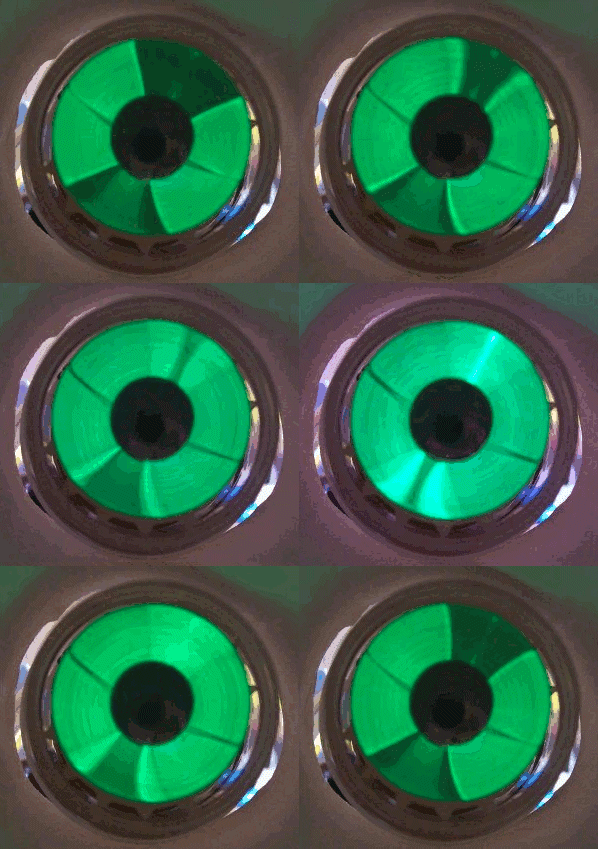
Vacuum tubes ruled electronics for several decades and while you might think of them as simple devices analogous to a transistor or FET, there were many special types. We’re all familiar with nixie tubes that act as numeric displays, and there are other specialty tubes that work as a photomultiplier, to detect radiation, or even generate microwaves. But one of the most peculiar and distinctive specialty tubes has an intriguing name: a magic eye tube. When viewed from the top, you see a visual indication that rotates around a central point, the out ring glowing while the inner is dark, like an iris and pupil.
By [Quark48] – CC BY-SA 2.0
These tubes date back to the RCA 6E5 in 1935. At the time, test equipment that used needles was expensive to make, so there was always a push to replace them with something cheaper. They were something like a stunted cathode ray tube. In fact, the inventor, Allen DuMont, was well known for innovations in television. An anode held a coating that would glow when hit with electrons — usually green, but sometimes other colors. Later tubes would show a stripe going up and down the tube instead of a circle, but you still call them magic eyes.
The indicator part of this virtual meter took the form of a shadow. Based on the applied signal, the shadow would be larger or smaller. Many tubes also contained a triode which would drive the tube from a signal.
One key piece of technology from Star Trek is the replicator, a machine that 3D prints up almost anything using some hazily-defined high technology. You have to wonder though, how did the patterns for Earl Grey tea or a spare part for a shuttlecraft intercooler come to exist in the first place. Maybe someone designed them, or perhaps they scanned the real articles. The US Air Force is betting on the latter, and they’ve asked for white papers and proposals for innovative methods to scan objects for 3D printing.
It isn’t surprising military planners would like to have effective 3D printing. After all, you can’t carry every spare part you might need into a theater of operation. Not to mention spares for your friends in joint operations or for enemy gear you might happen to capture. Having a truck that could turn out whatever your troops need is an attractive proposition. Continue reading “The US Air Force Wants Your 3D Scanner Ideas”→
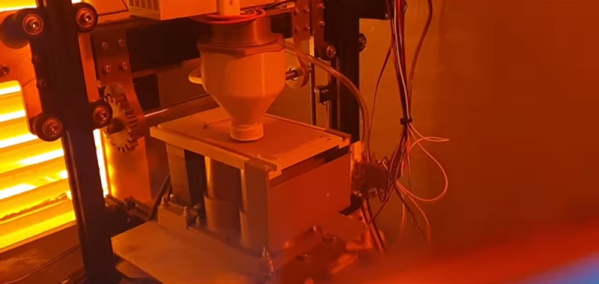
Most of our 3D printers lay down molten plastic or use photosensitive resin. But professional printers often use metal powder, laying out a pattern and then sintering it with a laser. [Metal Matters] is trying to homebrew a similar system (video, embedded below). And while not entirely successful, the handful of detailed progress videos are interesting to watch. We particularly enjoyed the latest installment (the second video, below) which showed solutions to some of the problems.
Because of the complexity of the system, there are small tidbits of interest even if you don’t want to build a metal printer. For example, in the most recent video, a CCD camera gives up its sensor to detect the laser’s focus.