Mechanical 7-Segment Display Looks Clean

[Jens] wanted a subscriber counter for his YouTube channel. He could have gone with a simple OLED, LCD, or LED display, but he wanted something more tactile and interesting. So he built a mechanical 7-segment display instead!

Currently, [Jens]’s channel is in the four-digit subscriber range, so he planned to build a four-digit display. He started by searching for existing projects in this space, and came across the designs of [shiura] on Thingiverse. [shiura] had a 3D printed cam-driven 7-segment digit that runs on a single servo motor. Once armed with four of the digits, he hooked them up to a Pi Pico W to drive them all with four servo outputs. The Pico W is responsible for querying the channel subscriber count online, and updating the display in turn.

It’s a neat build, and [Jens] learned some things along the way—like how Super Lube seemed to ruin filament for him. Ultimately, the build came good, and it looks great. We’ve seen some other mechanical 7-segment builds before, too!

Continue reading “Mechanical 7-Segment Display Looks Clean”

Ribbon Cable Repair Saves Touch ID

Some might consider a broken ribbon cable to be unsalvagable. They’re delicate and fragile as can be, and sometimes just fussing with them further is enough to cause additional damage. However, with the right set of skills, it’s sometimes possible to achieve the unthinkable. As [Master Liu] demonstrates, you can indeed repair a broken ribbon cable, even a tiny one.

The video concerns a ribbon cable linked to a Touch ID fingerprint sensor from an Apple device. It’s common to break these ribbon cables when repairing a phone, and doing so causes major problems. The Touch ID device is paired with the host phone, and cannot easily be replaced. Thus, repair is justified if at all possible.

The repair involves scraping back the outer coating on the two sections of ribbon cable to reveal the copper pads underneath. The copper is then coated with flux and solder to prepare them to be rejoined. Ultra-fine strands of wire are used to join the individual traces. Then, the repaired section is coated in some kind of sealant or epoxy to hold the joint together and protect it from failing again. The theory is easy, it’s just the execution that’s hard.

Ribbon cable repair is becoming one of our favorite topics of late. Sometimes you just need a steady hand and the guts to have a go. Video after the break.

Continue reading “Ribbon Cable Repair Saves Touch ID”

Home Automation Terminal Has Great Post-Apocalyptic Look

If you use home automation these days, you’re probably used to using smart speakers, your smartphone, or those tabletop touchscreen devices. If you wanted something cooler and more personal, you could try building something like [Rick] did.

A Raspberry Pi 400 is the basis for the machine, and it still uses the original keyboard. It’s paired with a 3D-printed shell with a 7″ Waveshare HDMI touch display in it. The LCD is placed behind a Fresnel lens which provides some magnification. It displays a glowing blue command line which accepts text commands. It’s hooked up to the OpenAI API, so it’s a little smarter than just any old regular terminal. It’s hooked up to [Rick’s] home automation system, so he can use natural language queries to control lighting, music, and all the rest. Think Alexa or Siri, but in text form.

The design of the case, with its rounded edges, vents, and thick bezels gives it a strong retro-futuristic look, reminiscent of something out of Fallout. [Rick’s] neat application of weathering techniques helped a lot, too.

It reminds us of some of the cooler Pip Boy builds we’ve seen. Meanwhile, if you’ve got your own creative terminal build in the works, don’t hesitate to drop us a line!

Tabletop Handybot Is Handy, And Powered By AI

Decently useful AI has been around for a little while now, and robotic arms have been around much longer. Yet somehow, we don’t have little robot helpers on our desks yet! Thankfully, [Yifei] is working towards that reality with Tabletop Handybot.

What [Yifei] has developed is a robotic arm that accepts voice commands. The robot relies on a Realsense D435 RGB-D camera, which provides color vision with depth information as well. Grounding DINO is used for object detection on the RGB images. Segment Anything and Open3D are used for further processing of the visual and depth data to help the robot understand what it’s looking at. Meanwhile, voice commands are interpreted via OpenAI Whisper, which can feed prompts to ChatGPT for further processing.

[Yifei] demonstrates his robot picking up markers on command, which is a pretty cool demo. With so many modern AI tools available, we’re getting closer to the ideal of robots that can understand and execute on general spoken instructions. This is a great example. We may not be all the way there yet, but perhaps soon. Video after the break.

Continue reading “Tabletop Handybot Is Handy, And Powered By AI”

Peeking Underground With Giant Flying Antennas

Helicopters are perhaps at their coolest when they’re being used as flying cranes — from a long dangling cable, they can carry everything from cars, to crates, to giant hanging saws.

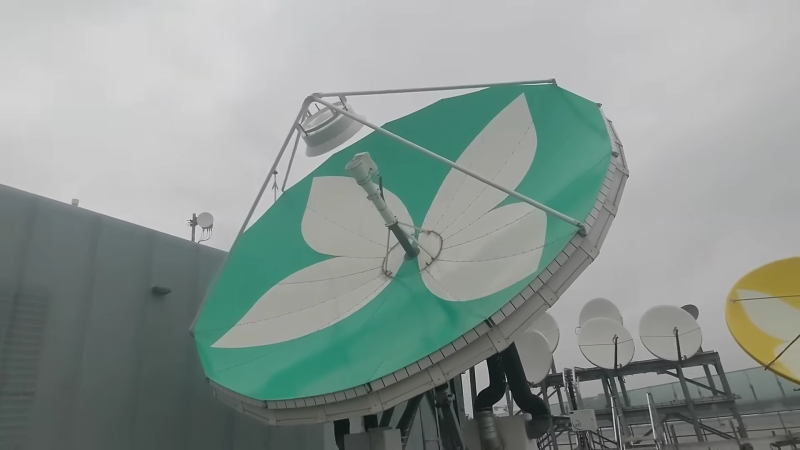
What you might find altogether more curious are the helicopters that fly around carrying gigantic flat antenna arrays. When you spot one in the field, it’s not exactly intuitive to figure out what they’re doing, but these helicopters are tasked with important geological work!

Continue reading “Peeking Underground With Giant Flying Antennas”

Pi Pico Helps Restring Badminton Rackets

Stringing a badminton racquet is a somewhat complicated job. It needs to be done well if the racquet is to perform well and the player is to succeed. To that end, [kuokuo] built a machine of their own to do that very task. Even better, they’ve made it open source so other hobbyists can benefit from their work.

The build is named PicoBETH, which stands for Pico Badminton Electronic Tension Head. It’s based around the Raspberry Pi Pico, as you might imagine. The Pico is charged with controlling the stringing procedure via a stepper motor and lead screw, while using a load cell to measure string tension during the process. A small two-line character LCD serves as the user interface, along with some buttons, LEDs and a buzzer for feedback. The electronic stringing gear is mounted on to a traditional manual drop-weight stringing machine to execute the process faster and more accurately, at least in theory.

Files are on Github for those that wish to explore the build further. It’s not the first stringing machine we’ve featured here, either! Video after the break.
Continue reading “Pi Pico Helps Restring Badminton Rackets”

Trying To Build A Communications Device With A 1-Pound Laser And A 7805

You can get a red laser diode pretty cheap these days—as cheap as £1 in fact. [Beamer] had purchased one himself, but quickly grew bored with just pointing it at the walls. He decided to figure out if he could use it for some kind of communication, and whipped up a circuit to test it out.

To do the job, he designed a modulator circuit that could drive the laser without damaging it. The build is based around the common 7805 regulator and the venerable 555 timer IC. The 555 is set to pulse at a given rate with the usual array of capacitors and resistors. Its output directly drives the input of a 7805 regulator. It’s set up as a constant current source in order to deliver the correct amount of current to run the laser. The receiver is based around a photodiode, which should prove fairly straightforward.

[Beamer]’s still working on the full setup, but plans to use the laser’s pulses to drive a varying analog meter or something similar. Not every communications method has to send digital data, and it’s good to remember that! Video after the break.

Continue reading “Trying To Build A Communications Device With A 1-Pound Laser And A 7805”