Sunday night, around 7:00 PM local time, a bright fireball streaked across the western German sky, exploded, and rained chunks of space rock down on the region around Koblenz. One of the largest known chunks put a soccer-ball-sized hole in someone’s roof, landing in their bedroom. Fortunately, nobody was hurt. But given the apparent size of the explosion, there must be many more pieces out there for the finding, and a wave of hopeful meteorite hunters has descended upon the region.
But if you wanted a piece of the action, where exactly would you start looking? How do scientists find meteorites anyway? And what should you do if you happen to see a similar fireball in the night sky?
Citizen Science
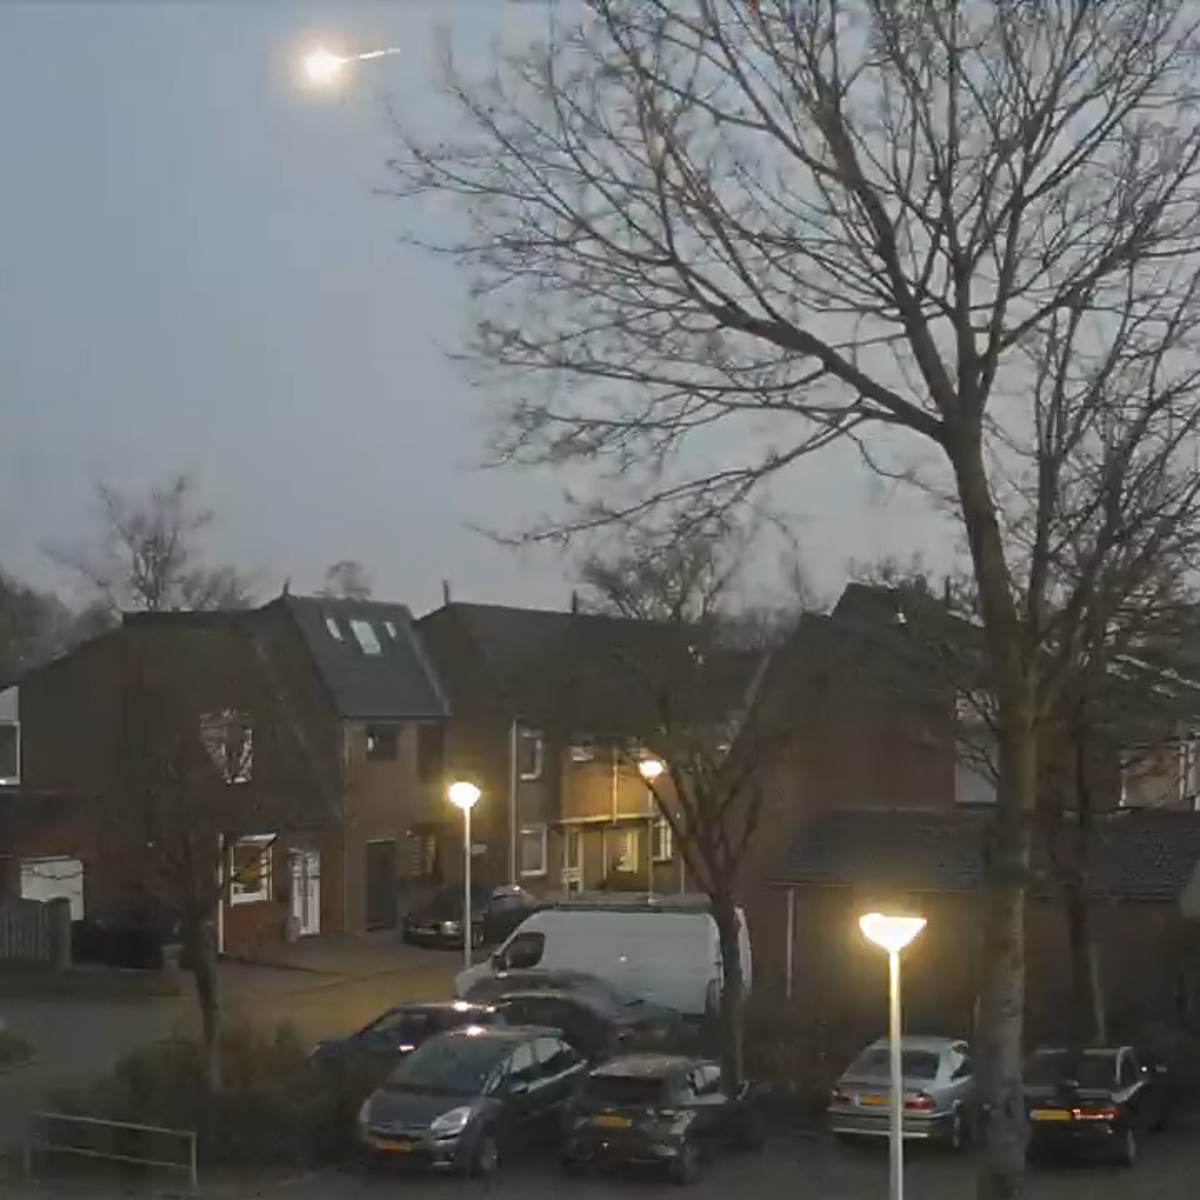
In the age of always-on dashboard cameras, ubiquitous smartphones, and other video recording devices, it’s hard for a shy meteorite to find a quiet spot out of the public eye. That makes them a lot easier to find than they were in the past. Indeed, the International Meteor Organization, which aggregates amateur meteor observations, received more than 3,200 reports of this one, including several with video documentation. Some are stunning, and others may not even be of the event at all.
By collecting reports from many locations, they can hope to piece together the meteorite’s trajectory. However, if you look at the individual reports, it’s clear that this is a difficult task. Nobody is expecting a bright fireball to streak across the night sky, so many of the reports are reasonably vague on the details and heavy on the awe.
This report from [Sophie Z], for instance, is typical. She records where she was and roughly the location in the night sky where the meteorite passed, along with the comment “I’ve never seen anything so amazing and large before in my life.” Other amateur observers are more precise. [David C] (“I have a Ph.D in physics”) managed to record the start and the end heading of the meteorite to a couple of decimal places. He must have had a camera.