Many of us store a flashlight around the house for use in emergency situations. Usually, regular alkaline batteries are fine for this task, as they’ll last a good few years, and you remember to swap them out from time to time. Alternatively, you can make one that lasts virtually indefinitely in storage, and uses some simple chemistry, as [JGJMatt] demonstrates.
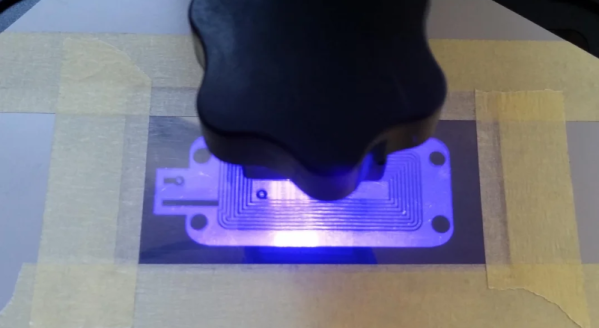
The flashlight uses 3D printing to create a custom battery using magnesium and copper as the anode and cathode respectively. Copper tape is wound around a rectangular part to create several cathode plates, while magnesium ribbon is affixed to create the anodes. Cotton wool is then stuffed into the 3D-printed battery housing to serve as a storage medium for the electrolyte—in this case, plain tap water.
The custom battery is paired with a simple LED flashlight circuit in its own 3D-printed housing. The idea is that when a blackout strikes, you can assemble the LED flashlight with your custom battery, and then soak it in water. This will activate the battery, producing around 4.5 V and 20 mA to light the LED.
It’s by no means going to be a bright flashlight, and realistically, it’s probably less reliable than just keeping a a regular battery-powered example around. Particularly given the possibility of your homebrew battery corroding over the years unless it’s kept meticulously dry. But that’s not to say that water-activated batteries don’t have their applications, and anyway it’s a fun project that shows how simple batteries really are at their basic level. Consider it as a useful teaching project if you have children interested in science and electricity!