There were a plethora of tiny, local ISPs in the days of dial-up internet. Along with the big providers, many cities would have more than one. Some of those have survived broadband, but none of them were as small as [Jeff Geerling]’s Pi ISP — a tiny dialup ISP built so his Aunt’s old G3 MacBook can get online at 36kbps, as God and [Robert Kahn] intended.
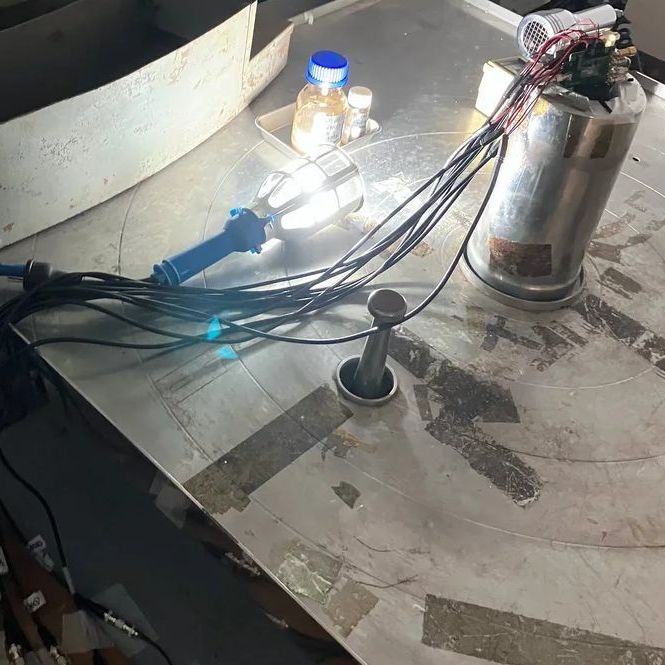
Hardware-wise, the Raspberry Pi is at one end of the chain, and your retrocomputer at another. In between, you’ll have a USB modem plugged into the Pi, and a device called a “two-way line simulator” to create a dial tone for that plain-old-telephone goodness. [Jeff] notes that these were commonly used in prisons for the phones that visitors use to talk to inmates.
Of course, since these devices are designed strictly for voice transmissions, which POTS was built for, you’re not going to get over 36 kbps, and that’s even with high-quality gear. The cheaper options might drop you down to 28k… just like with an ISP back in the day. ‘You get what you pay for’ is very rarely false.
Now, you can use this technology to just connect two computers together — as we’ve featured previously — but [Jeff] has gone the extra mile to put together, via Ansible, an easy-to-install software package that will let the Raspberry Pi act just like your ISP’s servers once did, and connect you to that series of tubes once called the World Wide Web. Of course, the World Wide Web isn’t built for dial-up anymore, so you’re going to be waiting… a while. Hackaday’s front page isn’t especially heavy, weighing about 4MB at the time of this writing, but that’s 15 minutes of load time, and you still aren’t reading the articles.
You also won’t be able to access much on old machines that can’t do HTTPS, but [Jeff] thought of that and bundles [rdmark]’s MacProxyClassic to translate the modern web into HTML tags that Netscape can understand and serve them over HTTP. You’ll still be waiting for our modern bloat, but perhaps not quite so long.
If you want the “authentic” dial-up experience, you’ll need to see the lightweight webpages of Yesteryear, and MacProxyClassic contains a Wayback Machine extension for that purpose. We featured a similar project a while back that did that, but without all the joys of dial-up. Now get off the computer, we’re expecting a call!
Continue reading “The Smallest Dialup ISP Is A Raspberry Pi And A Prison Phone”