Love them or hate them, the crop of cheap hand-held amateur radio transceivers is here to stay. They’re generally horrible radios, often smearing spurious emissions across the spectrum, but they’re cheap enough to throw in a glove box for emergencies, and they invite experimentation — for instance, modifying the firmware to add functionality the OEM didn’t think to offer.
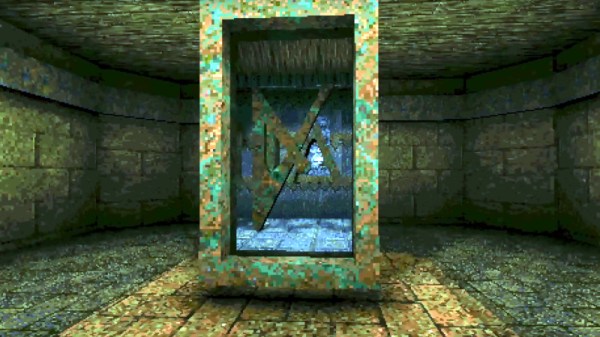
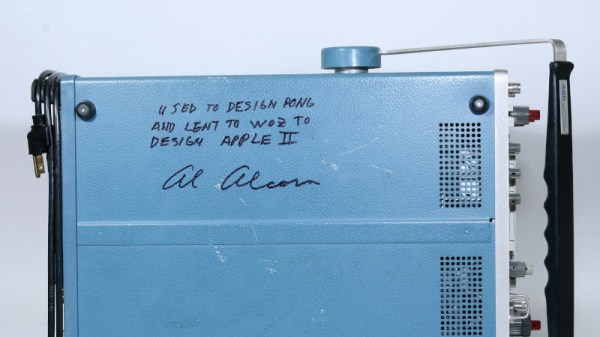
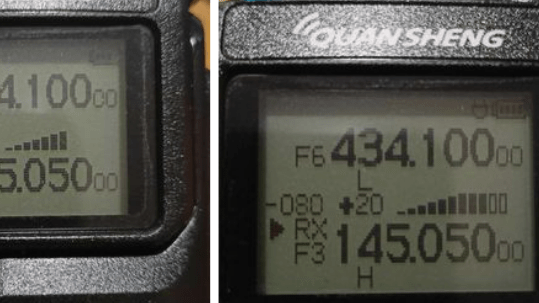
 The new hotness in this class of radios is the Quansheng UV-K5, a two-band transceiver you can pick up for about $40, and we suspect it’ll get hotter still with this firmware trojan by [Piotr (SQ9P)]. We’ve already seen a firmware hack for these radios, one that aimed at unlocking the full frequency range of the RF chip at the heart of the radio. Honestly, we’re not huge fans of these mods, which potentially interfere with other allocations across multiple bands. But [Piotr]’s hacks seem a bit more innocuous, focusing mainly on modifying the radio’s display and adding useful features, such as a calibrated received signal strength bar graph and a numerical RSSI display. The really neat new feature, though, is the spectrum display, which shows activity across a 2-MHz slice of spectrum centered on the currently set frequency. And just because he could, [Piotr] put in a game of Pong.
[Piotr]’s description of the mod as a trojan seems apt since his new programs run in parallel to the OEM firmware by wrapping its vector table. We’d imagine other mods are possible, and we’re keen to see what people come up with for these hackable little units. Just make sure you’re staying within the law, especially in the United States — the FCC does not play games (third item).