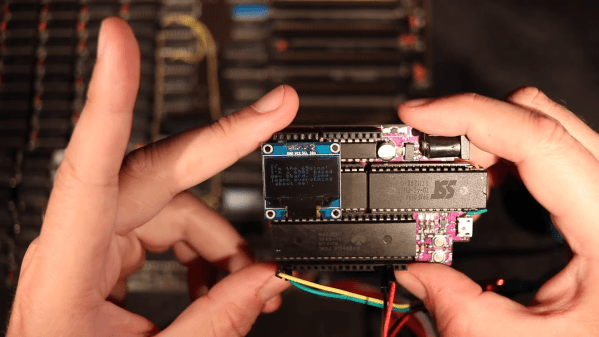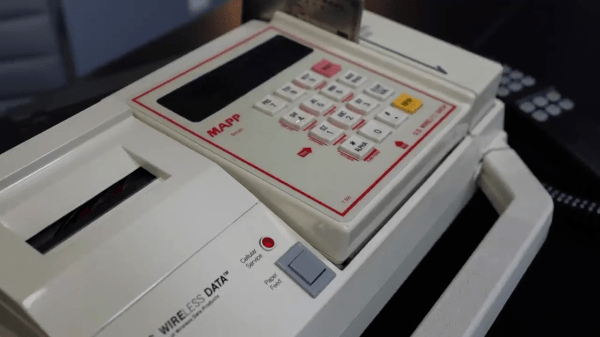
[JR] over at [Tech Throwback] got ahold of an unusual piece of gear recently — a portable Point of Sale (POS) credit card machine from the late 1990s (video, embedded below the break ). Today these machines can be just a small accessory that works in conjunction with your smart phone, but only the most dedicated merchants would lug this behemoth around. The unit is basically a Motorola bag phone, a credit card scanner, a receipt printer, a lead-acid battery, and a couple of PCBs crammed into a custom carrying case
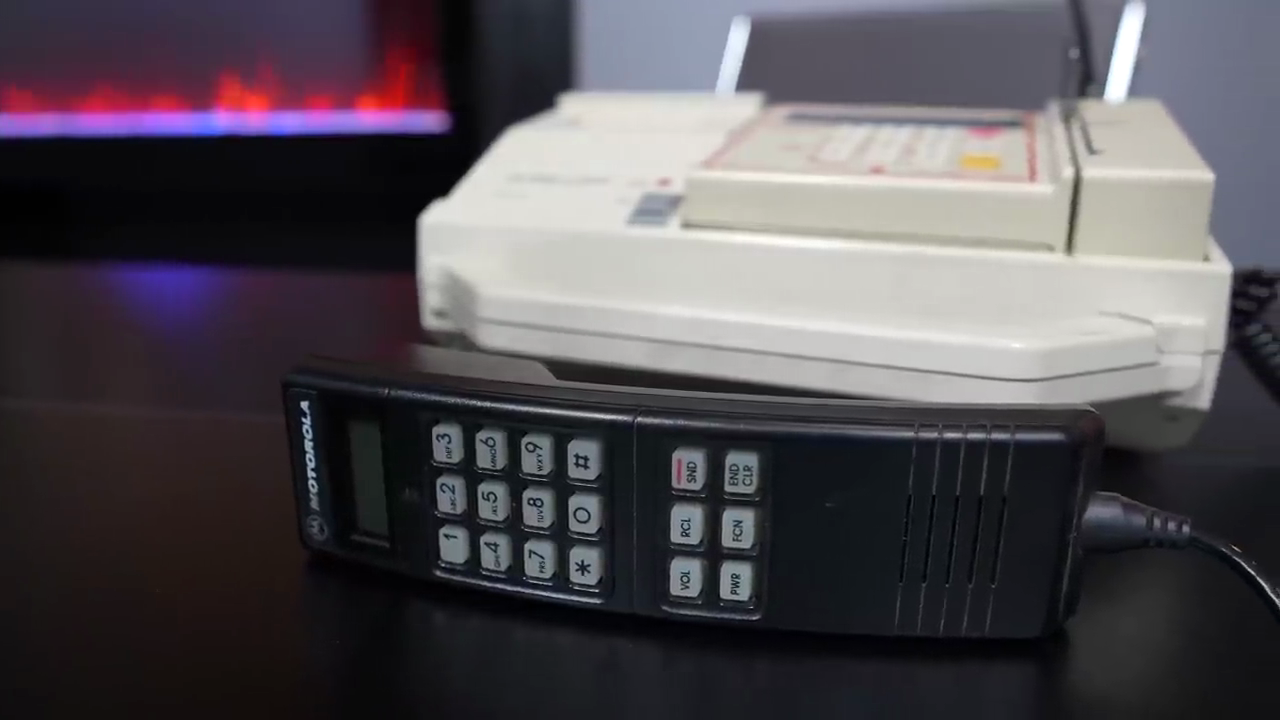
Despite having a lot of documentation, [JR] struggles to find any information on this U.S. Wireless POS-50. He finds that the credit card scanner is an Omron CAT-95 authorization terminal, and the Motorola SCN-2397B phone appears to come from the Soft-PAK series.
He is able to power it up, but can’t do much with is because he is missing the authorization password. But regardless, with the demise of the Advanced Mobile Phone System for over a decade, this 850 MHz band analog phone can’t connect to the network anymore.
If you happen to know anything about this old POS, or used a similar luggable system for accepting credit cards in the 1990s, let us know in the comments below.