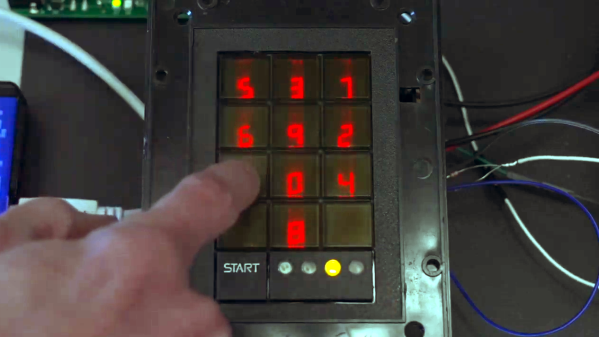
What’s a Scramblepad? It’s a type of number pad in which the numbers aren’t in fixed locations, and can only be seen from a narrow viewing angle. Every time the pad is activated, the buttons have different numbers. That way, a constant numerical code isn’t telegraphed by either button wear, or finger positions when punching it in. [Glen Akins] got his hands on one last year and figured out how to interface to it, and shared loads of nice photos and details about just how complicated this device was on the inside.
Patented in 1982 and used for access control, a Scramblepad aimed to avoid the risk of someone inferring a code by watching a user punch it in, while also preventing information leakage via wear and tear on the keys themselves. They were designed to solve some specific issues, but as [Glen] points out, there are many good reasons they aren’t used today. Not only is their accessibility poor (they only worked at a certain height and viewing angle, and aren’t accessible to sight-impaired folks) but on top of that they are complex, expensive, and not vandal-proof.
[Glen]’s Scramblepad might be obsolete, but with its black build, sharp lines, and red LED 7-segment displays it has an undeniable style. It also includes an RFID reader, allowing it to act as a kind of two-factor access control.
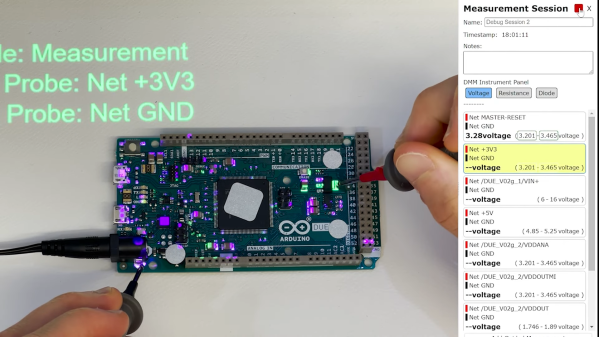
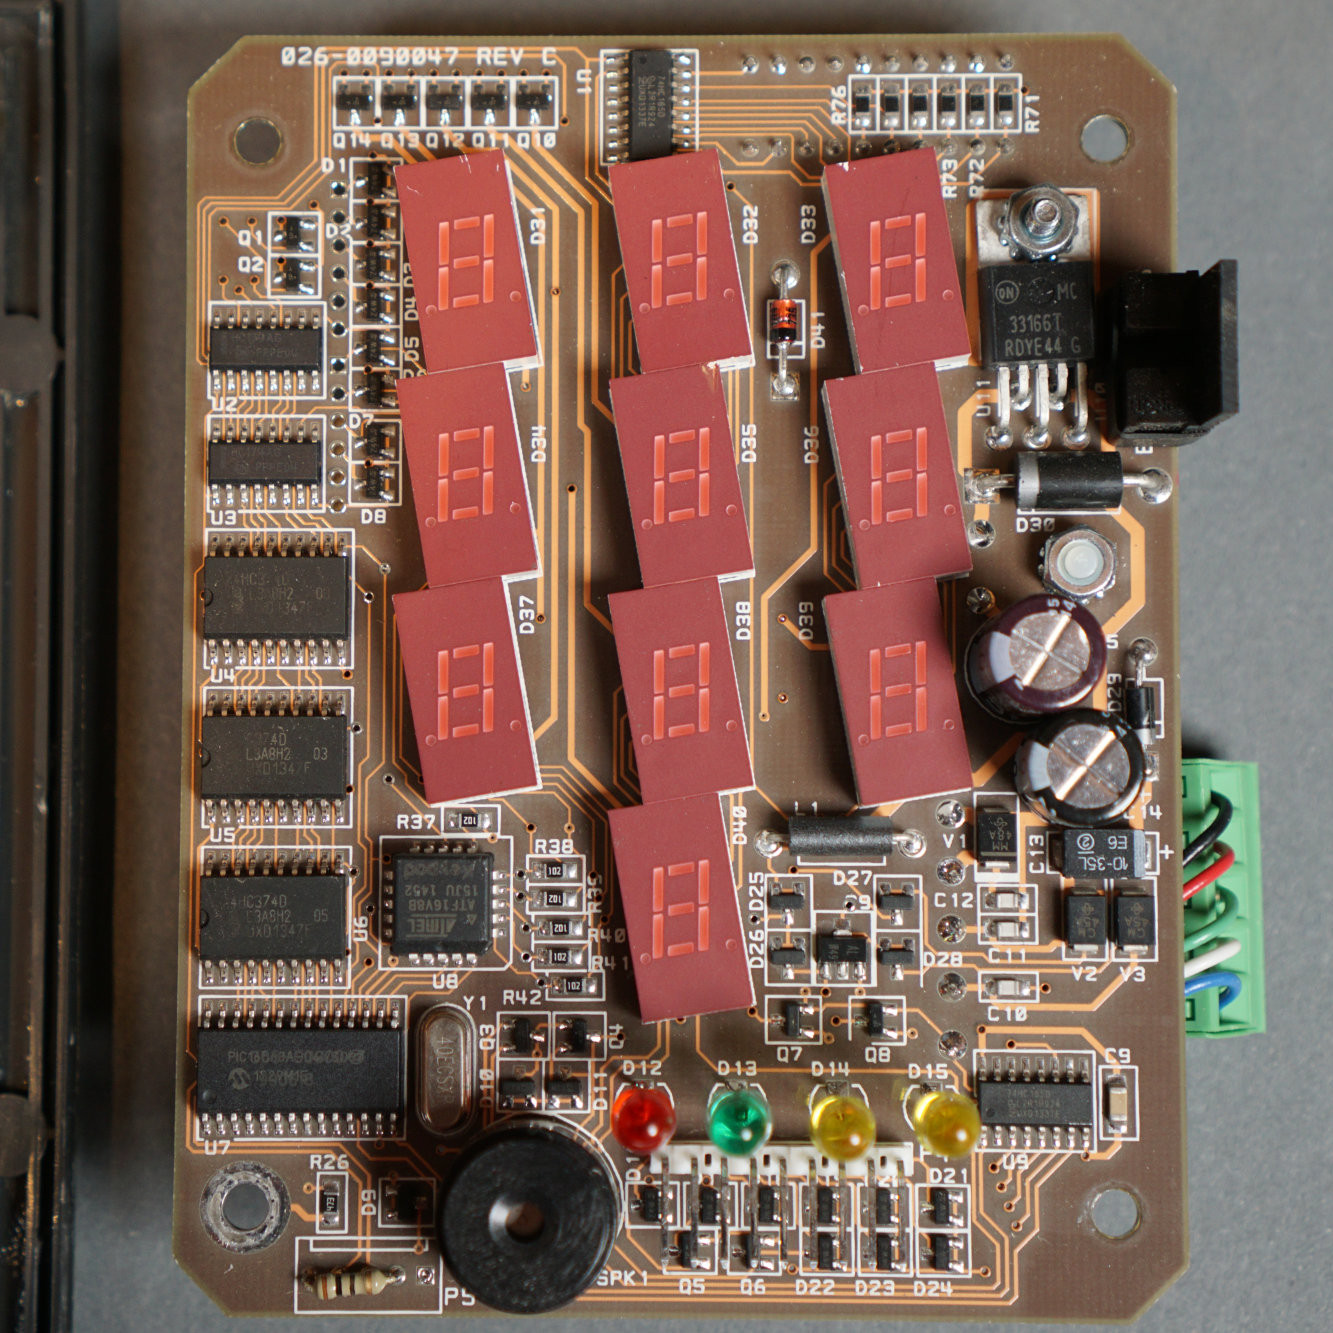
On the inside, the reader is a hefty piece of hardware with multiple layers of PCBs and antennas. Despite all the electronics crammed into the Scramblepad, all by itself it doesn’t do much. A central controller is what actually controls door access, and the pad communicates to this board via an unencrypted, proprietary protocol. [Glen] went through the work of decoding this, and designed a simplified board that he plans to use for his own door access controller.
In the meantime, it’s a great peek inside a neat piece of hardware. You can see [Glen]’s Scramblepad in action in the short video embedded below.
Continue reading “Scramblepad Teardown Reveals Complicated, Expensive Innards”