For those unfamiliar with the sport of mountain biking, it’s a wild hobby that is rife with hacking. It started in the early 70s when the first dedicated mountain bikers were hacking road bikes together to ride on trails to varying levels of success, but only in the last decade or so have there been a lot of electronics appearing in various bike parts that we can all tinker with as well. This video discusses some of the downsides with a very expensive electronic seat post on a mountain bike, and attempts to solve its shortcomings by cutting it in half.
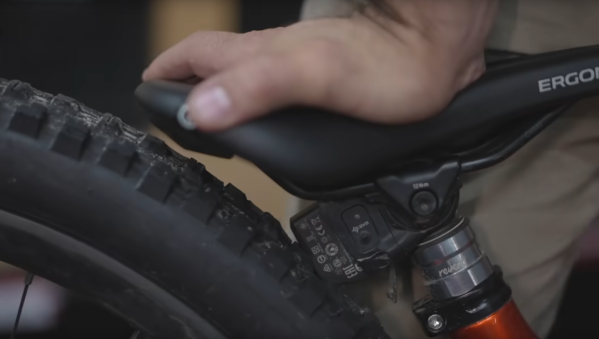
This build involves a dropper seat post, which is an adjustable seat for mountain biking that functions like an office chair. By pushing a button on the handlebars, the seat post can be rapidly adjusted up or down on-the-fly. Normally these seat posts use a cable to actuate, but this expensive version is wireless. The only problem is the battery will occasionally fly off when hitting big jumps, so [Berm Peak Express] decided to cut the existing proprietary battery system out and create a new housing for it. The new housing has a wired extension for the battery in its new location under the seat instead of behind it, and this gives it the clearance it arguably should have had from the manufacturer.
While not the most involved project of all time, it does take a certain mentality to take a hacksaw to a bike part that costs more than a large percentage of bicycles. It’s a niche product to be sure, but it also shows that some of the biggest annoyances with proprietary parts are not too difficult to overcome. And, it is interesting to see the ways that some people are hacking bikes outside of admittedly clever ebike conversions.
Perhaps nothing added quite so much to the charm of vacuum tube circuits from back in the heyday of the vacuum tube as did the “Magic Eye” indicating tube. With the ghostly green glow of its circular face, magic eyes stood in for more expensive moving-coil meters for things like tuning indicators and VU meters. And while they may be getting hard to come by today, fear not — this solid-state replacement for the magic eye tube is ready to stand in for your restoration projects.
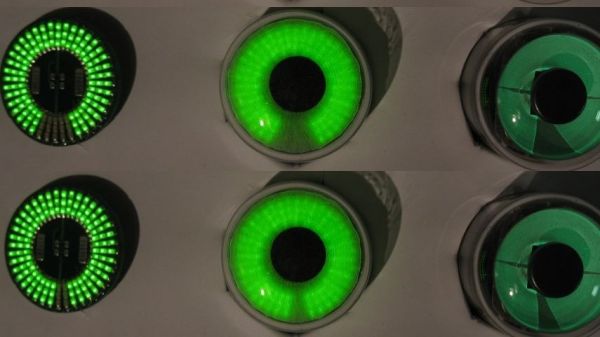
To pull off this clever build, [Gord Rabjohn] started with original 6E5 and 6U5 magic eye tubes, presumably ones that either no longer worked or had become too weak to see. The glass envelopes of the cathode-ray tubes were carefully cut from the sockets, and the guts of the tubes were discarded to make room for the replacement circuit, which lives on two PCBs. A rectangular control board holds an LM3915 bar graph LED driver chip, while a round display PCB holds 120 surface-mount green LEDs. The circular display board is mounted at the top of the control board and perpendicular to it, with a diffuser mounted above the LEDs. Everything is stuffed back into the original glass envelope and socket, making this a plug-in replacement for the tube.
The effect is quite convincing, as shown in the video below. True, you can see some evidence of the individual LEDs even with the diffuser, but honestly this just makes the display look more like the iris of an eye. We really like the look of this and we appreciate the work [Gord] put into it, especially the documentation. For a little more on how the tubes worked, check out [Al Williams]’ article.
Laptop screens have come a long way ever since the first LCD-equipped portables hit the market back in the 1980s. But even today’s high-resolution, full-color screens are not ideal for use in direct sunlight: limited contrast and annoying reflections can make reading awkward and working nearly impossible. Electronic-paper displays don’t suffer from those problems, but their low update speed and lack of color limit their use for general computing.
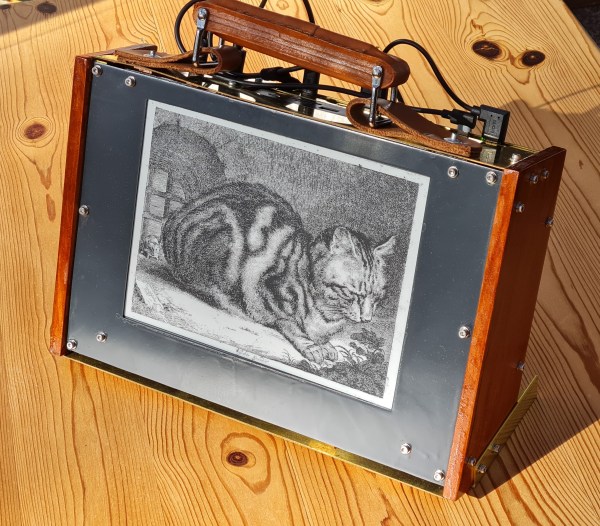
For some people however, the limitations of e-ink are not a deal-breaker. One of them is [Alleycat], who built a portable computer specifically for use in direct sunlight and equipped it with a 10.3″, 1872×1404 resolution e-ink display. It’s powered by a LattePanda Alpha 800s that runs Windows 10, and is mainly used for text-based tasks.
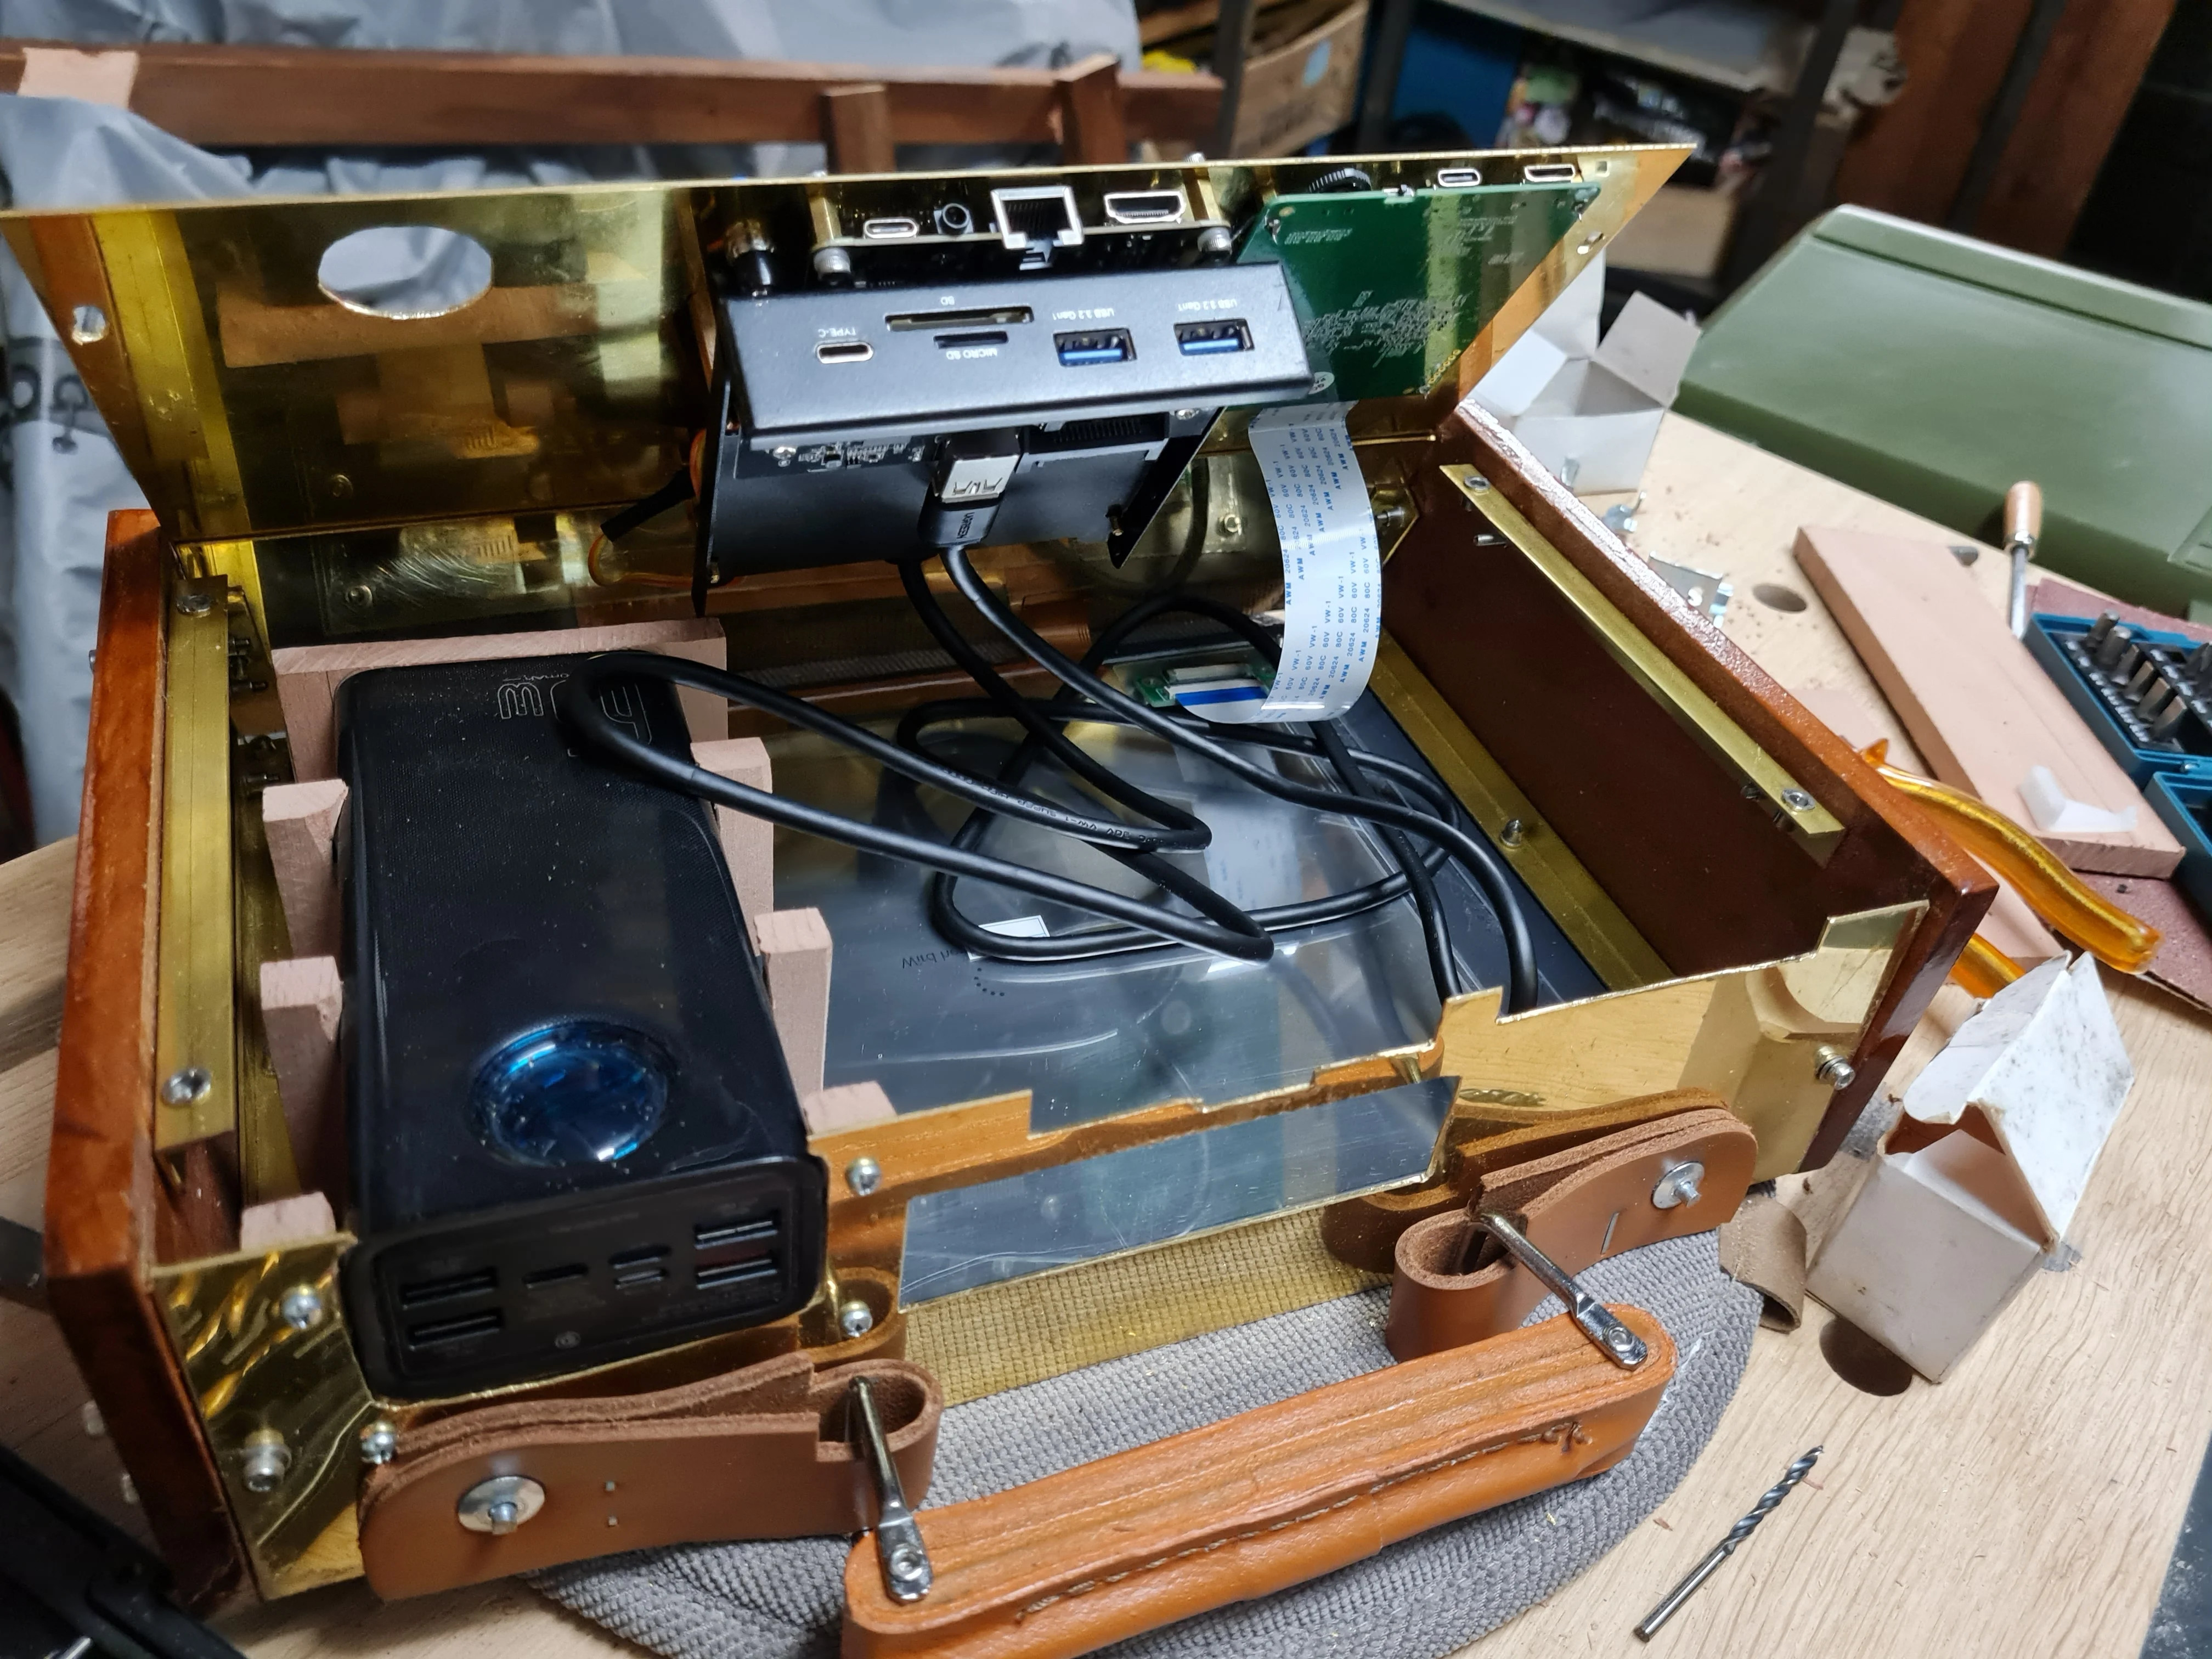
The LattePanda and the display are mounted inside a beautiful hand-made wooden case with a brass cover and leather straps, which makes it look like a kind of steampunk attaché case. A beefy power bank makes it a truly mobile machine, even though it doesn’t come with a built-in keyboard: [Alleycat] is too much of an ErgoDox fan to include anything inferior with the Steampunk Cyberdeck.
With an update rate of 15 Hz the display is nowhere near as fast as a modern TFT screen, but it looks entirely usable when [Alleycat] demonstrates scrolling in a web browser and even the classic DOS game Alley Cat. In fact, it reminds us of those first-generation LCD screens that were fitted on 286-class laptops back in the day, although with a vastly higher resolution.
A couple of years ago we published a look at precision measurement tools, in particular vernier calipers and micrometer screw gauges. It featured a look at how they work and how they’re used, and a comparison of good and bad quality instruments. When comparing micrometers we had three of them, a Mitutoyo and a Moore & Wright representing decent quality, and an £8 ($9.41) Daniu from Banggood from the cheaper end of the market. As you might expect, the Daniu was laughably bad, with noticeable play in its thread and jaws that were not parallel to the extent you could see light between them. You might consider it case closed for cheap micrometers then, were it not that while on my summer travels through the Benelux countries I spied a Parkside micrometer in a Lidl supermarket for €8.99 ($8.92). I had to buy it and investigate.
Some Measuring Devices With Your Groceries?
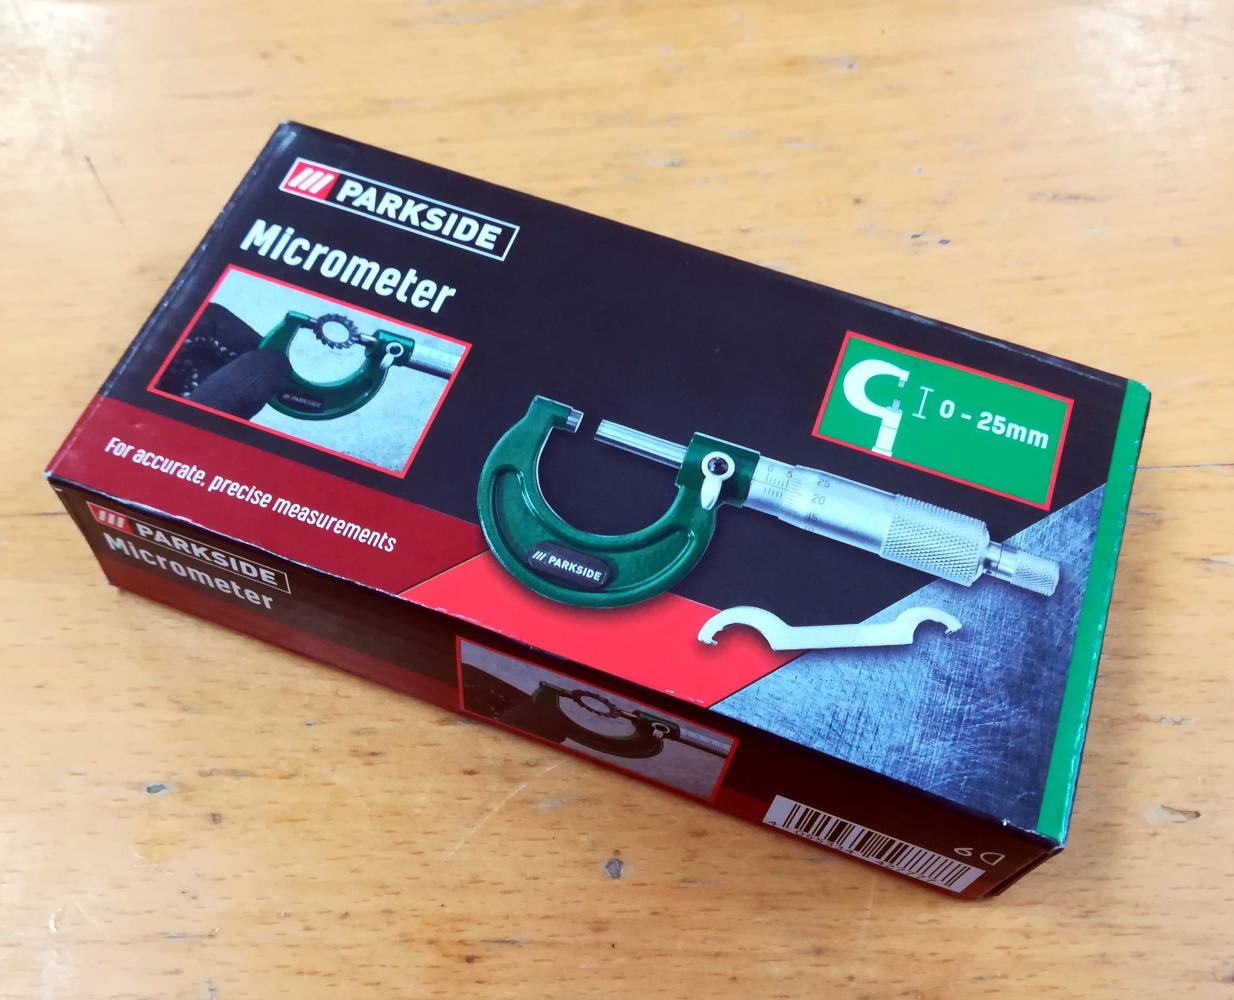
Lidl is a German supermarket chain that can be found all over Europe, and like their arch-competitor Aldi they feature the “Middle of Lidl” aisles full of all sorts of useful stuff that changes on a regular basis. Among this is a comprehensive range of tools under the Parkside brand, which is basically on par with the good stuff from Harbor Freight, and are in fact quite good for the price. Thus even though it’s about the same price as the Daniu I had higher expectations for the Parkside micrometer.
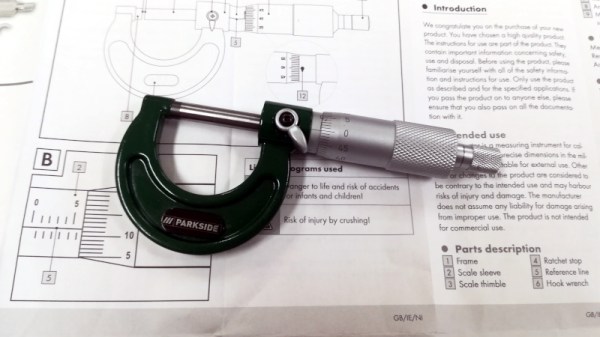
The micrometer is packaged in the usual plastic case in a small cardboard box, and comes with a large paper instruction sheet and a small spanner for zero adjustment. Taking it out of the case, it follows exactly as you’d expect from a micrometer with a solid drop-forged frame and an aluminium barrel on the micrometer head. It can measure up to 25 mm at a resolution of 0.01 mm, exactly like the others I tested in 2020. So my nine dollars or so has got me a micrometer, but is it any good? How do you evaluate a micrometer screw gauge? I re-borrowed the two comparison instruments from 2020, and set out to find out.
The Tiniest Sliver Of Light Gives It Away
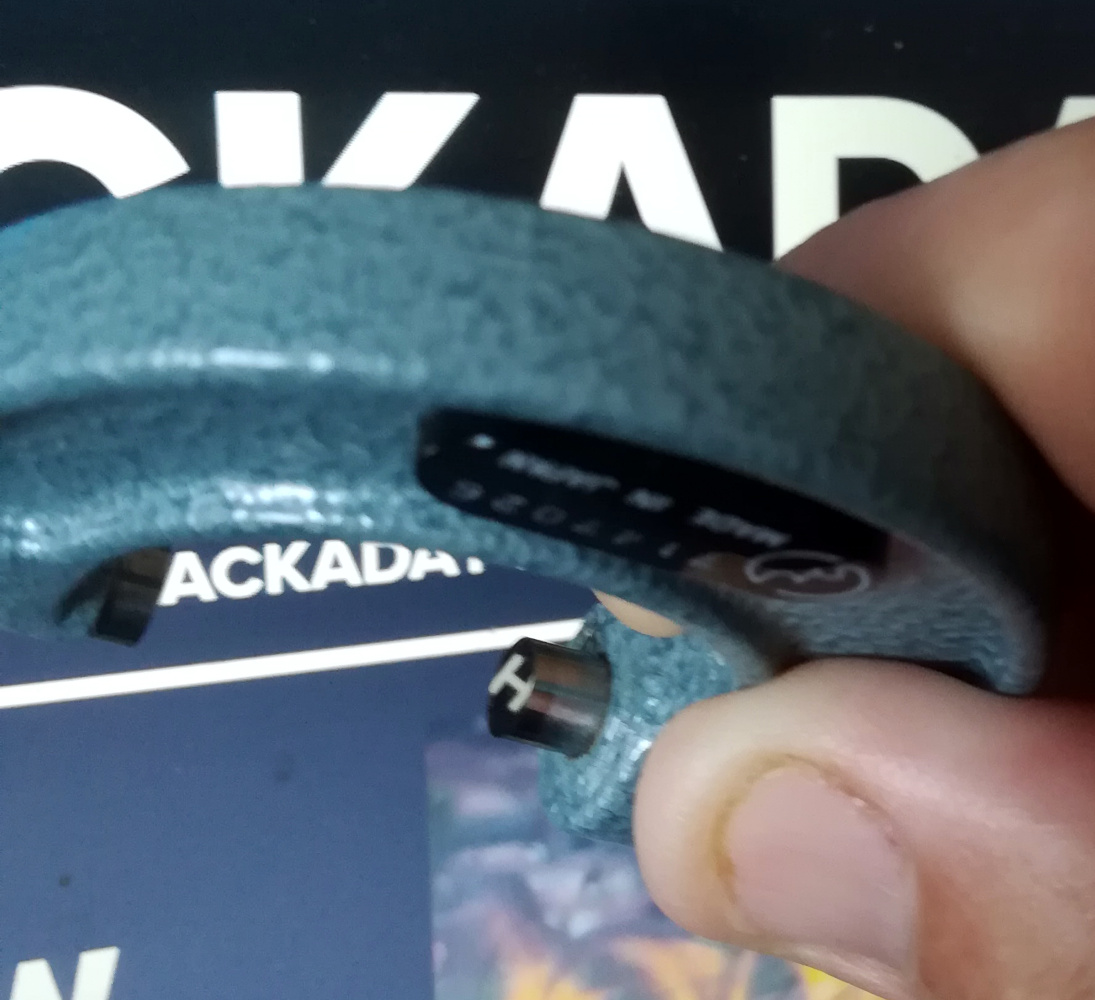
The mirror finish on the Mitutoyo jaw face reflecting the “H” of the Hackaday website.
It’s worth saying that the jaw faces are polished, but not to a mirror finish as those on the Mitutoyo and neither do they appear to have been hardened. In the first instance, comparing with the Daniu I closed the jaws against the force of the ratchet, and held it up against the light to spot any imperfections in the way they meet. Against the blue sky through my window I couldn’t see any, but a friend did the same thing against the more intense point source of an electric light and indeed there was the tiniest discernable sliver of light. Not the obvious wedge of light I caught with the Daniu back in 2020 and less than the visible sliver of light when it is measuring a human hair, but definitely enough to knock a few hundredths of a milimetre off my trust in its accuracy.
The next step in the evaluation involves opening the jaws about half way, and feeling for any play in the thread. None discernable, at least one win over the Daniu which had the barrel flapping around with significant play. Then a zero test, after adjusting the zero position with the spanner a few repeated closings with the ratchet, to check that it always returns to the same zero point. In this case as with all micrometers it’s possible to overshoot the zero and damage the thread if you apply too much force, but just on the ratchet it would land in the same place. A pass on a couple of tests then, so while it’s not the worst micrometer ever it’s obvious that the low price brings at least one compromise.
A Tiny Discrepancy In Measurement
Opening up the three micrometers from the 2020 piece again it’s immediately obvious in the silky feel of the thread and the lack of wobble in the ratchet just where the money goes in an expensive micrometer, and just how comedically bad the Daniu was by comparison. But it’s the Parkside in our sights today, so it’s time to make a few comparitive measurements between it and the Mitutoyo. First up were the old standbys of a piece of paper and a human hair in which the Parkside returned the same as the Mitutoyo, and then the machined shaft of the Moore & Wright which returned a difference of 0.01 mm.
Parkside
Mitutoyo
Sheet of paper
0.12 mm
0.12 mm
Human hair
0.05 mm
0.05 mm
Moore & Wright shaft
6.79 mm
6.80 mm
The discrepancy in this table when measuring the shaft may be small, but it harks back to that sliver of light from imperfectly aligned jaws. As expected if the shaft meets the jaws at anything but the highest point of the jaw it will return a slightly smaller reading, thus it immediately has an error on everything it returns. Discussing it with friends there was raised the intriguing possibility of lapping the faces by drawing a sheet of exceptionally fine abrasive through the closed jaws, however I have my doubts as to whether this would do anything but make the gap worse.
What I can say about the Parkside micrometer screw gauge is that it appears reasonably well-built, but I can’t present it as the equal of the more expensive instruments when its faces are anything but parallel. I would say therefore that it would be good for basic measurements when machining or in CAD work where an error of 0.01 mm or 0.02 mm wouldn’t matter too much, but perhaps I wouldn’t quite trust it when working with extremely fine tolerances. Still, it’s not the worst among cheap micrometers and it’s on sale for a very reasonable price even if it’s not in the same precision instrument league as the Mitutoyo. If you don’t have a micrometer screw gauge yet then you could do a lot worse at this end of the market.
Over the years [Integza] has blown up or melted many types of jet engine, including the humble pulsejet. Earlier improvements revolved around pumping in more fuel, or forced air intakes, but now it’s time for a bit more refinement of the idea, and he takes a sidestep towards the more controllable detonation engine. His latest experiment (video, embedded below) attempts to dial-in the concept a little more. First he built a prototype from a set of resin printed parts, with associated tubing and gas control valves, and a long acrylic tube to send the exhaust down. Control of the butane and air injection, as well as triggering of the spark-ignition, are handled by an Arduino — although he could have just used a 555 timer — driving a few solid state relays. This provided some repeatable control of the pulse rate. This is a journey towards a very interesting engine design, known as the rotating detonation engine. This will be very interesting to see, if he can get it to work.
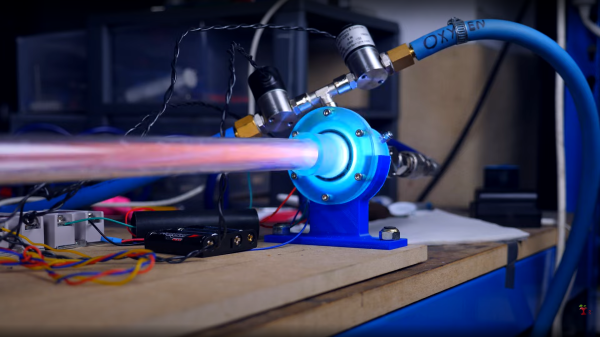
Supersonic exhaust plume with the characteristic ‘mushroom’ shape
Detonation engines operate due to the pressure part of the general thrust equation, where the action is in the detonative combustion. Detonative combustion takes place at constant pressure, which theoretically should lead to a greater efficiency than boring old deflagration, but the risks are somewhat higher. Apparently this is tricky to achieve with a fuel/air mix, as there just isn’t enough oomph in the mixture. [Integza] did try adding a Shchelkin spiral (we call them springs around here) which acts to slow down the combustion and shorten the time taken for it to transition from deflagration to detonation.
It sort of worked, but not well enough, so running with butane and pure oxygen was the way forward. This proved the basic idea worked, and the final step was to rebuild the whole thing in metal, with CNC machined end plates and some box section clamped with a few bolts. This appeared to work reasonably well at around 10 pulses/sec with some measurable thrust, but not a lot. More work to be done we think.
We hinted at earlier work on forced-air pulsejets, so here that is. Of course, whilst we’re on the subject of pulsejets, we can’t not mention [Colinfurze] and his pulsejet go kart.
Pop quiz, hotshot: does the guy on the Monopoly box (standard edition) wear a monocle? Next question: does the Fruit of the Loom logo involve a cornucopia? And finally, does Pikachu have a black-tipped tail? If you answered yes to any of these, I am sad to say that you are wrong, wrong, wrong.
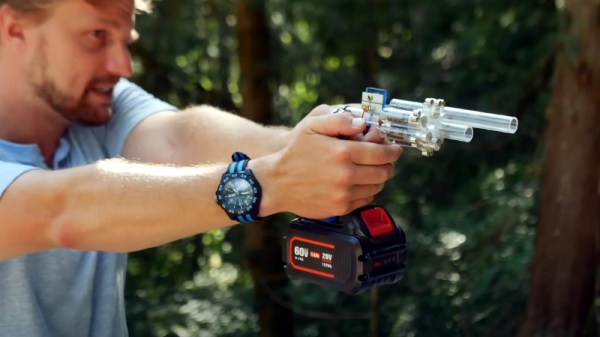
Modern firearms might seem far removed from the revolvers of the Old West, but conceptually, they still operate on the same principle: exploding gunpowder. But as anyone who has put too much voltage through an electrolytic capacitor knows, gunpowder isn’t the only thing that explodes. (Yes, it isn’t technically an explosion.)
[Jay Bowles] wondered if it would be possible to construct an electrically-fired weapon that used used a standard capacitor in place of the primer and powder of a traditional cartridge. While it would naturally have only the fraction of the muzzle velocity or energy of even the smallest caliber firearm, it would be an interesting look at an alternate approach to what has been considered a largely solved problem since the mid-1800s.
In his latest Plasma Channel video, [Jay] walks viewers through the creation of his unconventional pistol, starting with a scientific determination of how much energy you can get out of popped capacitor. His test setup involved placing a capacitor and small projectile into an acrylic tube, and noting the relation between the speed of the projectile and the voltage passed through the cap. At 30 VDC the projectile would reliably fire from the barrel of his makeshift cannon, but by tripling the voltage to 90 VDC, he noted that the muzzle velocity saw the same 3X improvement.