First-timers playing with 8-bit micros such as the AVR and PIC will at some point in their lives, find themselves locked out of their MCUs. This is usually attributed to badly configured fuses that disable certain IO functions rending the device unprogrammable via conventional ICSP methods. [Uri Shaked] shares his story of how his ATtiny85 got locked and became the subject of a lengthy investigation into fuse bit configurations.
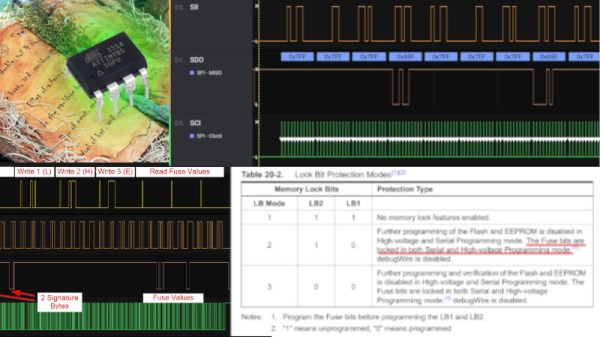
[Uri]’s journey started when he accidentally left some pins of the device connected to a second board while he was flashing the firmware. He quickly researched online for a solution for the problem and it turns out, there are a number of recipes to resolve the issue. As it turns out, his problem was not so straight-forward and warranted more digging. [Uri] ended setting up a High Voltage Programming serial programming setup and then probing the communications. He discovered that the chip refused to reset its fuses and would reject attempts to set fuses.
Further investigation of the fuse bits and reading them proved useful in understanding that the memory protection features were preventing alteration of the device. The quick-fix was to erase the ATtiny and things were back to normal thereafter. [Uri] details his pursuit of reading and comparing fuse bits from the impacted chip against a fresh device which is where he makes the discovery. The write-up is a case study in the investigation into the idiosyncrasies of device programming and will be a great resource for many and reduce hair loss for some.
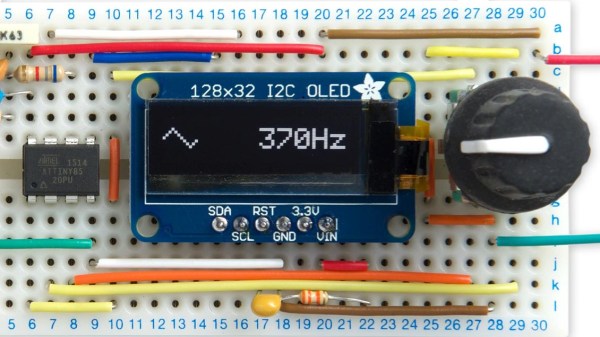
Once you get your hands on an ATTINY, there are a number of small experiments to be done to cure boredom. Be sure to share your experiments and stories with us to inspire the masses.