The Internet of Things will revolutionize everything! Manufacturing? Dog walking? Coffee bean refilling? Car driving? Food eating? Put a sensor in it! The marketing makes it pretty clear that there’s no part of our lives which isn’t enhanced with The Internet of Things. Why? Because with a simple sensor and a symphony of corporate hand waving about machine learning an iPhone-style revolution is just around the corner! Enter: Amazon Dash, circa 2014.
The first product in the Dash family was actually a barcode scanning wand which was freely given to Amazon Fresh customers and designed to hang in the kitchen or magnet to the fridge. When the Fresh customer ran out of milk they could scan the carton as it was being thrown away to add it to their cart for reorder. I suspect these devices were fairly expensive, and somewhat too complex to be as frequently used as Amazon wanted (thus the extremely limited launch). Amazon’s goal here was to allow potential customers to order with an absolute minimum of friction so they can buy as much as possible. Remember the “Buy now with 1-Click” button?
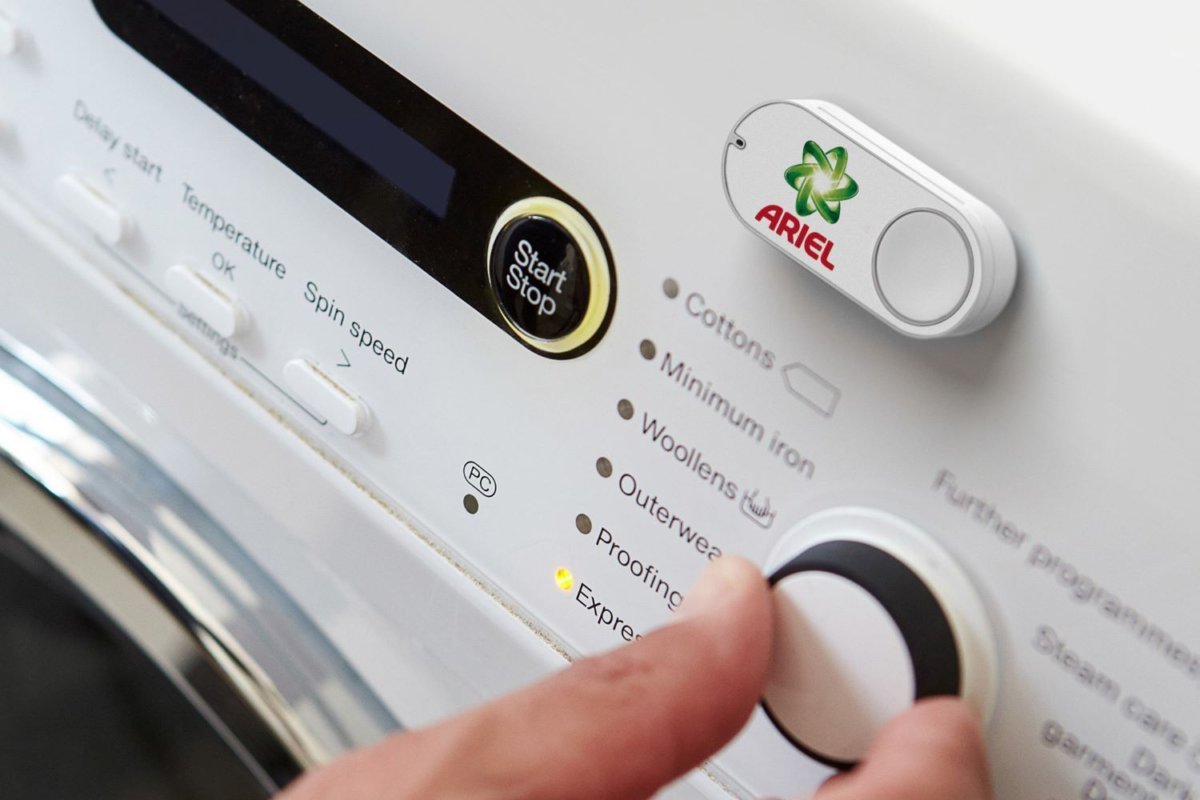
That original Dash Wand was eventually upgraded to include a push button activated Alexa (barcode scanner and fridge magnet intact) and is generally available. But Amazon had pinned its hopes on a new beau. Mid 2015 Amazon introduced the Dash Replenishment Service along with a product to be it’s exemplar – the Dash Button. The Dash Button was to be the 1-Click button of the physical world. The barcode-scanning Wands require the user to remember the Wand was nearby, find a barcode, scan it, then remember to go to their cart and order the product. Too many steps, too many places to get off Mr. Bezos’ Wild Ride of Commerce. The Dash Buttons were simple! Press the button, get the labeled product shipped to a preconfigured address. Each button was purchased (for $5, with a $5 coupon) with a particular brand affinity, then configured online to purchase a specific product when pressed. In the marketing materials, happy families put them on washing machines to buy Tide, or in a kitchen cabinet to buy paper towels. Pretty clever, it really is a Buy now with 1-Click button for the physical world.
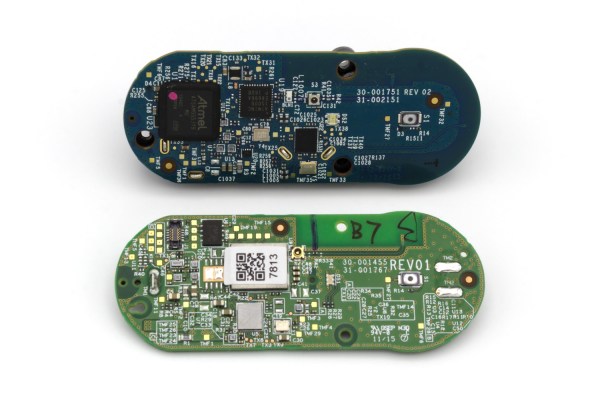
There were two versions of the Dash button. Both have the same user interface and work in fundamentally the same way. They have a single button (the software can recognize a few click patterns), a single RGB LED (‘natch), and a microphone (no, it didn’t listen to you, but we’ll come back to this). They also had a WiFi radio. Version two (silently released in 2016) added Bluetooth and completely changed the electrical innards, though to no user facing effect.
In February 2019, Amazon stopped selling the Dash Buttons. Continue reading “The Amazon Dash Button: A Retrospective” →