It’s as if the go-to analogy these days for anything technical is, “It’s like a series of tubes.” Explanations thus based work better for some things than others, and even when the comparison is apt from a physics standpoint it often breaks down in the details. With microfluidics, the analogy is perfect because it literally is a series of tubes, which properly arranged and filled with liquids or gasses can perform some of the same control functions that electronics can, and some that it can’t.
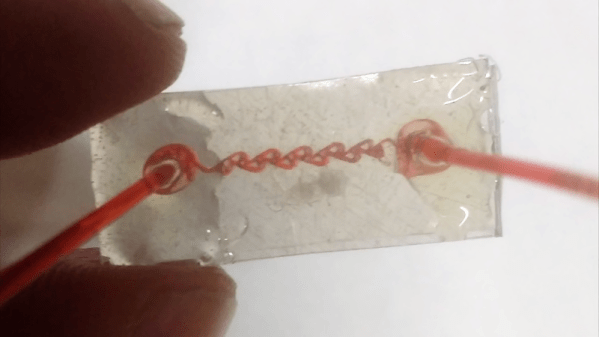
But exploring microfluidics can be tough, what with the need to machine tiny passages for fluids to flow. Luckily, [Justin] has turned the process into child’s play with these microfluidic elements made from Shrinky Dinks. For those unfamiliar with this product, which was advertised incessantly on Saturday morning cartoon shows, Shrinky Dinks are just sheets of polystyrene film that can be decorated with markers. When placed in a low oven, the film shrinks about three times in length and width while expanding to about nine times its pre-shrunk thickness. [Justin] capitalized on this by CNC machining fine grooves into the film which become deeper after shrinking. Microfluidics circuits can be built up from multiple layers. The video below shows a mixer and a simple cell sorter, as well as a Tesla valve, which is a little like a diode.
We find [Justin]’s Shrinky Dink microfluidics intriguing and can’t wait to see what kind of useful devices he comes up with. He’s got a lot going on, though, from spider-powered beer to desktop radio telescopes. And we wonder how this technique might help with his CNC-machined microstrip bandpass filters.
Continue reading “Making Microfluidics Simpler With Shrinky Dinks”