They say that life imitates art, which in modern parlance basically means if you see something cool in a video game, movie or TV show, you might be inclined to try and build your own version. Naturally, such things generally come in the form of simple props, perhaps with the occasional embedded LED or noise making circuit. It’s not as if you can really build a phaser from Star Trek or a phone booth that’s bigger on the inside.
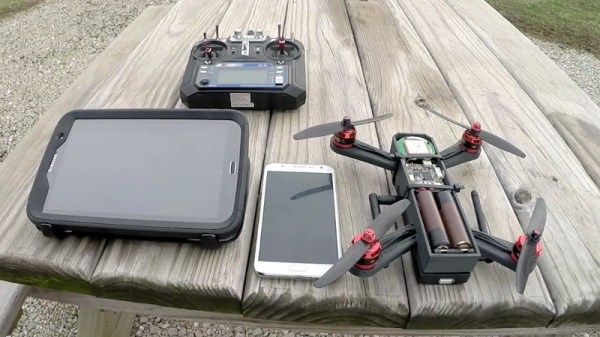
 But after seeing the hacking quadcopter featured in the video game Watch Dogs 2, [Glytch] was inspired to start work on a real-world version. It doesn’t look much like the drone from the game, but that was never the point. The idea was to see how practical a small flying penetration testing platform is with current technology, and judging by the final build, we’d say he got his answer.
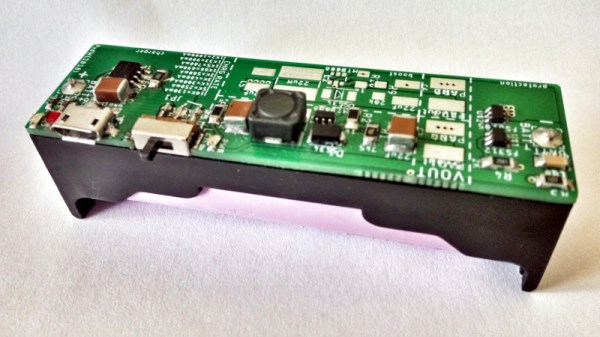
All the flight electronics are off the shelf quadcopter gear. It’s running on a Betaflight OMNIBUS F4 Pro V2 Flight controller with an M8N GPS mounted in the front and controlling the 2006 2400KV motors with a DYS F20A ESC. Interestingly [Glytch] is experimenting with using LG HG2 lithium-ion cells to power the quad rather than the more traditional lithium-polymer pack, though he does mention there are some issues with the voltage curve between the two battery technologies.
But the real star of the show is the payload: a Hak5 Pineapple Nano. As the Pineapple provides a turn-key penetration testing platform on its own, [Glytch] just needed a way to safely carry it and keep it powered. The custom frame keeps it snug, and the 5 Volt Battery Eliminator Circuit (BEC) on the DYS F20A ESC combined with a female USB port allows powering the Pineapple without having to make any hardware modifications.
We’ve seen quadcopters with digital weaponry before, though not nearly as many as you might think. But as even the toy grade quadcopters become increasingly capable, we imagine the airborne hacking revolution isn’t far away.
Continue reading ““Watch Dogs” Inspired Hacking Drone Takes Flight”
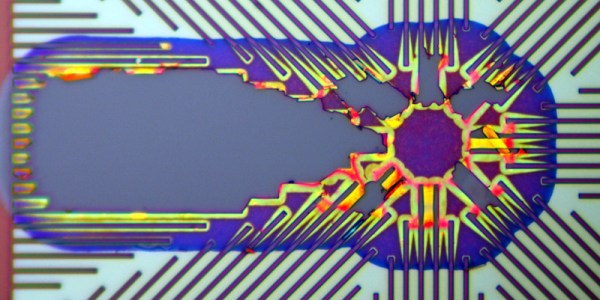
 The financial analysis puts Analog Devices’s gross profit at about $103 of the $275 retail purchase price of an AD9361. The biggest slice at $105 goes to the distributor, and surprisingly the R&D and manufacturing costs are not as large as you might expect. How accurate these figures are is anybody’s guess, but they are derived from an R&D figure in the published financial report, so there is some credence to be given to them.