Here at Hackaday, we’re suckers for vintage instruments. More than one of our staffers has a bench adorned with devices spanning many decades, and there’s nothing more we like reading about that excursions into the more interesting or unusual examples. So when a Tweet comes our way talking about a very special oscilloscope, of course we have to take a look! The Tektronix 519 from 1962 has a 1GHz bandwidth, and [Timothy Koeth] has two of them in his collection. His description may be a year or two old, but this is the kind of device for which the up-to-the-minute doesn’t matter.
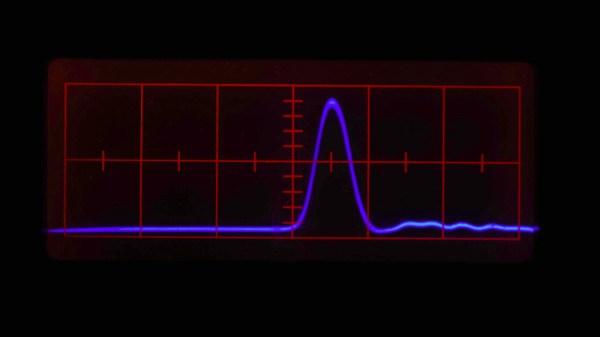
A modern 1GHz oscilloscope is hardly cheap, but is substantially a higher-speed version of the run-of-the-mill ‘scope you probably have on your bench. Its 1962 equivalent comes from a time when GHz broadband amplifiers for an oscilloscope input were the stuff of science fiction. The 519 takes the novel approach of eschewing amplification or signal conditioning and taking the input directly to the CRT deflection plates. It thus has a highly unusual 125Ω input impedance, and its feed passes through a coiled coaxial delay line to give the trigger circuits time to do their job before going into the CRT and then emerging from it for termination. It thus has a fixed deflection in volts per centimeter rather than millivolts, and each instrument has the calibration of its CRT embossed upon its bezel.
The 519 would not have been a cheap instrument in 1962, and it is no accident that there are reports of many of them coming back to Tek for service with radioactive contamination from their use in Government projects. We can’t help wondering whether the Russian equivalent super-high-speed ‘scope used the same approach, though we suspect we’ll never know.
If vintage Tek is your thing, have a look at their PCB manufacture from the 1960s.
Thanks [Luke Weston] for the tip.