It is something of a rite of passage for an electronics enthusiast, the acquisition of a first oscilloscope. In decades past that usually meant a relatively modest instrument, maybe a 20MHz bandwidth and dual trace if you were lucky. Higher spec devices were eye-wateringly expensive monsters, not for the Common People.
We are fortunate that like most other areas of technology the world of test equipment has benefited in the last few years both from developments in digital technology and from the growth in Chinese manufacturing. If your first ‘scope is that second-hand 20MHz CRT you will probably secure it for pennies, and the first ‘scope you buy new will probably have a spec closer to those unattainable super-scopes of yesteryear. Gone is the CRT and timebase generator, in its place a TFT, system-on-chip, and super-fast A to D converter.
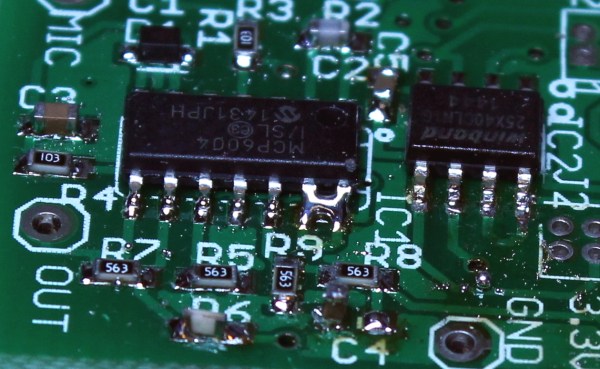
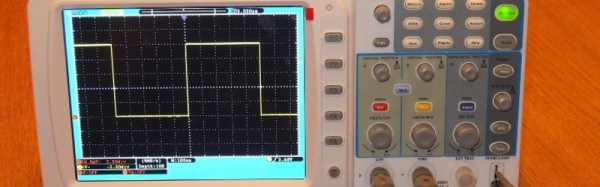
[Christer Weinigel] has just such an entry-level modern digital ‘scope, an OWON SDS7102. He comments that it’s got an impressive spec for its price, though the input is noisier than you’d expect on a more expensive device, and the software has one or two annoying bugs. Having owned it for a while, he’s now subjected it to a lengthy teardown and reverse engineer, and he’s posted his findings in a succession of blog posts.
[Christer]’s interest lay mainly in the OWON’s digital section, it seems there is already a substantial community paying attention to its analog front end. He’s deduced how its internals are connected, ported Linux to its Samsung SoC in the scope, succeeded in getting its peripherals working, and set to work programming the Xilinx FPGA that’s responsible for signal processing.
The series of posts is a fascinating read as a run through the process of reverse engineering , but he points out that it’s quite a lot of information. If you are just interested in how a cheap modern oscilloscope works, he says, he suggests reading his post in which he recaps on all its different components.
He also makes a plea for help, he’s no slouch on the ‘scope’s software but admits he’s a bit out of his depth on some aspects of the FPGA. If you’re an FPGA wizard with an interest in ‘scopes, he’d like to hear from you.
This isn’t the first time we’ve featured ‘scope reverse engineering here at Hackaday, though it may be more in-depth than others. In the past we’ve seen a Uni-T screen grab protocol laid bare, and an investigation of a Rigol 1054Z.