The Arduino Yún was the first of a new breed of Arduinos that added a big honkin’ Linux System on Chip to the familiar ATMega microcontroller and unique pin headers. It’s a surprisingly powerful system, but also very simple: basically, it’s just an Atheros AR9331 running Linux, an ATMega32u4 doing its Arduino thing, both connected by a serial connection. The Atheros AR9931 is also found in a router popular amongst hardware hackers. It really was only a matter of time before someone ported the Yun software to a router, then.
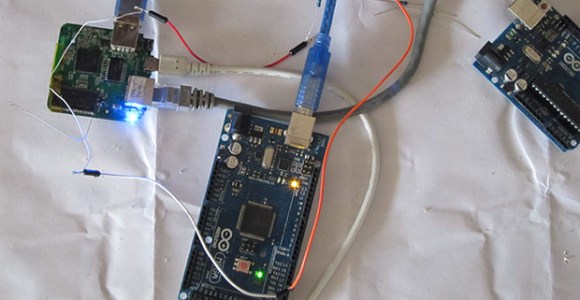
[Tony] took a TL-WR703N router and put OpenWRT on it. Turning this router into the Linux side of a Yún was a simple matter of uploading the Yún software to the root directory of the router and rebooting it. The Arduino side of the Yún is handled by an Arduino Mega connected to the USB port of the router. A quick update to Arduino’s boards.txt file, and a hacked together Yún is just a strip of duct tape away.
The Yún may not be extremely popular, but it does have a few interesting use cases. Maybe not enough to drop $70 on a board, but if you already have a WR703 router, this is a great way to experiment.
Thanks [Matt] for the tip.
 There may be nothing new under the sun when it comes to etching PCBs with UV light, but [Heliosoph] has