[Steven Dufresne] has been playing around with ion propulsion using high voltage lately, and he’s added another spaceship to his experiments — Darth Vader’s TIE Fighter — and as an added bonus, he’s thrown on a laser too!
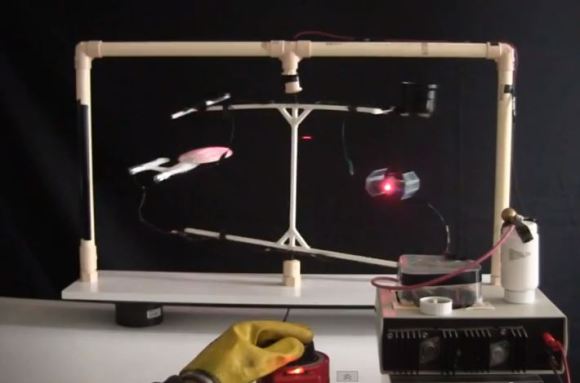
We originally covered his Ion Wind Propelled Star Trek Enterprise a few months ago, after someone had mentioned that the ion winds he was generating in experiments kind of looked like the warp drives on the Enterprise. Well, someone else pointed out that a TIE Fighter was an even better candidate for this. After all, TIE stands for Twin Ion Engines. So he decided to build one too. The ion winds look even better on this one as he’s turned the entire back of the fighter into the electrode, which creates a wide and very visible arc.
Oh, he also decided to add lasers to it for some extra flare — unfortunately TIE Fighters used green lasers — not red ones. Stick around for the following videos to see the TIE Fighter in all its ionic glory.
Continue reading “Ion Propelled Tie Fighter Now Has A Laser!”