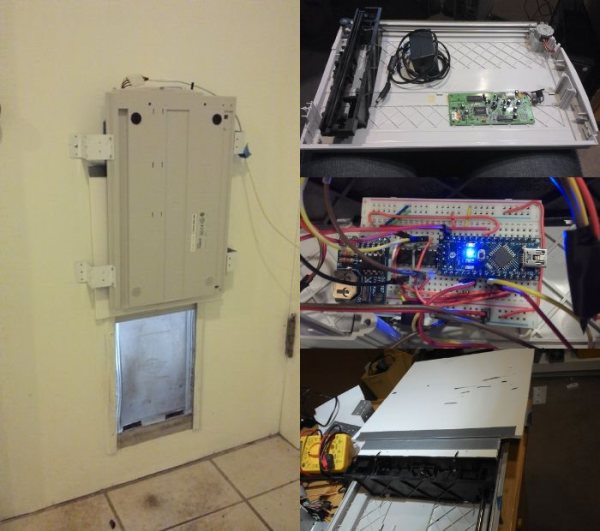
At first glance, [John’s] CD-ROM RasPi case may not seem all that unique, but we like both the implementation as well as the end-result functionality it provides. His goal was to use the Pi as a torrent downloader, and to store the downloaded files on a shared network drive. The Pi drive would slide into a bay in the server’s case—hence the Inception reference: a computer in a computer—allowing downloads while putting another step between the server and the outside world keeping, as well as guaranteeing that the network share would be available, because the server and the Pi would use the same power source.
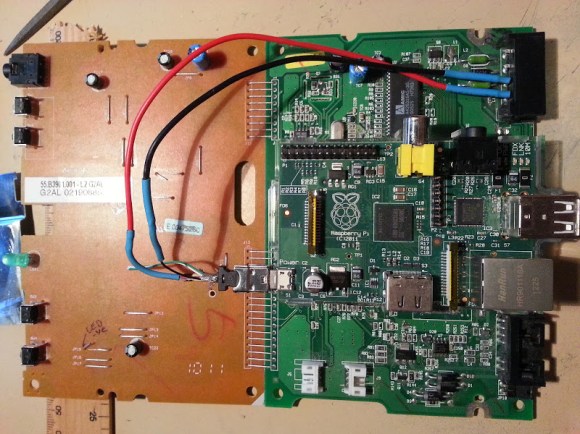
[John] gutted the CD-ROM’s internals to leave only the PCB, which he stripped of most everything save for the power connector in the back. He then used the base of his old RasPi case as a standoff, mounting it to the top of the CD-ROM’s PCB. He soldered the power lines to the ROM’s power connector and temporarily hooked up a 5V adapter until he gets the server running. The final step was to carve out the back of the case for access to the Ethernet and USB ports, which [John] accomplished with a dremel, a hacksaw and a file. The front of the case still looks like a stock CD-ROM drive, and [John] has plans for future mods: re-purposing the LED to show network activity and modifying the buttons to serve as a reset, pause, or start for torrent downloads.