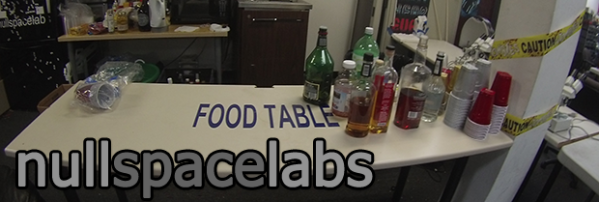
Null Space Labs prides itself on being the only hackerspace that’s not saving the world. Instead, they focus on more important matters such as repairing an industrial pick and place machine, hoisting laser cutters through third story windows, and generally being extremely awesome. Since some of the Hackaday crew is in LA, we decided to check in on the folks at Null Space, and they graciously granted us a tour.
It’s not an overstatement that Null Space is better stocked than any university EE lab. They have at least four million electronic components, and they honestly have no idea how many different types of components they have. As for tools, a 22 GHz spectrum analyzer and 2 GHz scope are tucked away behind a direct to garment printer. A gigantic laser printer, pro 3D printer, PCB milling and through-hole plating stations, and pick and place machine are just a few more of the fun toys available to Null Space members.
In the video below, [M] walks us through the main electronics work area, filled to the brim with tools and storage cabinets. After that, [arko] shows off the PCB mill and the back room with reels of parts strewn asunder.
Continue reading “Touring Null Space Labs, Another LA Hackerspace”


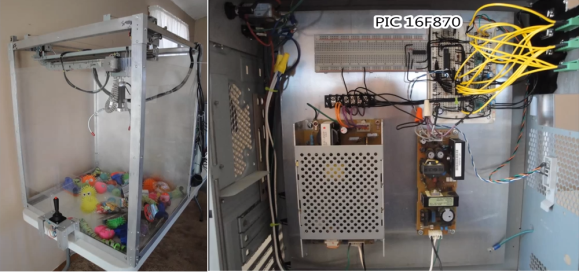 If [Will Baden] is in the running for Father of the Year, he’s a shoe-in. His son requested a robot-themed birthday party, so [Will] did what any superhero father would do and
 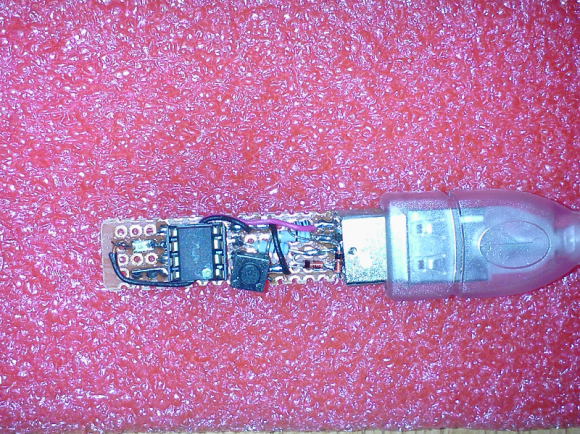 Why would you clone something as cheap as the adafruit Trinket? Well, because you can, of course. And that’s exactly why [Ray]