I always thought it would be cool to build a giant fire breathing piranha plant. I never really came up with an excuse to do it though. Eventually, I just decided I didn’t really need an excuse, and thus it was born.
The plant itself is pretty much just foam and cardboard. You can see the construction process in the video, it was really easy, but a little time consuming. I wanted to go with a bit of a crazy, hyper stylized look, so it is covered in veins and has these insane looking wrinkly lips. The plant itself would be a fun thing just to have around the house. Actually, I may turn it into a lamp.
The fire systems were very much trial and error.
Continue reading “6 Foot Tall Fire Breathing Piranha Plant From Super Mario Brothers”
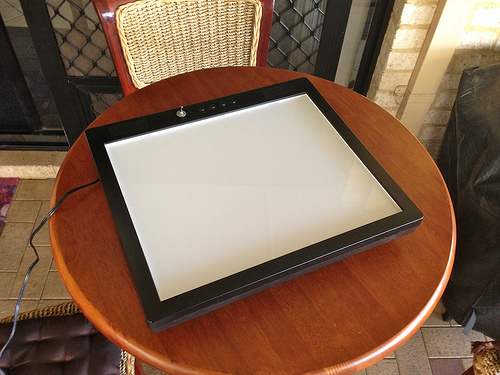 [x2jiggy] was given a non-functioning LCD monitor. He made a small effort to trouble-shoot its inability to display anything on the screen but couldn’t get it working again. When that failed he decided to


