Rule Your Furnace With This Network-enabled Thermostat

diy_thermostat

Adafruit forum member [Stephanie] embarked on a mission to replace the thermostat in her home with one that was far more robust and full of electronic goodies.

Her goal was to build a networked thermostat that allowed for 2-way communications between the base station and any other networked device, such as her laptop or iPhone. She wanted to not only be able to monitor her furnace and air conditioning systems remotely, but to control the units from afar as well.

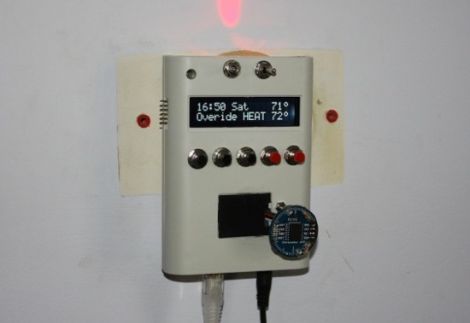
The brains of the thermostat have changed throughout the project, becoming simpler as time went on. It is now controlled with just an ATMega328 mounted to the back of an LCD display with a Wiznet network module where an Adafruit Ethernet shield used to reside. The thermostat shows the current temperature, set temperature, and time on the front mounted LCD, the latter of which is provided by a Chronodot module. It also has an on board LED that can be seen from afar, indicating whether the heat or air conditioning is running,

Right now the thermostat can be controlled at the unit itself, or remotely using a Telnet session. [Stephanie] is currently happy with the setup, but future plans include creating an iPad application to provide a more user-friendly interface.

If you are interested in learning more, or building one yourself, be sure to swing by her blog for a far more in-depth look at the build process.
PCB Milling Tutorial

[Juan Jose Chong] put together a set of videos and a PDF guide to milling printed circuit boards. You’ll find the pair of videos, totaling about twenty-two minutes, embedded after the break. In them, [Jaun] details the techniques used by the IEEE chapter at Texas Tech University to mill PCBs instead of using the traditional method of etching them. We’ve long been a fan of milled PCBs and often dream about the day we can retire the old iron we use for the toner transfer method.

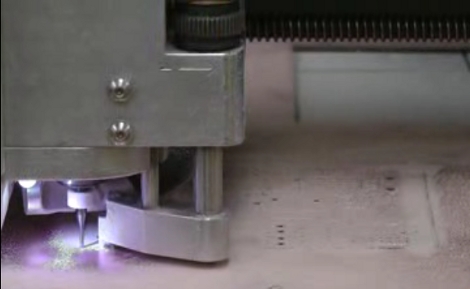
In the tutorial, IsoPro is the software used to control the mill. The CAM files from a PCB design program are imported – they can come from many different programs including EagleCAD. A few setup steps let the operator configure the resolution necessary to mill the correct tolerance and from there the paths that outline each trace are calculated in software. In order to facilitate double-sided boards a reference hole is drilled in the copper clad board to accept a post on the mill table. Tape down the substrate with some foil tape, set the depth of the end mill bit, and let the machine do its thing. [Juan’s] video illustrates how quickly this can produce a rather complicated board, finishing in around 20 minutes.

Continue reading “PCB Milling Tutorial”

MindWave Is Developer (read: Hacker) Friendly Mind Control

Here’s a setup to control a servo motor with your mind. [Danny Bertner] made this project happen by interfacing a MindWave headset with an Arduino. You might wonder what’s the big deal about that since we’ve covered quite a few mind control hacks that work this way? So far, the majority of those hacks used the Mindflex toy (to be fair there were several using the Force Trainer as well), which depends on a chip made by the company that is responsible for the MindWave. Both the Mindflex and the Force Trainer were reverse engineered to access the stream of data coming in from the EEG sensors. But NeuroSky is embracing the urge to mess with their products by offering developer tools.

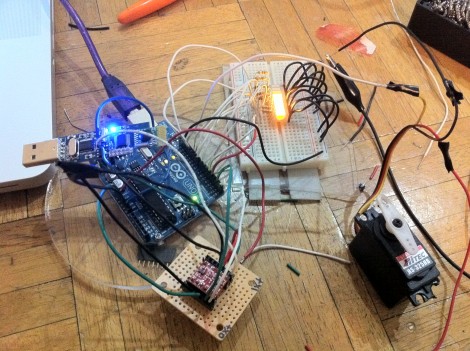
[Danny] took advantage of these resources, using the comany’s own guide to interfacing with an Arduino (PDF). The quick clip after the break shows his finished project, grabbing data from the USB dongle that comes with the headset, converting it to the necessary levels for the Arduino, then processing the signals for display on and LED bar graph.

We can’t help but chuckle about the warranty-voiding disclaimer at the top of the PDF guide.

Continue reading “MindWave Is Developer (read: Hacker) Friendly Mind Control”

Laser Tripwire Water Balloon Prank

laser_tripwire_prank

Even though it’s a bit late for April Fool’s jokes, [Ameres] wrote in to share a project guaranteed to catch your friends (or enemies) by surprise.

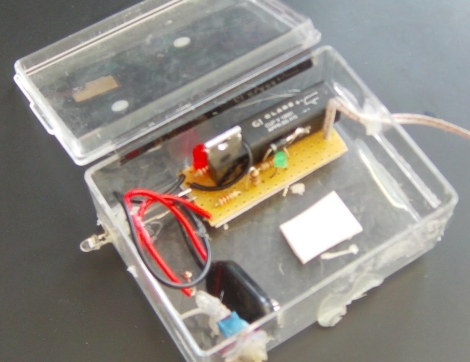
Like us, he had some old CD-ROM drives sitting around and thought that there must be some way to put them to good use. He gutted one, saving the laser’s carrier unit for use as his mechanical trigger. He placed the unit above a doorway, soldered a pin on to the end of the laser carrier, and positioned a water balloon at the end of the CD-ROM’s rails. The laser carrier’s motor was then connected to a photocell located about half way down the side of the door.

He mounted a laser on the far side of the door, which is pointed at the photocell. Once the laser beam is broken, the CD-ROM motor is actuated, popping the balloon over the unsuspecting victim.

It’s not the most high-tech prank out there, but how high tech does a water prank need to be? We just wonder how easy it would be to attach one of these things to our cube at work…

Have any ideas as to how he can make a bigger splash with his friends?  Share them with us in the comments.

Measuring The ~10 Kiloamp Output Of A Large Capacitor Bank

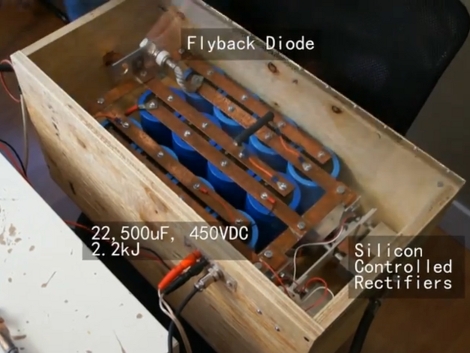
[Norman] put together a rather impressive 22,500 uF capacitor bank. In addition to find things to torture with the strong magnetic field generated by a sudden discharge, he’d like to measure the current pushed from the device. He’s found a way to do this using a digital storage oscilloscope. To protect the oscilloscope [Norman] built his own interface box that includes a 50x voltage divider, and interfaces a current sensor called a Rogowski coil. When it comes time to run the experiment, he turns the safety lock-out key on the bank charger, then discharges the stored potential with the flip of a switch.

Take a look at the video after the break to see soda cans and hard drive platters mangled by the device. The oscilloscope measures the output near 10 kA, giving [Norman] the data he set out to capture. He’s entered this project into the Tektronix contest where it’ll compete with the piano tuner and laser light show tester just to name a few.

Continue reading “Measuring The ~10 Kiloamp Output Of A Large Capacitor Bank”

Blackberry LCD Reverse Engineering

blackberry_lcd

[Scott] was looking to source some LCD screens for an upcoming project, and was considering buying them from SparkFun. While the Nokia panels they sell are not expensive, they aren’t necessarily the cheapest option either – especially when building in volume.

He searched around for something he could use instead, and settled on Blackberry screens. Old Blackberry models were even more durable than the current offerings, plus companies are trying to get rid of old handsets by the truckload. The only problem was that he could not find any information online that would show him how to write to the screens.

It took a bit of digging, but he eventually determined which ICs were used to drive the LCD screen. He had no luck finding screen pinout information online, so after spending a few hours testing things with his multimeter, he came up with a full listing on his own.

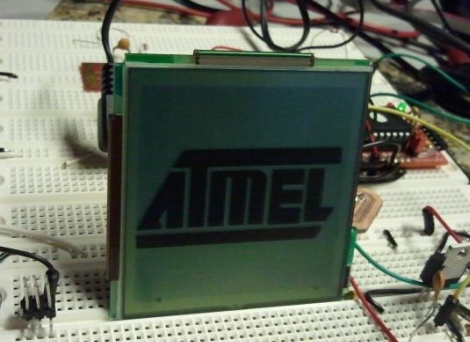
He wired up a connector so that he could use the screen on a breadboard, then got busy writing code to display some text on the screen. Everything came together nicely as you can see in the video below, and he has released his code in case anyone else is looking to repurpose some old Blackberry screens.

All we want to know is what sort of project all these screens are going to be used in.

Continue reading “Blackberry LCD Reverse Engineering”

Tandy Color Computer (CoCo3) Color Video Playback

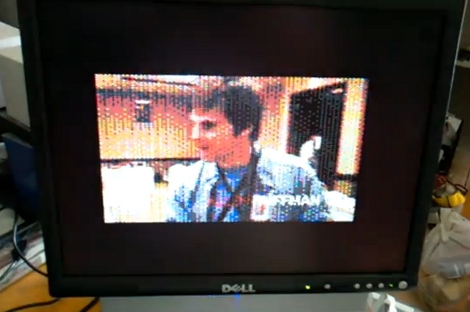
[John W. Linville] wrote a digital video player for the Tandy Color Computer (aka TRS-80). The decades-old hardware performs quite well considering the limited resource he had to work with. This is the second iteration of his player, and can be seen after the break playing a promo video for CoCoFEST 2011 where he’ll show it off in person.

In the most recent thread post (at the time of writing) [John] shares the methods used to get this running. FFMPEG is used on a modern computer to process the source video by separating the audio into an 8-bit 11040Hz file, and it generates several PPM files with the proper video frame rate. ImageMagick takes it from there to convert the PPM files to a bitmap format. It also processes each frame for differential changes, reducing the size to fall within the available bandwidth. They are then interleaved with the audio to produce the final format. Video is 128×192 with rectangular pixels. [John’s] already used it to watch such classics as War Games on the antiquated hardware.

Continue reading “Tandy Color Computer (CoCo3) Color Video Playback”