If your travels take you near Mountain View, California, you can have the pleasure of visiting the Computer History Museum. You can see everything from a PDP-1 to an Altair 8800 to a modern PC there. If you aren’t travelling, the museum has launched a digital portal that expands your ability to enjoy its collection remotely.
CEO Marc Etkind said, “OpenCHM is designed to inspire discovery, spark curiosity, and make the stories of the digital age more accessible to everyone, everywhere. We’re unlocking the collection for new audiences to explore.”
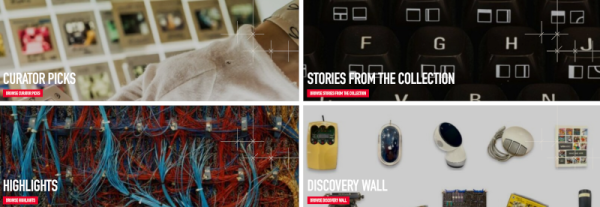
The portal features advanced search tools along with browsable curated collections and stories. There’s also an album feature so you can create and share your own custom collections. If you are a developer, the portal also allows access via an API.
As an example, we checked out the vintage marketing collection. Inside were a 1955 brochure for a Bendix computer you could lease for under $1,000 a month, and a 1969 brochure for the high-performance Hitachi HITEC 10. It had 4K words of 16-bit memory and a clock just a bit more than 700 kHz, among others.
If you are on the other side of the Atlantic, you might want to check out a very large museum there. There’s also a fine museum in the UK.