
Isn’t it great when you find a use for something that didn’t work out for the project it was supposed to? That’s the story behind the LED strips in this lovely blinkenlights choker by [Ted].
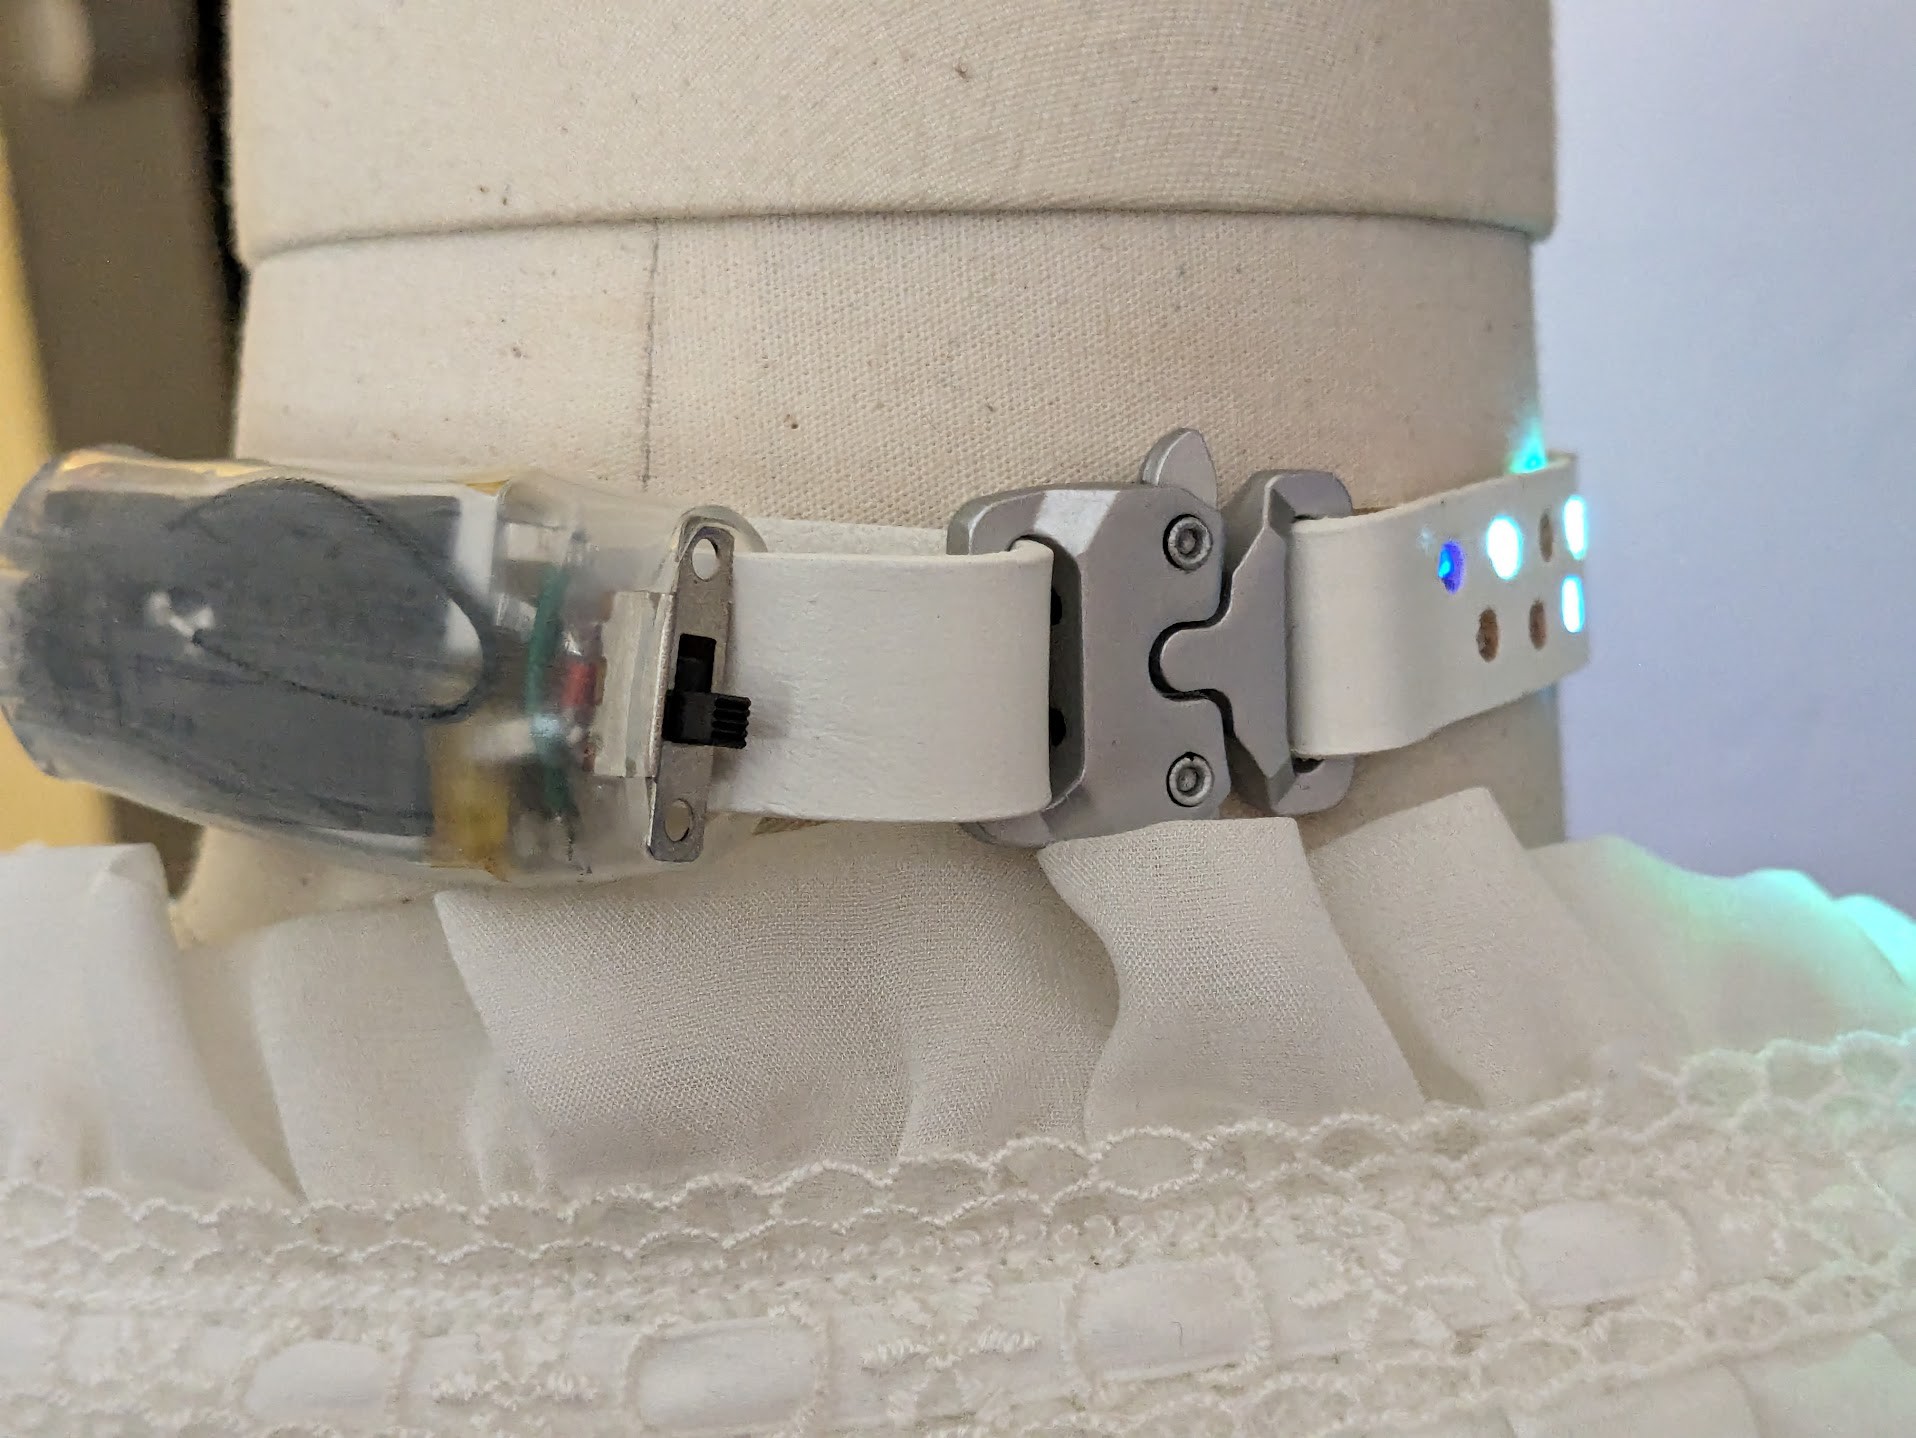 The choker itself is a 15 mm wide leather strap with holes punched in it. According to [Ted], the hole punching sounds like the absolute worst and hardest part to do, because the spacing of the holes must be greater than that of the LEDs to account for flex in the strap. [Ted] tested several distances and found that there is little margin for error.
Controlling those blinkenlights is a Seeed Xiao S3, which fits nicely behind the neck in what looks like a heat shrink tube cocoon. [Ted] chose this because there was one lying around, and it happens to be a good fit with its LiPo charge controller.
The choker runs on four 300 mAh LiPo batteries, which makes for more bulk than [Ted] would like, but again, sometimes it’s about what you have lying around. Even so, the batteries last around two hours.
Sometimes it’s about more than just blinkenlights. Here’s an LED necklace that reports on local air quality.