Wood-infused filament has been around for awhile now, and while it can be used to create some fairly impressive pieces, the finished product won’t fool the astute observer. For one thing, there’s no grain to it (not that every piece needs to show grain). For another, you can’t really throw it on a fire for emergency heating like you could with actual wood.
 But a company called Desktop Metal has created a new additive manufacturing process for wood and paper waste called Forust (get it?) that gets a lot closer to the real thing. It might be an environmental savior if it catches on, though that depends on what it ends up being good for.
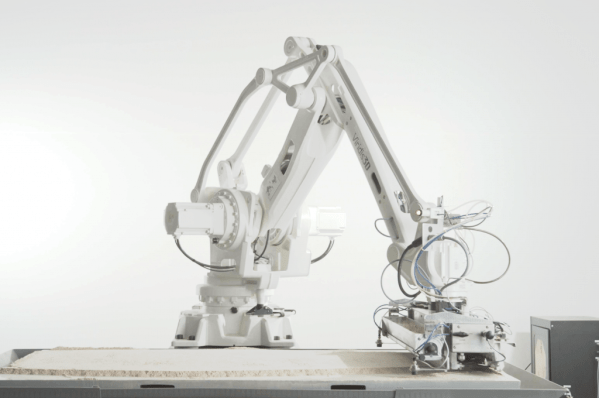
The company’s vision is to produce custom and luxury wood products — everything from sophisticated pencil cups to stunning furniture, and to take advantage of the nearly limitless geometry afforded by additive manufacturing. Forust uses the single-pass binder jetting method of 3D printing to lay down layers of sawdust and lignin and then squirt out some glue in between each one to hold them together.
Although Desktop Metal doesn’t mention a curing process for Forust in their press release, post-processing for solidity and longevity is the norm in binder jetting, which is usually done with ceramic or metal-based materials.
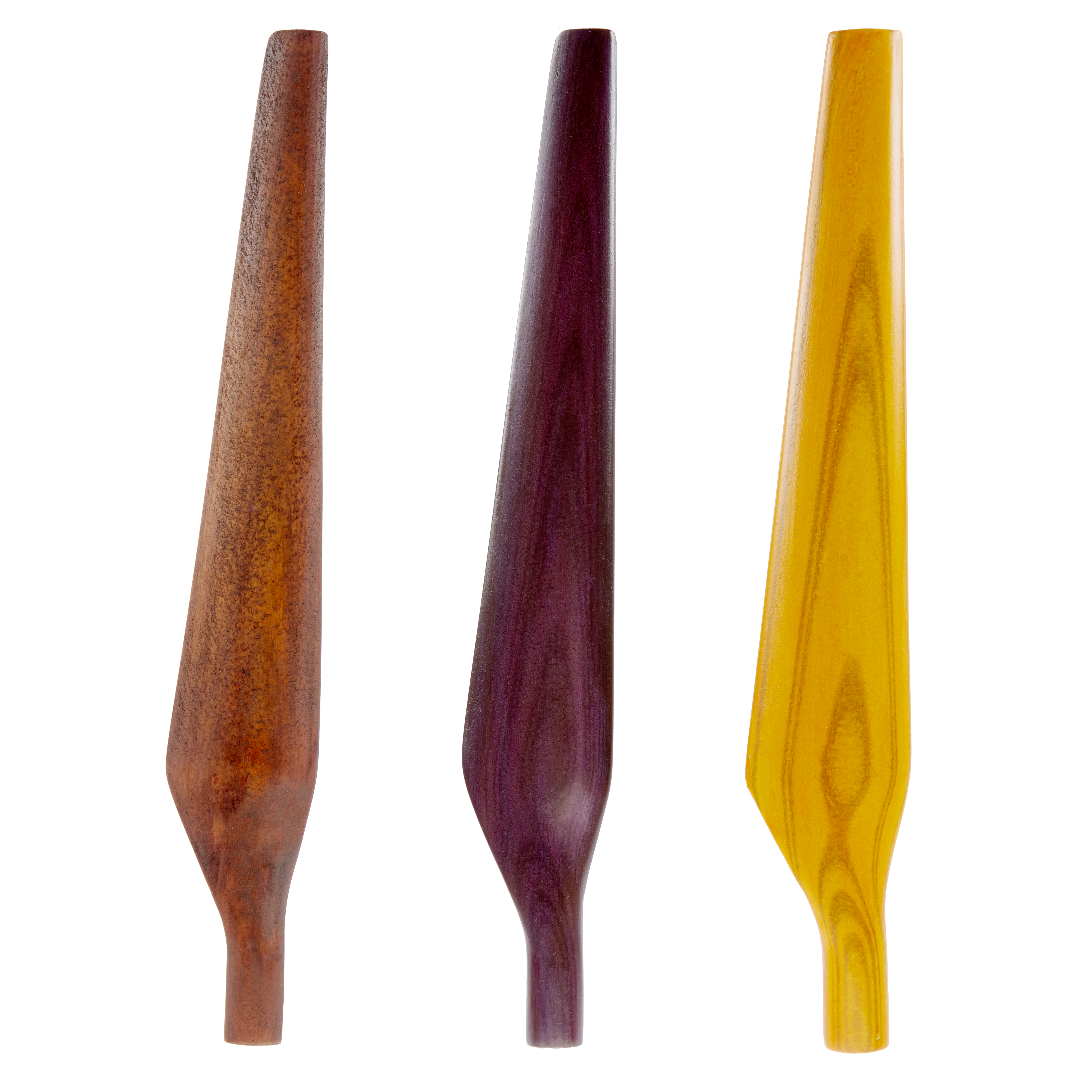
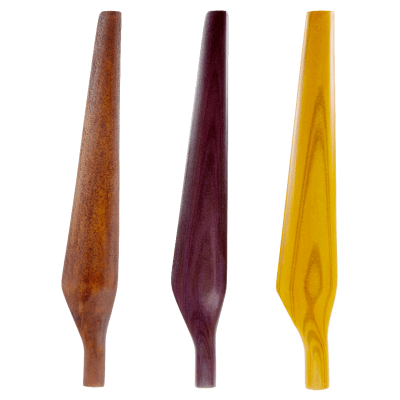
Let’s talk about those wood grains. Here’s what the press release says:
Digital grain is printed on every layer and parts can then be sanded, stained, polished, dyed, coated, and refinished in the same manner as traditionally-manufactured wood components. Software has the ability to digitally reproduce nearly any wood grain, including rosewood, ash, zebrano, ebony and mahogany, among others. Parts will also support a variety of wood stains at launch, including natural, oak, ash, and walnut.
Beauty and workability are one thing. But this will only be worthwhile if the pieces are strong. This is something that isn’t too important for pencil holders, but is paramount for furniture. Forust’s idea is to ultimately save the trees, but how are they going to get sawdust and lignin without the regular wood industry — they want to be circular and envision recycling of their goods at end-of-life into new goods
We wondered if the wood waste printer would ever become a thing. You know, there’s more than one way to print in sawdust — here’s a printer that stacks up layers of particle boards and carves them with a CNC.
Images via Forust