If you want to experiment with pneumatic devices, you’ll likely find yourself in need of custom inflatable bladders eventually. These can be made in arbitrary 2D shapes by using a soldering iron to fuse the edges of two plastic sheets together, but it’s obviously a pretty tedious and finicky process. Now, if only there was some widely available machine that had the ability to accurately apply heat and pressure over a large surface…
Realizing his 3D printer had all the makings of an ideal bladder fusing machine, [Koppany Horvath] recently performed some fascinating experiments to test this concept out in the real-world. Ultimately he considers the attempt to be a failure, but we think he might be being a bit too hard on himself. While he didn’t get the sheets to fuse hard enough to resist being pulled apart by hand, we think he’s definitely on the right track and would love to see more research into this approach.
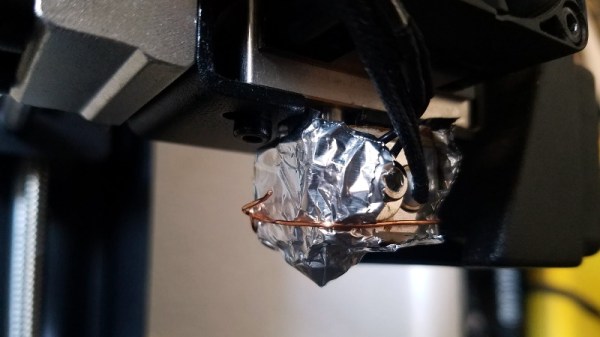
 For these early tests, [Koppany] wrapped the hotend of his Monoprice Maker Select Plus with some aluminum foil, and covered the bed with a piece of cardboard. Stretched over this were two sheets of plastic, approximately 0.5 mil in thickness. Specifically, he used pieces cut from the bags that his favorite sandwiches come in; but we imagine you could swap it out for whatever bag your takeout of choice is conveyed in, assuming it’s of a similar thickness anyway.
There were problems getting the plastic pulled tight enough, but that was mostly solved with the strategic placement of binder clips and a cardboard frame. Once everything was in place, [Koppany] wrote a Python script that commanded the printer to drag the hotend over the plastic at various speeds while simultaneously adjusting the temperature. The goal was to identify the precise combination of these variables that would fuse the sheets of plastic together without damaging them.
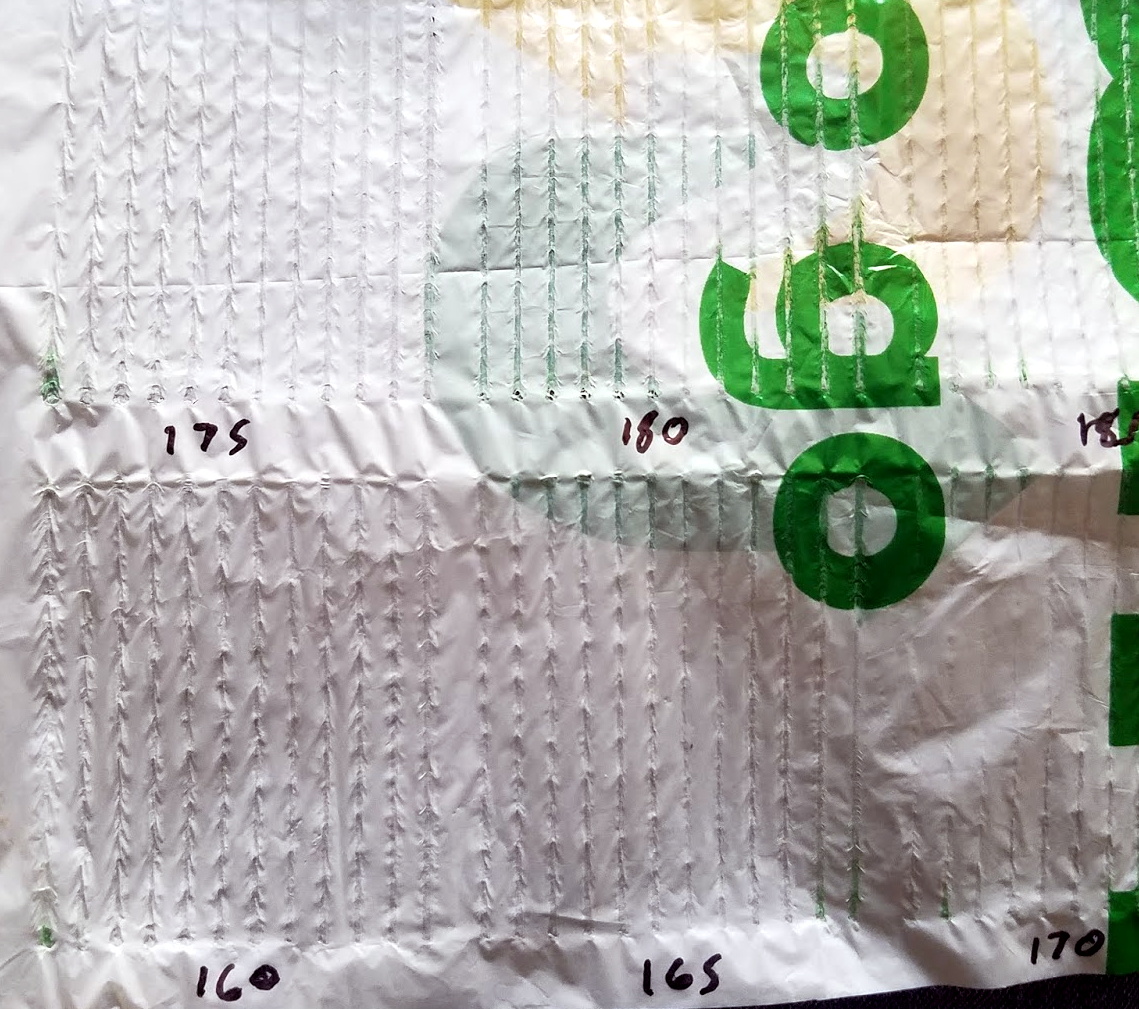
In the end, his biggest takeaway (no pun intended) was that the plastic he was using probably isn’t the ideal material for this kind of process. While he got some decent seams at around 180 °C , the thin plastic had a strong tendency towards bunching up. Though he also thinks that a convex brass probe inserted into the hotend could help, as it would smooth the plastic while applying heat.
We’ve already seen some very promising results when using LDPE film in a CO2 laser cutter, but if a entry-level 3D printer could be modified to produce similar results, it could be a real game changer for folks experimenting with soft robotics.