One of the best applications for desktop 3D printing is the creation of one-off bespoke components. Most of the time a halfway decent pair of calipers and some patience is all it takes to model up whatever part you’re after, but occasionally things get complex enough that you might need a little help. If you ever find yourself in such a situation, salvation might be just a few marker scribbles away.
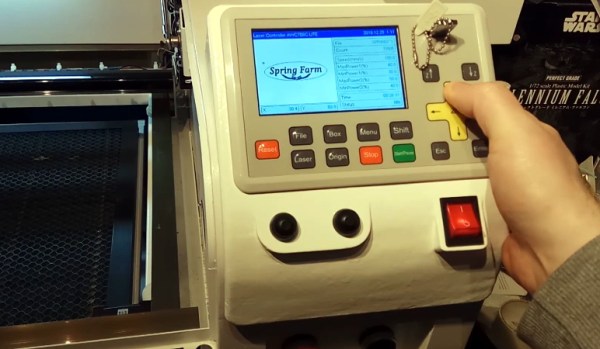
As [Mangy_Dog] explains in a recent video, he wanted to model a control panel for a laser cutter he’s been working on, but thought the shapes involved were a bit more than he wanted to figure out manually. So he decided to give photogrammetry a try. For the uninitiated, this process involves taking as many high-resolution images as possible of a given object from multiple angles, and letting the computer stitch that into a three dimensional model. He reasoned that if he had a 3D model of the laser’s existing front panel, it would be easy enough to 3D print some replacement parts for it.
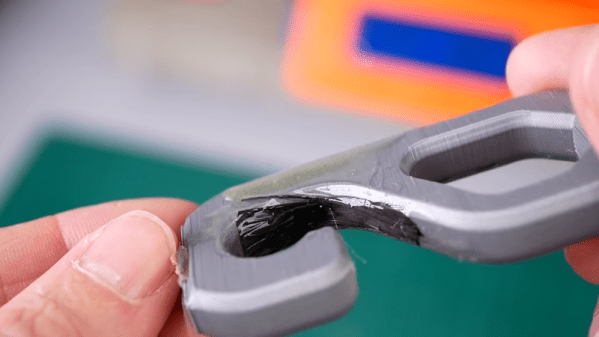
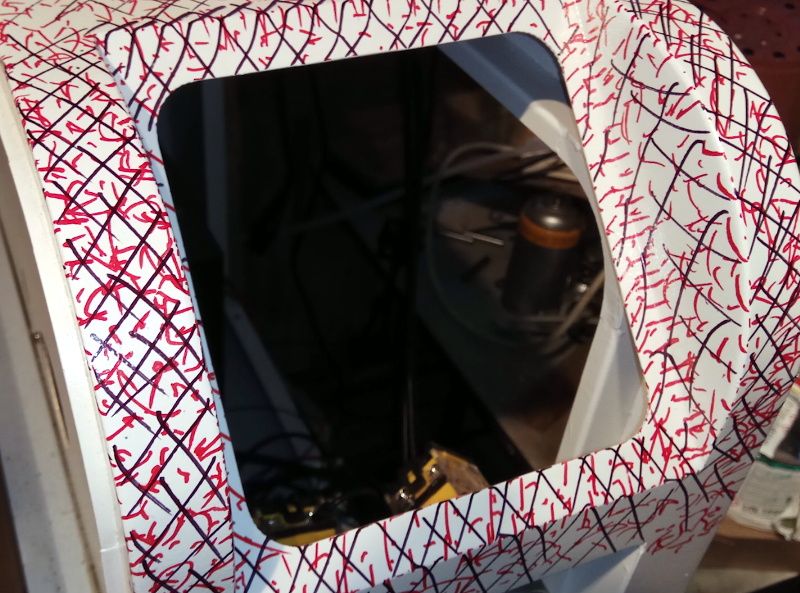
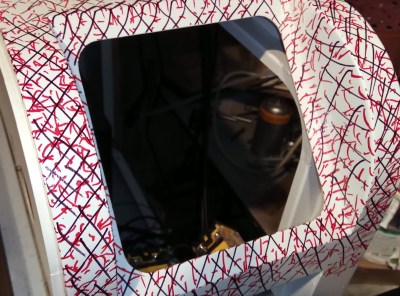 That would be a neat enough trick on its own, but what we especially liked about this video was the tip that [Mangy_Dog] passed along about increasing visual complexity to improve the final results. Basically, the software is looking for identifiable surface details to piece together, so you can make things a bit easier for it by taking a few different colored markers and drawing all over the surface like a toddler. It might look crazy, but all those lines give the software some anchor points that help it sort out the nuances of the shape.
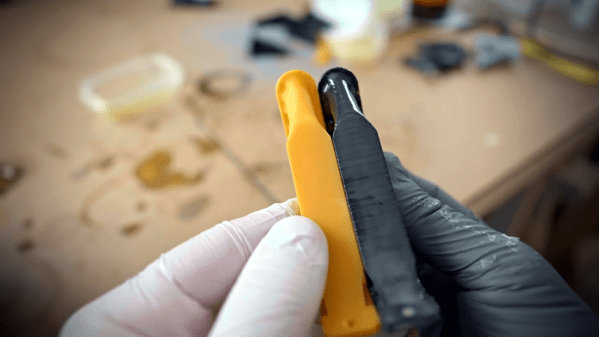
Unfortunately the markers ended up being a little more permanent than [Mangy_Dog] had hoped, and he eventually had to use acetone to get the stains off. Certainly something to keep in mind. But in the end, the 3D model generated was accurate enough that (after a bit of scaling) he was able to design a new panel that pops right on as if it was a factory component.
Hackaday readers may recall that when we last heard from [Mangy_Dog] he was putting the finishing touches on his incredible “Playdog Blackbone” handheld gaming system, which itself is a triumph of mating 3D printed components with existing hardware.
Continue reading “Custom Control Panels With Photogrammetry” →