Teaching Alexa To 3D Print

Sometimes a gadget like Alexa or Google Home is a solution looking for a problem. Then the problem you’ve been looking for hits you square in the face. I’ve confessed before that I have an oscilloscope problem. I also have a microcontroller development board habit. It appears now I have too many 3D printers. I recently finished building my latest one, an Anet A8 I picked up on Black Friday. While calibrating it, I found myself juggling a screwdriver, a pair of pliers, and trying to operate the thing all at one time. I realized I had to come up with a better way.

I don’t know if it qualifies as an addiction yet, but I also have an Alexa in every room (although I call it “Computer” because I’m a Star Trek fan) and a Google Home device almost everywhere. Why can’t I get one of these assistants to operate my printer for me? What are assistants for, after all, other than telling Dad jokes?

You’d think adding voice control to a 3D printer would a bit difficult. With the right tools, it is actually pretty easy. Luckily those tools aren’t anything special… if you want a set up like mine, where Alexa controls your 3D printer, read on.

Continue reading “Teaching Alexa To 3D Print”

Huge 3D Printer Ditches Lead Screw For Belt Driven Z Axis

The vast majority of desktop 3D printers in use today use one or more lead screws for the Z-axis. Sometimes you need to think outside of the box to make an improvement on something. Sometimes you need to go against the grain and do something that others wouldn’t do before you can see what good will come out of it. [Mark Rehorst] had heard the arguments against using a belt drive for the Z-axis on a 3D printer build:

  1. The belt can stretch, causing inaccurate layer height.
  2. If power fails, gravity will totally ruin your day.

He decided to go for it anyway and made a belt driven Z axis for his huge printer. To deal with the power loss issue, he’s using a 30:1 reduction worm gear on the drive — keeping the bed in one place if power goes. And after a few studies, he found the belt stretch was so minimal that it has no effect on layer height.

Of course those two issues are but a small portion of the overall ingenuity that [Mark] poured into this project. You’ll want to see it in action below, printing a vase that is 500 mm tall (took about 32 hours to get to 466 mm and you can see the top is a hairy wobbly at this point). Luckily we can geek out with the rest of his design considerations and test by walking through this fantastic build log from back in July. Of note is the clamp he designed to hold the belt. It uses a small scrap of the belt itself to lock together the two ends. That’s a neat trick!

The introduction of a belt driven Z-axis eliminates Z-axis wobble — an issue that can be exacerbated in tall printers. Desktop 3D printers are constantly improving, and we’re always excited to see a new trick work so well. Let us know if you’ve seen any other handy Z-axis modifications out there.

Continue reading “Huge 3D Printer Ditches Lead Screw For Belt Driven Z Axis”

OpenBraille Is An Impressive DIY Embosser

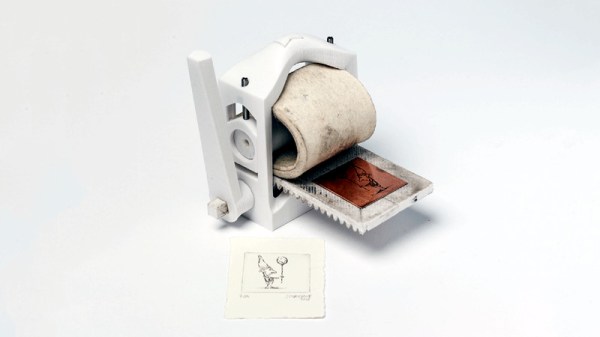
In 2024, the Braille system will have been around for 200 years. What better way to mark the occasion than with an open source project devoted to making embossing equipment affordable for the visually impaired? This long overdue cause became the plight of [ccampos7], who couldn’t find a DIY embosser kit and set out to build one himself.

While other embossers forcibly punch the letters in one go, OpenBraille takes a more gradual approach to ensure a clean impression with a rolling motion. Paper is placed between a mechanical encoder with moving pins and a dimpled roller that provides resistance and a place to land. The embossing head is driven by an Arduino Mega and a standard RAMPS board, as the rest of the system relies on Cartesian movement.

The encoder and roller.

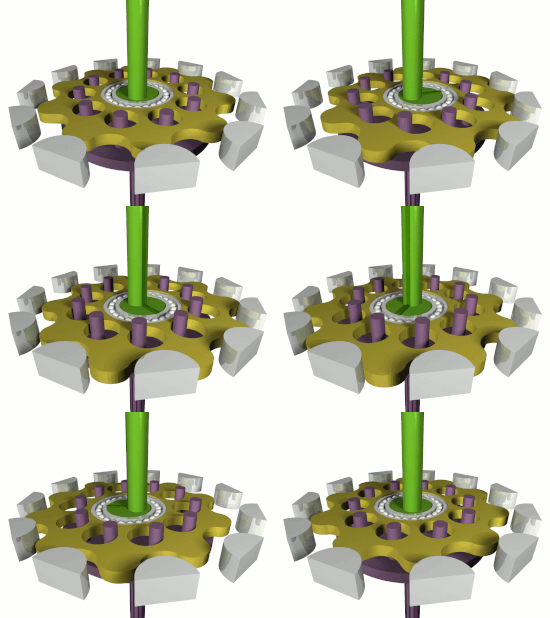
The encoder mechanism itself is pretty interesting. A micro servo drives a 3D printed wheel with three distinct tracks around half of the edge. The peaks and valleys encoded in these plastic tracks actuate the embossing pins, which are made from nails embedded through the sides of hex nuts. There’s a quick demo of the encoder movement after the break, and another video of it in action on the OpenBraille Facebook page.

[ccampos7] has all the files up on Thingiverse and plans to post the software soon. You should also check out this compact embosser that was recognized in the first round of the 2017 Hackaday Prize which is a nice all-print Braille concept. Continue reading “OpenBraille Is An Impressive DIY Embosser”

Upgrading A 3D Printer With OctoPrint

If you’ve been hanging around 3D printing communities, or reading the various 3D printing posts that have popped up here on Hackaday, you’ve almost certainly heard of OctoPrint. Created and maintained by Gina Häußge, OctoPrint allows you to turn an old computer (or more commonly a small ARM board like the Raspberry Pi or BeagleBone) into a network-accessible control panel for your 3D printer. Thanks to a thriving collection of community developed plugins, it can even control other hardware such as lights, enclosure heaters, smart plugs, or anything else you can think to hook onto the GPIO pins of your chosen ARM board. The project has become so popular that the new Prusa i3 MK3 has a header on the control board specifically for connecting a Pi Zero W running OctoPrint.

Even still, I never personally “got” OctoPrint. I was happy enough with my single printer connected to my computer and controlled directly from my slicer over USB. The majority of the things I print are of my own design, so when setting up the printer it only seemed logical that I would have it connected to the machine I’d be doing my designing on. If I’m sitting at my computer, I just need to rotate my chair to the right and I’m at my printer. What do I need to control the thing over WiFi for?

But things got tricky when I wanted to set up a second printer to help with speeding up larger projects. I couldn’t control them both from the same machine, and while I could print from SD on the second printer if I really had to, the idea seemed painfully antiquated. It would be like when Scotty tried talking into the computer’s mouse in “Voyage Home”. Whether I “got it” or not, I was about to dive headfirst into the world of OctoPrint.

Continue reading “Upgrading A 3D Printer With OctoPrint”

Remember When Scratch-Built Robots Were Hard?

Even simple robots used to require quite a bit of effort to pull together. This example shows how far we’ve come with the tools and techniques that make things move and interact. It’s a 3D printed rover controlled by the touchscreen on your phone. This achieves the most basic building block of wheeled robotics, and the process is easy on you and your pocketbook.

We just can’t stop loving the projects [Greg Zumwalt], aka[gzumwalt], is turning out. We just saw his air-powered airplane engine and now this little rover perks our ears up. The design uses the familiar trick of two powered wheels with a ball bearing to avoid problems with differential turning. But the simplicity is all in the implementation.

This bot is 3D printed using eight very simple pieces: four gears, two axles, a cap and a single tray to mount everything. The cap captures the ball bearing which pokes out a hole in the bottom of the tray to form an omnidirectional wheel. Two 9G servos modified for continuous rotation. The mating teeth of the gears are found on the wheel sections which have grooves for neoprene O-rings to provide traction. The entire thing is driven by an ESP8266 in the form of an Adafruit Feather Huzzah. This is programmed using the Arduino IDE and your phone can connect directly or through a WiFi router.

We’re not crazy, right? Robots didn’t used to be this easy to pull together? This goes for the power of 3D printing versus traditional basement fabrication methods, but in the availability of powerful yet inexpensive embedded systems and the available tools and libraries to program them. Kudos to you [Greg] for showing us how great the currently available building blocks are in the hands of anyone who wants to channel their engineering creativity. He certainly has… this chassis ultimately powers Santa’s sleigh.

Need a bigger printing challenge? Here’s a 3D printed rover that goes all-in with the suspension system.

Continue reading “Remember When Scratch-Built Robots Were Hard?”

When A Skimmer Isn’t A Skimmer

I have a confession to make: ever since the first time I read about them online, I’ve been desperate to find an ATM skimmer in the wild. It’s the same kind of morbid curiosity that keeps us from turning away from a car accident, you don’t want to be witness to anyone getting hurt, but there’s still that desire to see the potential for danger up close. While admittedly my interest is largely selfish (I already know on which shelf I would display it), there would still be tangible benefits to the community should an ATM skimmer cross my path. Obviously I would remove it from the machine and prevent others from falling prey to it, and the inevitable teardown would make interesting content for the good readers of Hackaday. It’s a win for everyone, surely fate should be on my side in this quest.

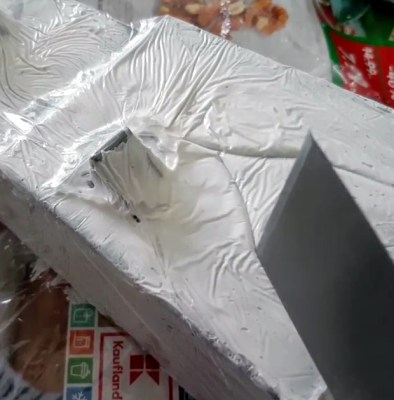
So when my fingers brushed against that unmistakable knobby feel of 3D printed plastic as I went to insert my card at a local ATM, my heart skipped a beat. After all these years, my dream had come true. Nobody should ever be so excited about potentially being a victim of fraud, but there I was, grinning like an idiot in the farmer’s market. Like any hunter I quickly snapped a picture of my quarry for posterity, and then attempted to free it from the host machine.

But things did not go as expected. I spend most of my free time writing blog posts for Hackaday, so it’s safe to say that physical strength is not an attribute I possess in great quantity, but even still it seemed odd I couldn’t get the skimmer detached. I yanked it in every direction, tried to spin it, did everything short of kicking it; but absolutely no movement. In fact, I noticed that when pulling on the skimmer the whole face plate of the ATM bulged out a bit. I realized this thing wasn’t just glued onto the machine, it must have actually been installed inside of it.

I was heartbroken to leave my prize behind, but at the very least I would be able to alert the responsible party. The contact info for the ATM’s owner was written on the machine, so I emailed them the picture as well as all the relevant information in hopes that they could come check the machine out before anyone got ripped off.

Continue reading “When A Skimmer Isn’t A Skimmer”

One String, One Print, One Harp

To exclude musical instruments in the overflowing library of possibility that 3D printing enables would be a disservice to makers and musicians everywhere. For the minds over at [Makefast Workshop], an experimental idea took shape: a single stringed harp.

The TuneFast Harp needed enough notes for a full octave, robust enough to handle the tension of the string, a single tuning mechanism and small enough to print. But how to produce multiple notes on a harp out of only one string? V-grooved bearings to the rescue! The string zig-zags around the bearings acting as endpoints that rotate as its tuned, while the rigid PLA printing filament resists deforming under tension.

After a bit of math and numerous iterations — ranging from complete reconfigurations of part placements to versions using sliding pick mechanisms using magnets! — a melodic result!

Continue reading “One String, One Print, One Harp”