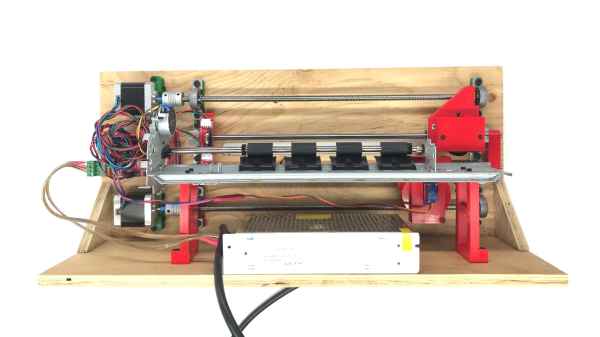
The vast majority of desktop 3D printers in use today use one or more lead screws for the Z-axis. Sometimes you need to think outside of the box to make an improvement on something. Sometimes you need to go against the grain and do something that others wouldn’t do before you can see what good will come out of it. [Mark Rehorst] had heard the arguments against using a belt drive for the Z-axis on a 3D printer build:
- The belt can stretch, causing inaccurate layer height.
- If power fails, gravity will totally ruin your day.
He decided to go for it anyway and made a belt driven Z axis for his huge printer. To deal with the power loss issue, he’s using a 30:1 reduction worm gear on the drive — keeping the bed in one place if power goes. And after a few studies, he found the belt stretch was so minimal that it has no effect on layer height.
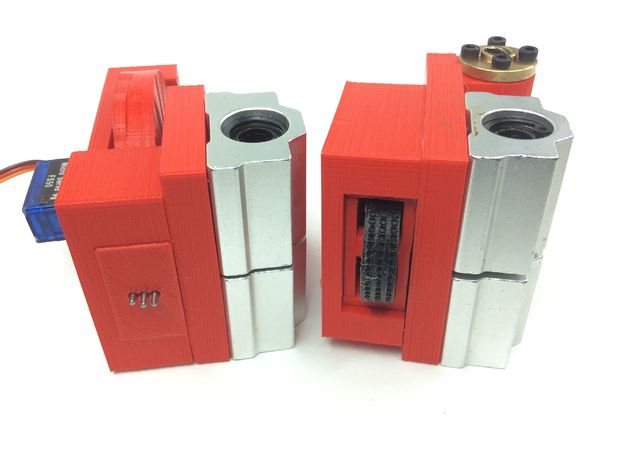
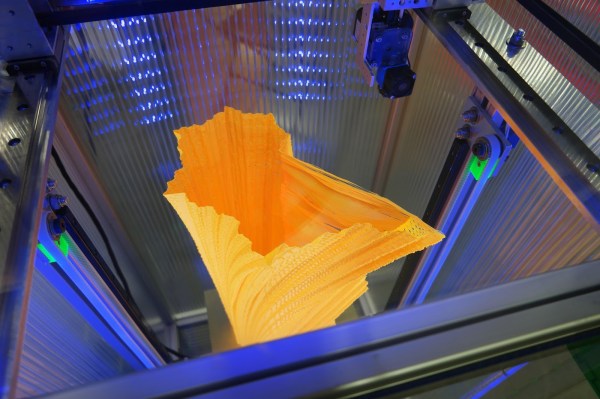
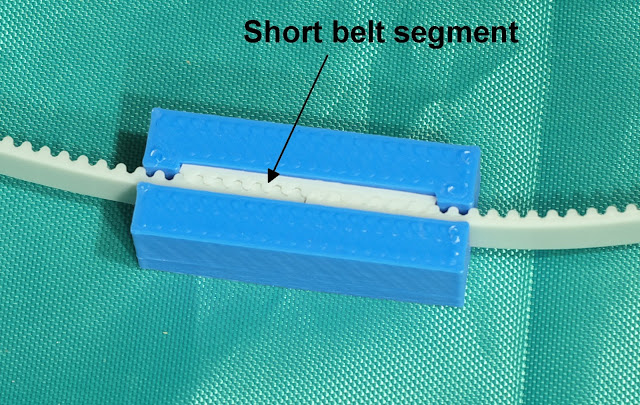 Of course those two issues are but a small portion of the overall ingenuity that [Mark] poured into this project. You’ll want to see it in action below, printing a vase that is 500 mm tall (took about 32 hours to get to 466 mm and you can see the top is a hairy wobbly at this point). Luckily we can geek out with the rest of his design considerations and test by walking through this fantastic build log from back in July. Of note is the clamp he designed to hold the belt. It uses a small scrap of the belt itself to lock together the two ends. That’s a neat trick!
The introduction of a belt driven Z-axis eliminates Z-axis wobble — an issue that can be exacerbated in tall printers. Desktop 3D printers are constantly improving, and we’re always excited to see a new trick work so well. Let us know if you’ve seen any other handy Z-axis modifications out there.
Continue reading “Huge 3D Printer Ditches Lead Screw For Belt Driven Z Axis”