Lulzbot & Lime Green Begonias

Lulzbot, or more specifically Aleph Objects, had a booth at Maker Faire this year, and unlike a lot of other 3D printer manufacturers they’re not afraid to show off what they currently have in development. The latest is code-named Begonia, although when it makes it to production it will probably be called the Lulzbot Mini. It’s a smaller version of their huge Taz 3D printer that trades build volume for a lower price.

The Lulzbot Mini will have a 6x6x6 inch build volume, heated bed, and all the other features you would expect in its larger counterpart. One interesting feature is automated nozzle cleaning and bed leveling. At the start of every print run, the nozzle runs over a small felt pad at the back of the build plate, touches off four metal washers at each corner, and recalculates the GCode for a level print. You can check out a demo of that in the video above.

Also in the works in the Lulzbot labs is a controller panel with an SD card, display, and (I think) a touch interface. Lulzbot didn’t have a demo of this, but rest assured, we’ll post something on that when it’s released. The last time we saw Lulzbot we heard of a 3D scanner project they’re working on that will turn any physical object into an .STL file, without having to mess about in Meshlab. Development on this project is stalled, but that is a very difficult problem. Can’t fault them for that.

Oh, the price for the unannounced Lulzbot Mini? Somewhere around $1300-1400.

Continue reading “Lulzbot & Lime Green Begonias”

NYC MakerFaire: A Really, Really Big Printer

https://www.youtube.com/watch?v=FtQG733dC1s

Walk in to the science center at Maker Faire this year, and the first thing you’ll see is a gargantuan assemblage of aluminum extrusion spitting out molten plastic for one of the biggest 3D prints you’ve ever seen. It’s SeeMeCNC’s PartDaddy, a 16-foot tall 3D printer with a four foot diameter build plate.

The printer doesn’t extrude filament. Instead, this printer sucks up PLA pellets and extrudes them with a modified injection mold press mounted to a delta printer frame. That’s a 4mm nozzle squirting plastic. The heater for the extruder is 110 V, and the NEMA32 motors are controlled with 72V drivers. Everything about this is huge, and it’s surprisingly fast; a single-wall vase grew by about two feet in as many hours. We have no idea how fast a solid print can be completed, although the SeeMeCNC guys will probably find out later this weekend.

SeeMeCNC also had a neat little resin printer with an impossibly clever name on display. We’ll get a post up on that later this weekend.

3&DBot Robot 3D Printer

3D Printer Gets Wheels, Leaves Trail Of Plastic Boxes

The limitation of 3D Printer build volume is over. The folks over at NEXT and LIFE Labs have created a prototype robot with a 3D print head attached to it. Unlike a traditional 3D Printer that moves the print head around within the confines of a machine, the 3&DBot drives the print head around any flat surface, extruding as it goes.

Although the 3&DBot has 4 wheels, they are all stationary and face independent directions. Normally, this arrangement would only allow a vehicle to rotate in a circle. However, the wheels used here are not conventional, they are Mecanum-style with many mini-wheels around the main. This arrangement allows omnidirectional movement of the robot, depending on how each wheel is driven. If you haven’t seen this type of movement before, it is definitely worth watching the video after the break.

Sure, the print quality leaves something to be desired and the distance the print head is from the robot chassis may be a bit limiting but all new technology has to start somewhere. This is a great joining of two technologies. Don’t scoff, remember your Iphone 12 wouldn’t be possible without this.

Continue reading “3D Printer Gets Wheels, Leaves Trail Of Plastic Boxes”

A 3D printed peristaltic pump with tubing

A 3D Printed Peristaltic Pump

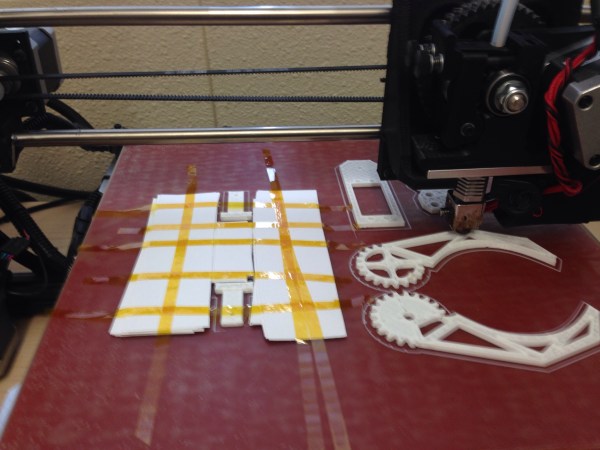
After getting access to a Lulzbot 3D printer, [Tim] designed a 3D printable peristaltic pump. The design was done in OpenSCAD, which makes it parametric and easy to modify.

Peristaltic pumps work by squeezing a length of tubing to push fluids. This mechanism is similar to how your intestines work. The pump provides an isolated fluid path, which is why they’re commonly used in medical and food grade applications. Like many products in the medical space, these pumps tend to be rather expensive. Being able to print one for your own projects could save quite a bit of cost.

The pump is based on [emmett]’s gear bearing design. One nice thing about this design is that it is printed preassembled. Pop it out of the printer, add some tubing, and you’re ready to pump fluids.

On top of the isolated fluid path, this pump gives accurate volume measurement. For that reason, we can imagine it moving booze for a robotic bartender build. After the break, a video of the pump moving some fluid.

Continue reading “A 3D Printed Peristaltic Pump”

An Electric Arc Printer For Rapid 3D Prototyping

Additive manufacturing, aka 3D printing, is able to produce wonderful and amazing objects in relatively short periods of time. Items are now being created in hours, not days, which is an extraordinary leap in technology. However, waiting for a 3D printer to complete its cycle is still a lot like watching paint dry. It takes way too long, and occasionally, time is of the essence when prototyping products for a client. Sometimes you just need it done now,…not a few hours from now.

[0n37w0] is hoping solve this problem by working on a way to ‘print’ 3D objects using arcs of electricity. We are still trying to wrap our heads around how this will work, but from the looks of it, arc printing “is done by completing an electrical current on an area of granulated metal thus heating the metal enough to form a bond to the structure being printed.

The printer is comprised of four main components (the print bed, the lifting device, the control box, and the granulated metal supply bin). The supply bin feeds granulated metal, possibly by vibration, onto the print bed. A lifting mechanism is then lowered within electrical contact and the printing begins. After each layer, the object is raised.

To find out more, check out the Hackaday.io project page.

3D Printing A Daft Punk Helmet

Thanks to the awesome people over at Adafruit, you can now print your very own Daft Punk helmet! It is designed with a hollowed out shell and translucent material which allows for colorful LEDs to be inserted into the mask, which can light up just about any room. This makes the headset great for Maker Faire, household parties, and underground EDM raves.

The epic costume was inspired by the infamous electronic music duo from France who is known for hiding their identities behind intricate and complex masks. This version, however, is perfect for the Do-It-Youself builder on a budget assuming you have access to a Taz 3D printer through your hackerspace or a friend.

The entire helmet is 3D printed as one piece using a semi-transparent PLA filament with NeoPixel strips (144 pixel per meter) laid inside. It takes about 3 days to complete the printing job (assuming no errors arise during the process). After everything is finished, glossy gold paint is applied and the polished outcome is enough to turn some heads. Plus, this mask makes a great addition to any builder’s homemade ‘trophy’ collection.

A natural next step would be to add sensors that can detect bass vibrations. This could be used to change the colors of the display based on the music that is being played nearby. We’ve seen this sort of thing before on a few Daft Punk helmet builds that are far superior to this one. Of course the difference here is that the Adafruit version can be build in a reasonable amount of time by a mere mortal. Those other examples were life commitments as far as projects go!

Don’t forget to check out the video of this one in action after the break.

Continue reading “3D Printing A Daft Punk Helmet”

3D Real-World Rig

Rigging Your 3D Models In The Real-World

Computer animation is a task both delicate and tedious, requiring the manipulation of a computer model into a series of poses over time saved as keyframes, further refined by adjusting how the computer interpolates between each frame. You need a rig (a kind of digital skeleton) to accurately control that model, and researcher [Alec Jacobson] and his team have developed a hands-on alternative to pushing pixels around.

3D Rig with Control Curves
Control curves (the blue circles) allow for easier character manipulation.

The skeletal systems of computer animated characters consists of kinematic chains—joints that sprout from a root node out to the smallest extremity. Manipulating those joints usually requires the addition of easy-to-select control curves, which simplify the way joints rotate down the chain. Control curves do some behind-the-curtain math that allows the animator to move a character by grabbing a natural end-node, such as a hand or a foot. Lifting a character’s foot to place it on chair requires manipulating one control curve: grab foot control, move foot. Without these curves, an animator’s work is usually tripled: she has to first rotate the joint where the leg meets the hip, sticking the leg straight out, then rotate the knee back down, then rotate the ankle. A nightmare.

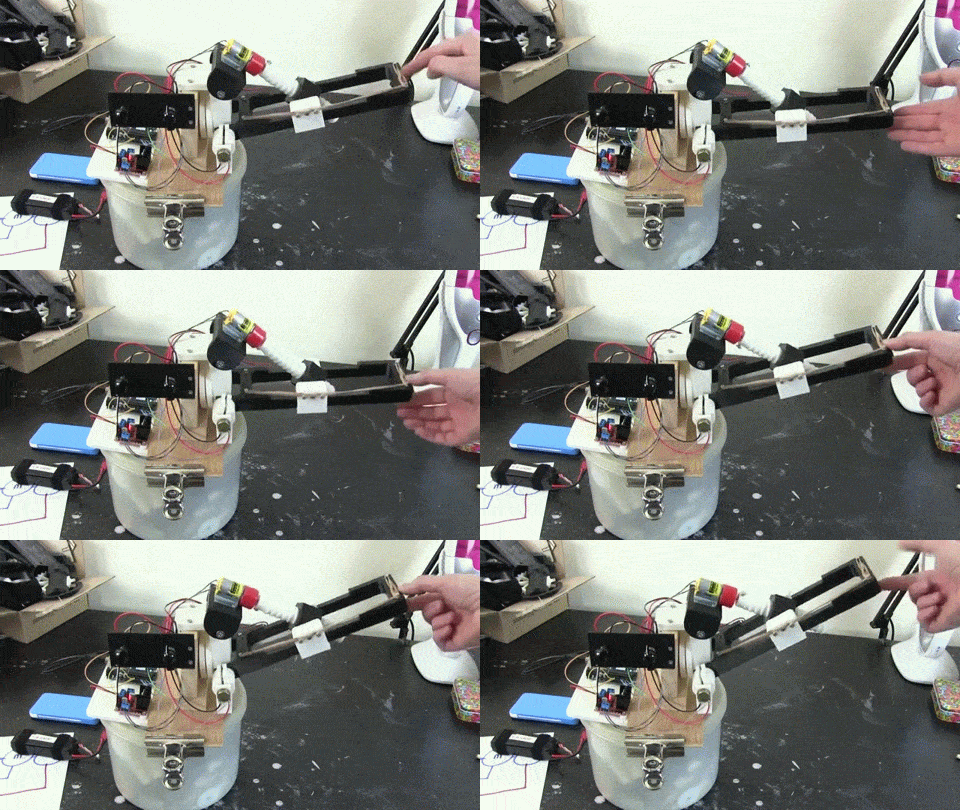
[Alec] and his team’s unique alternative is a system of interchangeable, 3D-printed mechanical pieces used to drive an on-screen character. The effect is that of digital puppetry, but with an eye toward precision. Their device consists of a central controller, joints, splitters, extensions, and endcaps. Joints connected to the controller appear in the 3D environment in real-time as they are assembled, and differences between the real-world rig and the model’s proportions can be adjusted in the software or through plastic extension pieces.

The plastic joints spin in all 3 directions (X,Y,Z), and record measurements via embedded Hall sensors and permanent magnets. Check out the accompanying article here (PDF) for specifics on the articulation device, then hang around after the break for a demonstration video.

Continue reading “Rigging Your 3D Models In The Real-World”