Here’s another heartwarming story about how 3D printers are continuing to make a real difference in the medical world. [Garrett] is just a baby whose bronchi collapse when breathing — he’s been on a ventilator for most of his life — Until now.
[Scott Hollister] is a professor of Biomedical Engineering and Mechanical Engineering, as well as being an associate professor of surgery at the University of Michigan. Between him and [Doctor Glen Green], an associate professor of Pediatric Otolaryngology, they have created a bioresorbable device that could save little [Garrett’s] life.
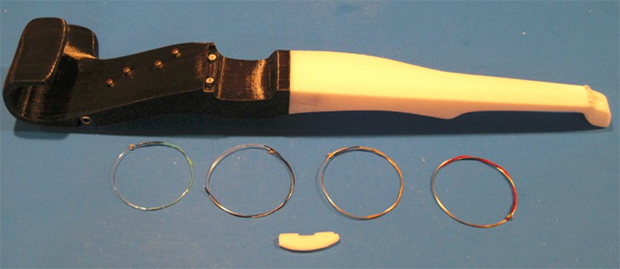
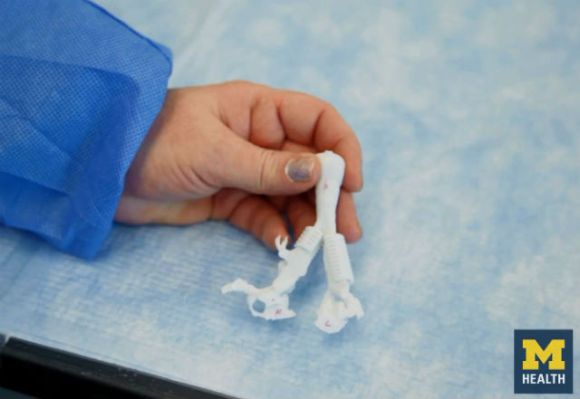
By taking CT scans of [Garrett’s] bronchi and trachea, they were able to create a 3D model and design a “splint” to help support the bronchi from collapsing during normal breathing. If all goes well, within 3 years, the splint will dissolve in his body and he will be able to breath normally for good. The material in question is a biopolymer called polycaprolactone, which they were actually granted emergency clearance from the FDA to use for [Garrett]. They used an EOS SLS based 3D printer.
The surgery was successful, and [Garrett] is now on the road to recovery. Stick around for a few videos showing of the printing process and surgery.