[Vilem] sent in a tip about a plugin he’s been working on for Blender, called Blender CAM. It allows for exporting directly from Blender to a G-code file. He has been working on it for several months, and releasing regular updates with various tweaks and improvements. While the project isn’t complete, [Vilem] has made some very impressive progress. It currently supports 2D and 3D strategies, various cutter types, simulation of 3D operations, and even automatic bridges.
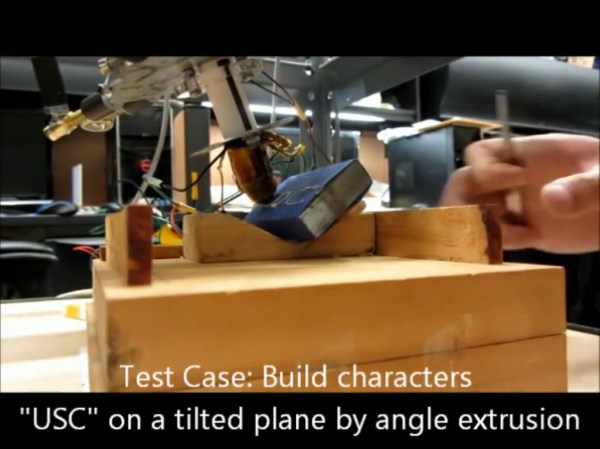
The image above was made using the plugin, and it shows the level of detail possible. We can’t wait to see the 4 and 5-axis support that he is planning on adding.
A basic tutorial video is embedded after the break. As with anything Blender-related, it isn’t incredibly automatic, but another free tool is definitely a good thing. It looks like [Vilem] is looking for some other developers who could help out. If you have the knowledge, you might consider contributing.


 There are many more materials deserving of being 3D printed, though: wax for lost wax castings, other foodstuffs for improbably shaped edibles, and ceramics so I can finally print a life-sized, functional version of the