From the German Hackerspace Ffm comes this extremely robust DIY disc autoloader (translated)! We hope your German isn’t too rusty…
[David] was tired of copying his CD collection by hand, so he set out to make an open source DIY disc autoloader. His first prototype was this one, which we have to admit gets style points (it made use of a gaming PC tower as the enclosure).
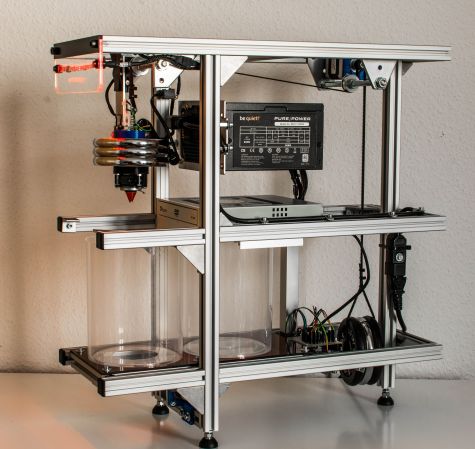
One of his goals for the project was simplicity, and with that in mind he created a driverless solution, using mechanical actuators to do everything — all you have to do is plug in your computer to the drive. It makes use of a gripper taken from a notebook optical drive and a series of counterweights to pick up and deposit the disks. The frame is made of aluminum extrusion and the major functional brackets are all 3D printed.
To see it in action, stick around after the break. We personally like the use of the counterweight pulley in the back!