DIY High Flow 3D Printing Nozzle

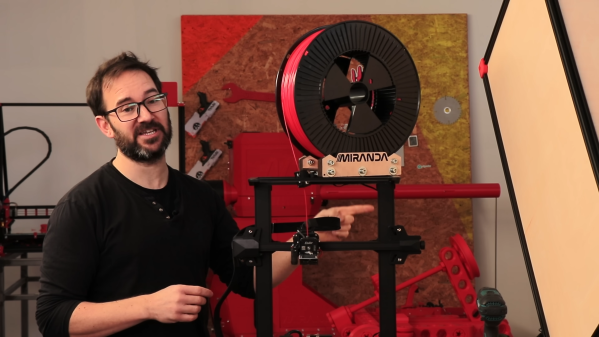
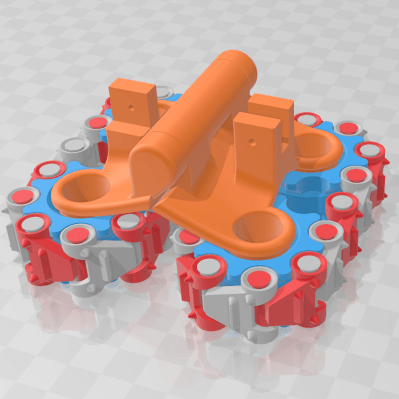
Sometimes advances happen when someone realizes that a common sense approach isn’t the optimal one. Take radio. Success in radio requires bigger antennas and more power, right? But cell phones exist because someone realized you could cram more people on a frequency if you use less power and smaller antennas to limit the range of each base station. With FDM 3D printing, smaller nozzles were all the rage for a while because they offer the possibility of finer detail. However, these days if you want fine detail you should be using resin-based printers and larger nozzles offer faster print times and stronger parts. The Volcano hotend started this trend but there are other options now. [Stefan] over at CNC Kitchen decided to make his own high flow nozzle and he claims it is better than other options.

Don’t get too carried away with the DIY part. As you can see in the video below, he starts with a standard nozzle, so it is really a nozzle conversion or hack. The problem with high flow isn’t the hole in the nozzle. It is melting the plastic fast enough. The faster the plastic moves through the nozzle, the less time there is for it to melt.

Continue reading “DIY High Flow 3D Printing Nozzle”

Polymer Discovery Gives 3D-printed Sand Super Strength

Research activity into 3D printing never seems to end, with an almost constant stream of new techniques and improvements upon old ones hitting the news practically daily. This time, the focus is on a technique we’ve not covered so much, namely binder jetting additive manufacturing (BJAM for short, catchy huh?) Specifically the team from Oak Ridge National Laboratory, who have been exploring the use of so-called hyperbranched Polyethyleneimine (PEI) as a binder for jetting onto plain old foundry silica sand (nature, free access.)

Roll, spray, bake. Simples.

The PEI binder was mixed with a 75:25 mix of water and 1-propanol (not to be mixed up with 2-propanol aka isopropanol) to get the correct viscosity for jetting with a piezoelectric print head and the correct surface tension to allow adequate powder bed penetration, giving optimal binding efficiency. The team reported a two-fold increase in strength over previous jetting techniques, however, the real news is what they did next; by infusing the printed part (known as the green part) with common old ethyl cyanoacrylate (ECA, or super glue to us) the structural strength of the print increased a further eight times due to the reaction between the binder and the ECA infiltrate.

To further bestow the virtues of the PEI binder/ECA mix, it turns out to be water-soluble, at least for a couple of days, so can be used to make complex form washout tooling — internal supports that can be washed away. After a few days, the curing process is complete, resulting in a structure that is reportedly stronger than concrete.  Reinforce this with carbon fiber, and boy do you have a tough building material!

Not bad for some pretty common materials and a simple printing process.

We covered a similar binder jetting process for using sawdust a little while ago, and a neat way of printing with metal powder by carrying it in a stream of argon and cooking it with a laser, but there is an opening for a DIY effort to get in on the binder jetting game.

Thanks [Victor] for the tip!

Cheap Big Servo For Robot Arm

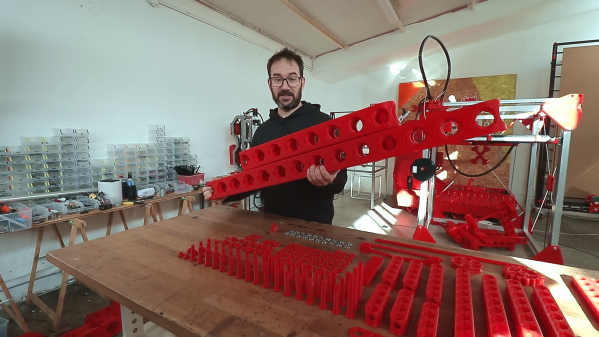
[Skyentific] is looking to push the hobbyist robotics state of the art. Motors and their gears, the actuators, are typically the most expensive part. For his build, he realised he needed big servos capable of delivering plenty of torque. Thus, he set about creating a 3D-printed design to get the job done on a budget. (Video, embedded below.)

Stepper motors are the order of the day here, chosen for their low cost compared to brushless solutions, particularly when taking control hardware into account. In this design, the stepper motor drives a sun gear as part of a bigger planetary gearbox with a high gear ratio. Cross-roller bearings are used to allow the servo to effectively handle both radial and axial loads. The servo as a whole is designed to fit neatly into the joints of the robot arm itself, and has external mounting points provisioned as such.

It’s a neat servo that somewhat apes those used on full-sized industrial designs, at least in the sense of being an integrated part of the joints of a robot arm. It also comes in at a relatively-cheap $32 based on the materials used by [Skyentific].

We’ve seen some related work from [Skyentific] before, too – like this interesting cable-driven joint. Video after the break.

Continue reading “Cheap Big Servo For Robot Arm”

Trying And (Mostly) Failing To 3D Print A Hydrofoil

[Sam Barker] had a boring dingy that he wanted to spice up a bit, so he resolved to 3D print a hydrofoil wing for it so that it could fly across the water. (Video, embedded below.)

With a large wing designed and sliced into several pieces, and a total print time of 200 hours, [Sam] was ready to glue the foil wing together when he realized his scale was way off and the wings were far too large for his boat. With some hacking, [Sam] was able to use a single wing across the bottom of the ship. [Tom Stanton] came over to help with fiberglassing, and they were ready for a test.

As you might have guessed from the title, the test wasn’t particularly successful. Swapping the engine on the boat for a more potent motor gave the lift he needed in the front, but without a back foil, it was a wheelie rather than what [Sam] hoped for. Back at home, they printed a second wing and went back for a second test. The boat would start to lift out the water, but the shaft of the engine lifted out of the water, sending him back down. Unfortunately, a downpour cut the test short.

Not to be defeated entirely, [Sam] connected it to a much larger boat once the weather cleared and pulled his dingy along behind. To [Sam’s] credit, they did get some solid foiling, and the ship did lift out of the water until the wings sheared off from the stress. All in all, an entertaining story of engineering while racing against the weather.

We admire [Sam’s] ambition, and if you’re thinking about building a whole hydrofoil, we suggest starting with a smaller RC model and scaling up from there.

Faster IPA Recycling For Your Resin Print Workflow

If you’ve printed with photopolymer resins, you know that you need alcohol. Lots of alcohol. It makes sense that people would like to reuse the alcohol both to be environmentally responsible and to save a little money. The problem is that the alcohol eventually becomes so dirty that you have to do something. Given time, the polymer residue will settle to the bottom and you can easily pour off most of the clean liquid. You can also use filters with some success. But [Makers Mashup] had a different idea. Borrowing inspiration from water treatment plants, he found a chemical that will hasten the settling process. You can see a video of his process below.

The experimentation started with fish tank clarifier, which is — apparently — mostly alum. Alum’s been used to treat wastewater for a long time. Even the ancient Romans used it for that purpose in the first century. Alum causes coagulation and flocculation so that particles in the water wind up sinking to the bottom.

Continue reading “Faster IPA Recycling For Your Resin Print Workflow”

Most FDM Printers Are Also Filament Dryers (with A Little Help)

If you’ve printed with an FDM printer, you probably know there are many interrelated factors to getting a good print. One key item is the dryness of the filament. When you first crack your plastic open, it should be dry. Most filament is packed in a sealed bag with desiccant in it. But if you have the filament out for a while, it soaks up moisture from the air and that causes lots of problems. [Design Prototype Test] has built and bought filament dryers before, but now he would like to point out that every FDM printer with a heated bed can act as a filament dryer. You can see the details in the video below.

It turns out that the idea isn’t original, but it doesn’t seem to be one that has caught on. What the video shows though, is to take the idea and run with it. A 3D printed support sits on the bed and accepts a cheap PC fan. The whole affair gets boxed up with cardboard and can dry the filament.

Continue reading “Most FDM Printers Are Also Filament Dryers (with A Little Help)”

Streamline Your SMD Assembly Process With 3D-Printed Jigs

Your brand-new PCBs just showed up, and this time you even remembered to order a stencil. You lay the stencil on one of the boards, hold it down with one hand, and use the other to wipe some solder paste across…. and the stencil shifts, making a mess and smearing paste across the board. Wash, rinse (with some IPA, of course), repeat, and hope it’ll work better on the next try.

openscad window
A PCB jig generated by OpenSCAD

Maybe it’s time to try Stencilframer, a 3D-printable jig generator created by [Igor]. This incredibly useful tool takes either a set of gerbers or a KiCad PCB file and generates 3D models of a jig and a frame to securely hold the board and associated stencil. The tool itself is a Python script that uses OpenSCAD for all 3D geometry generation. From there, it’s a simple matter to throw the jig and frame models on a 3D printer and voilà!– perfectly-aligned stencils, every time.

This is a seriously brilliant script. Anyone whose gone through the frustration of trying to align a stencil by hand should be jumping at the opportunity to try this out on their next build. It could even be paired with an Open Reflow hot plate for a fully open-source PCB assembly workflow.

Continue reading “Streamline Your SMD Assembly Process With 3D-Printed Jigs”