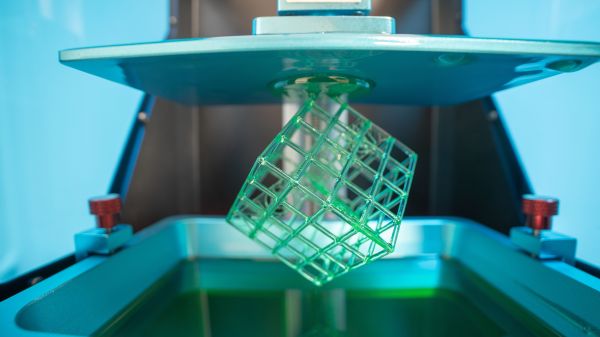
Have an old Android device collecting dust somewhere that you’d like to put to better use? [Electronoobs] shows us how to make a Masked Stereolithography Apparatus (MSLA) printer for cheap using screens salvaged from old Android phones or tablets.
[Electronoobs] wanted to revisit his earlier printer with all the benefits of hindsight, and this is the result. The tricky bit, which is covered in depth in the video below the break, is slicing up the model into graphics for each layer, so that these layers can be rendered by the LCD for each layer during the print.
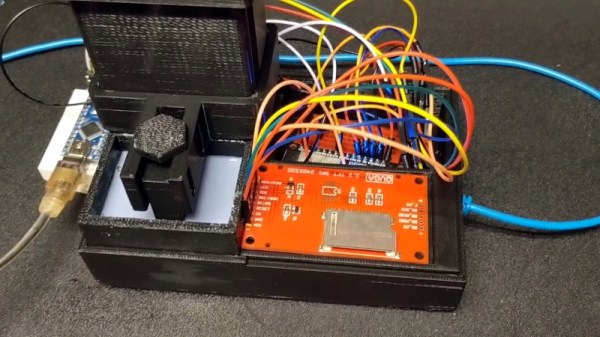
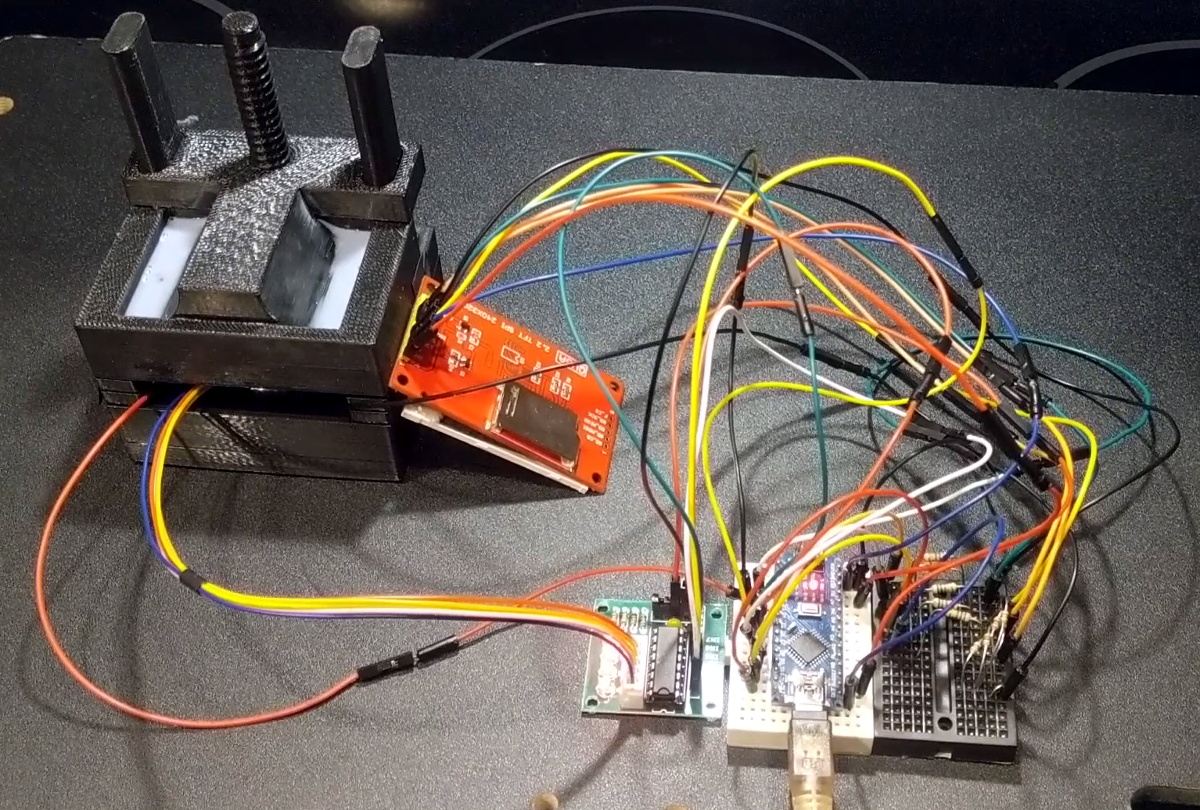
The next tricky bit, once your layer graphics are in hand, is getting them to the device. This build does that by installing a custom Android app which connects to a web app hosted on the ESP32 microcontroller controlling the print, and the app has a backchannel via a USB OTG adapter installed in the device. [Electronoobs] notes that there are different and potentially better ways by which this full-duplex communication can be achieved, but he is happy to have something that works.
If you’re interested in resin printer tech, be sure to check out Continuous Printing On LCD Resin Printer: No More Wasted Time On Peeling? Is It Possible? and Resin Printer Temperature Mods And Continuous IPA Filtration.