[Pariprohus] wanted to make an interesting gift for his girlfriend. Knowing how daunting it can be to make your own tea, he decided to build a little robot to help out. His automated tea maker is quite simple, but effective.
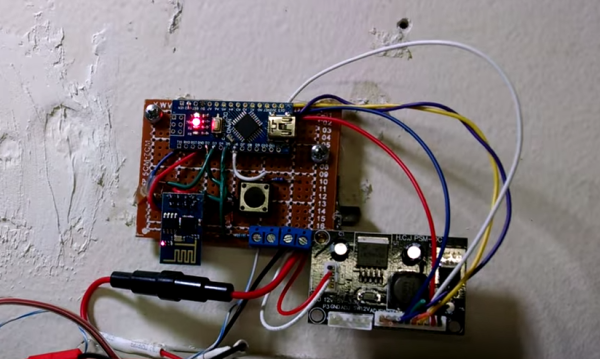
The device runs off of an Arduino Nano. The Nano is hooked up to a servo, a piezo speaker, an LED, and a switch. When the switch is turned to the off position, the servo rotates into the “folded” position. This moves the steeping arm into a position that makes the device easier to store and transport.
When the device is turned on to the “ready” position, the arm will extend outward and stay still. This gives you time to attach the tea bag to the arm and place the mug of hot water underneath. Finally the switch can be placed into “brew” mode. In this mode, the bag is lowered into the hot water and held for approximately five minutes. Each minute the bag is raised and lowered to stir the water around.
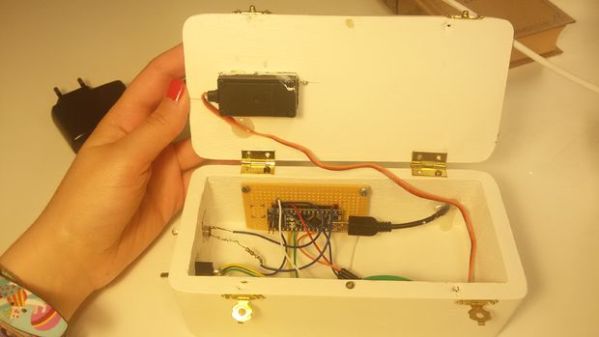
Once the cycle completes, the Nano plays a musical tune from the piezo speaker to remind you to drink your freshly made tea. All of the parameters including the music can be modified in the Nano’s source code. All of the components are housed in a small wooden box painted white. Check out the video below to see it in action. Continue reading “Automated Tea Maker”
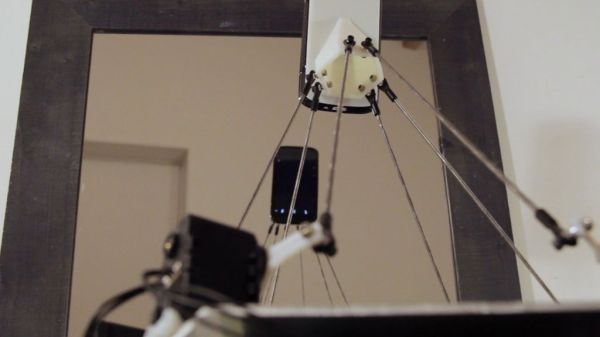
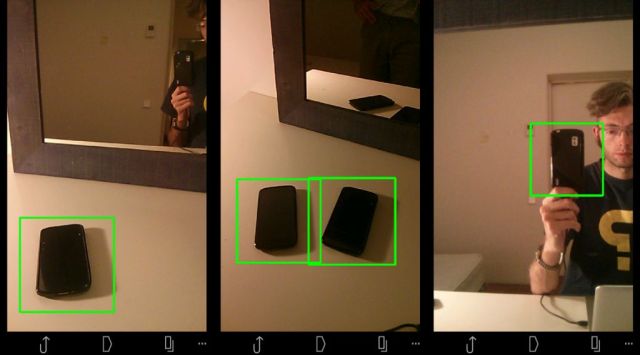 Hardware-wise, the #selfie bot is a Stewart platform made from six servo motors and a few pieces of carefully measured pushrod connected with swivel-ball-links. An android phone is mounted on the end effector which acts functionally as the robot’s face and eyes. To make it self-aware in a sense, [Ajna] and [Hersan] created their own recognition software with Open CV using a collection of sample images of various phones as reference points. As soon as the robot recognizes itself in the mirror as indicated by specific words flashing on its screen, it takes a picture, immediately uploading it to its own