If you’ve been hanging out here at Hackaday for awhile, you’ve certainly seen projects that were based around the concept of putting a miniature computer inside the carcass of some other piece of electronics. In fact at this point it’s something of a running joke, certainly we must have seen an Arduino or Raspberry Pi shoehorned into every type of consumer gadget ever built by this point. But if you thought this would be another example of that common trope by the headline, you might be in for something of a surprise.
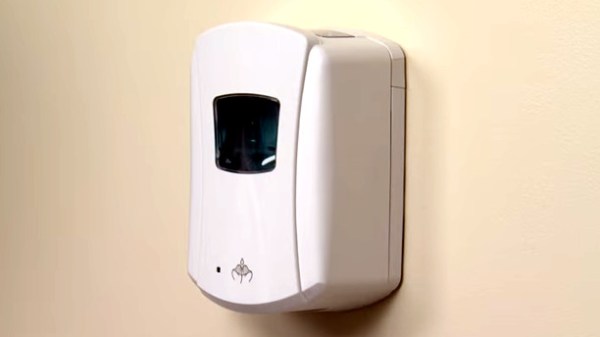
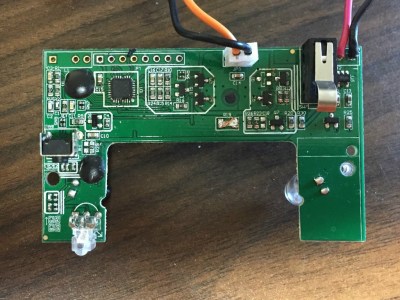 [zapta] didn’t put an Arduino inside this GOJO LTX-7 soap dispenser, it was already in there to begin with. That’s right, apparently we’ve hit the point that even cheap soap dispensers are now running on programmable microcontrollers. While we can’t blame those of you who are no doubt groaning and/or rolling their eyes thanks to this particular case of computational gluttony, it does mean we’re able to report with a straight face something which frankly would have passed as an April Fool’s joke in previous years: the development of an open source soap dispensing firmware.
So how does one upload a new Arduino sketch to their GOJO soap dispenser? It’s not like the thing has a USB port on the side for convenient hacking. As explained by [zapta], it involves stripping the dispenser all the way down until the electronics board is free, and then adding in a programming header to make subsequent firmware fiddling a bit easier. Writing a new firmware to the ATTiny48 powered board will require an external ISP (the Atmel AVRISP MKII was used for this hack, though any should work), but it’s otherwise pretty painless.
[zapta] has done an excellent job documenting the different components on the board, and reverse engineered enough of the critical aspects (such as the motor controller and proximity sensor) to write a new open source firmware which can be flashed to the GOJO LTX-7. Beyond allowing you to “Open Source All the Things”, using this new firmware does have some practical advantage in that you can configure how much soap is dispensed per activation. Going further, we’d be exceptionally interested in hearing about anyone who manages to come up with a firmware that enables some hitherto impossible soap dispensing trickery.
We’ve seen hacks involving dispensers of all types, from Halloween games that spit out candy to gadgets which let dogs get their own treats, but a soap dispenser hack is something truly new for us. More proof that there’s still plenty of hardware out there just waiting to be hacked!

