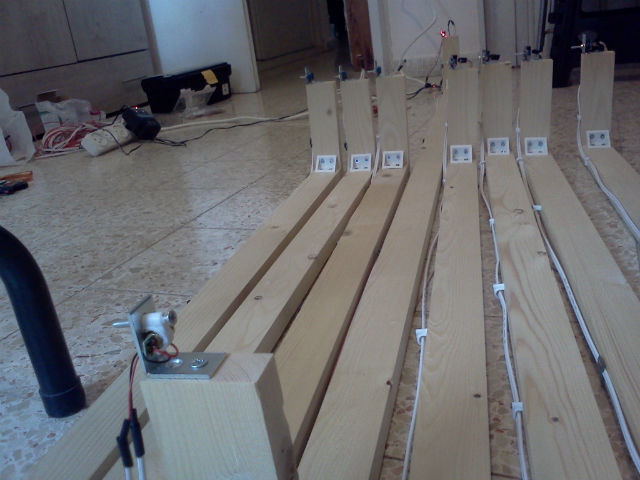
Looking for a way to entertain friends and family this holiday season? Look no further than the Arduino-powered Photocell Piano. [Asahillis] has posted this Instructable for building a 6-note musical command center.
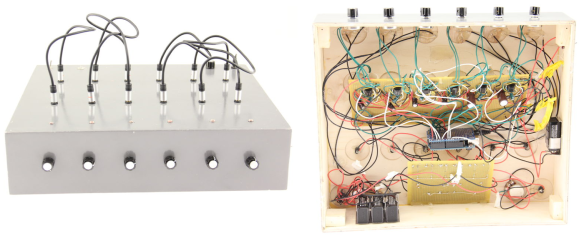
The piano uses photoresistors to turn each note on when the player runs their hand over it. Notes can be tuned independently using potentiometers on the front of the box. The hack uses two circuits: one to generate the tones, and a second to mix them. [Asahillis] adapted [Forest Mims III]’s timeless schematics for the 555 Tone Maker and the 741 Audio Mixer to create his Photocell Piano.
When the instrument is powered on, the code takes a 5-second reading of the ambient light, and sets a threshold based on its findings. Afterward, the first note will sound, indicating the piano is ready to be played. Each note has its own if-else statement that tells it to sound when its corresponding photoresistor reaches a value below the set threshold (when the player casts a shadow). There’s a demo video included in the guide but we couldn’t embed it here. Check out the demo video after the break.
If you prefer to rock out with your lights out, there’s always this impressive laser harp.