You would think Hackaday would see more projects from public art exhibitions. They really do have everything – the possibility to mount electronics to just about anything in a way that performs interesting but an ultimately useless function. So far, though, [Richard Schwartz’s] Flow of Time is on the top of a very short list of public art installations we like.
The idea behind the build is a German phrase that means something similar to ‘time trickles away’. [Richard]’s project implements this by printing the current time onto the surface of a flowing river in [Richard]’s native Innsbruck.
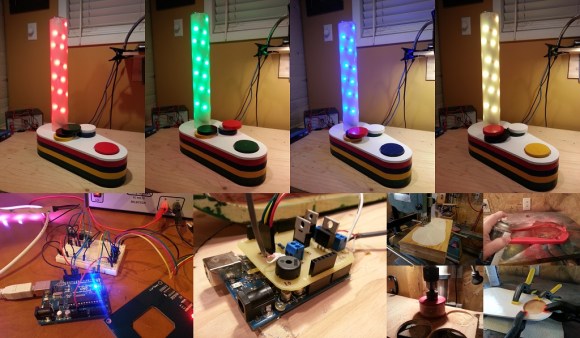
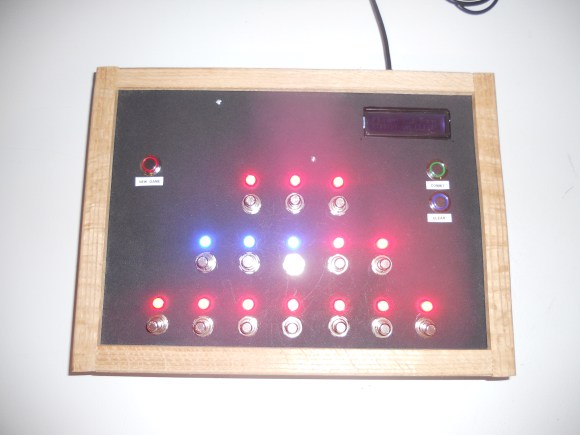
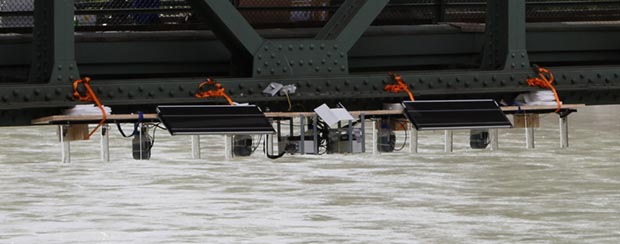
The build uses five micro piezo pumps to dispense food coloring from a bridge. Every minute, an Arduino pumps this food coloring in a 5×7 pixel digit to ‘write’ the time onto the surface of a river.
Surprisingly, [Richard]’s installation doesn’t require much upkeep. The pumps only use about 70ml of food coloring a day, and the entire device – including the Raspi WiFi webcam – is solar powered with a battery backup.
You can see a video of the time printing on a river below.