The Firebird32, A New Dev Board On The Block

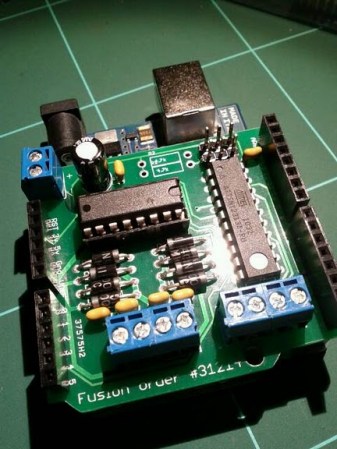
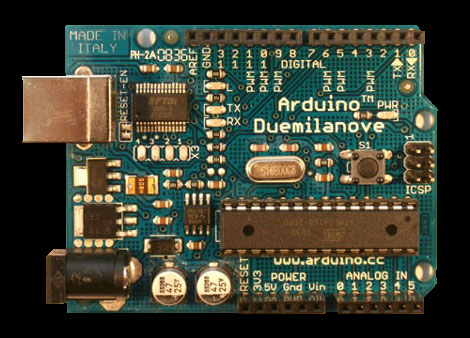
Here is yet another development board to add to your list (If you are into keeping lists), introducing the Firebird32. There seems to be no end to the production of new development boards, following the current style the Firebird32 comes in the familiar Arduino form factor to fit all of your Arduino shields.

The Firebird32 from [Wytec] is build around the 32bit Freescale Flexis MCU [MCF51JM128] running the Coldfire V1 core commonly found in industrial and medical equipment. We were kindly donated a board before release, the first thing that we noticed was  the onboard 8×2 segment LCD which makes the perfect debuging tool. The board along with fitting standard Arduino shields has extra input headers for a keypad, an accelerometer and an extra communication header (IC2/SPI/SCI). It’s also sporting 8 x 12bit analogue inputs, external 32k EEPROM, an RGB LED, a buzzer and an extra push button. The Flexis chip along with the beefy 32bit processor can run at a clock rate up to 48Mhz using PLL and has an integrated USB port, all of this for under $30.

Continue reading “The Firebird32, A New Dev Board On The Block”

Beefy Rover Looks Like Tons Of Fun

mantis_six_wheeled_remote_control_robot

[Eric] and the crew over at The Tech Junkies, just put the finishing touches on a pretty powerful robot that they call “Mantis”.

The six wheel, chain-driven robot is pretty impressive at first glance. The robot is centered around a Netduino, which controls four 60 amp speed controllers. The speed controllers are tasked with driving four beefy CIM motors, which propel the robot along at a pretty decent tick.

For the project, the team designed their own controller application called IPGamepad, which allows the robot to be controlled by any Android device. The interface is pretty simple as you can see in the video below, making it quite easy to control the bot.

While the Mantis was not a cheap production by any means, it does look like a ton of fun to drive. The crew will be taking this robot along with 2 others out to Maker Faire Detroit, so be sure to swing by and say hello if you’re in the area.

Continue reading “Beefy Rover Looks Like Tons Of Fun”

Demystifying PID Control With A Look At The New Arduino PID Library

We’ve been hiding away in air-conditioned comfort to wait out the hot weather afflicting most of the US right now. Luckily we’re keeping busy with the great links coming into our tips box.

[Brett] sent us a note about his work on the new Arduino PID library. He is the author of the original library and recently decided it was time for a ground-up rewrite. But along the way he took the time to explain PID control and the choices he made during development.

We see a lot of PID controllers around here, like this router based espresso machine add-on. Proportional-Integral-Derivative Controllers are a way to make sure the control you intended to get from your devices is actually achieved in practice. They monitor a process and accumulate results over time in order to account for future events. From what we’ve just described you can see why the subject needs to be demystified.

Get yourself elbow-deep into [Brett’s] article. He does a great job of discussing each issue, and uses a multitude of easily understandable graphs to show the hurdles each portion of code is meant to overcome.

Controlling An Infuriating Game With An Accelerometer

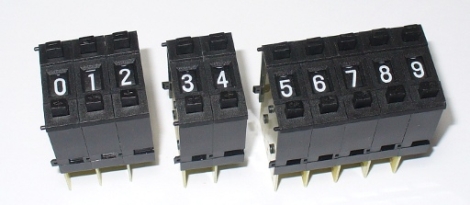
[Daniel] just made a motion controlled game controller to go with his infuriating game. Thankfully, [Daniel] posted the source for this game so first time players already know the level select codes.

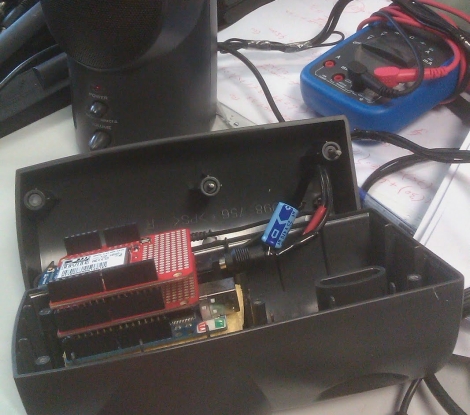
The controller is based on an Arduino Uno with what looks to be a Sparkfun 2-axis accelerometer providing the tilt sensing. A similarly sourced half-inch force sensitive resistor and temperature sensor control the ‘jump pads’ in the game. A small vibrating pager motor strapped onto the controller as a rumble pack.

Continue reading “Controlling An Infuriating Game With An Accelerometer”

Klout Klok Tracks Your Popularity, Time

[Fabien Royer] has been playing around with Netduinos and he just came up with a really awesome project that will display the time and social media popularity. It’s a very nice build, and we’d guess that his social media influence is going to go up very shortly.

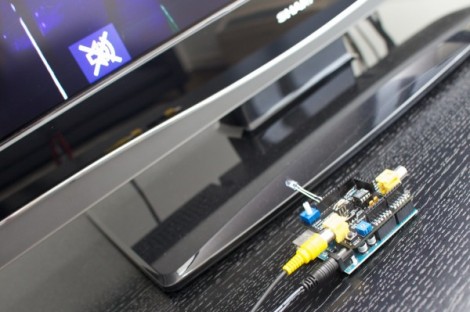
Klout is a service that connects to your Facebook or Twitter profile and tells you how much influence you have on a scale of 1 to 100 (possibly 10 to 100. see this). To build the Klout Klock [Fabian] used a Netduino Plus, a good choice because of the integrated ethernet port. The Netduino connects to the Klout API to either satiate vanity or admit prestige. The display is an adafruit TFT screen.

Continue reading “Klout Klok Tracks Your Popularity, Time”

Roomba Used To Map Indoor Air Quality

roomba_based_air_quality_tester

The next time you set off for a long day in the coal mines, forget the canary – bring your Roomba along instead!

While we are pretty sure that canaries are no longer used in the mining industry, this Roomba hack could make a suitable replacement if they were. A team from the Public Laboratory for Open Technology and Science (PLOTS) recently showed off a Roomba which they modified to test an area’s air quality. Using an Arduino and a volatile organic chemical (VOC) detecting air quality sensor, the Roomba goes about its normal business, lighting an LED any time it encounters overly contaminated air. When captured via a long exposure image, the process creates a “bad air” map of sorts, with the polluted areas highlighted by the glow of the LED.

While the Roomba currently only detects VOCs, the team plans on adding additional sensors in the near future to expand its functionality. The Roomba is merely a proof of concept at the moment, but we imagine that similar technology will be adapted for use in unmanned explorations of chemically hostile environments, if that hasn’t happened already.

[via DVice] [Image via TechnologyReview]

Output Up To 768 PWM Signals From One Arduino

Here’s an Arduino library that will let you drive a very large number of LEDs. [Elco Jacobs], an electrical engineering student, is the author of the library. He has a work-study job that has him helping out others with their electrical projects and he was constantly being solicited for methods to control droves of light emitting diodes. This was the motivation that led him to produce the dazzling 16 RGB LED example seen in the video after the break.

His setup doesn’t use expensive LED drivers, but instead utilizes 595 shift registers which are both common and cheap. He calculates that it is possible to control up to 96 of these shift registers, each driving 8 LEDs, with reasonably satisfying results. This is thanks to his well-optimized code that manages to drive the clock pin of the registers at 1.33 MHz. This optimization is done by writing each command in assembly, which allows him to precisely count the cycles. Each individual pin takes 12-13 cycles to address, totally 9984 cycles at worst when addressing the maximum number of outputs.

[Elco] thinks this is as fast as he can make the routine run, but he is asking for help with testing. If you think you know how to squeeze out a few more cycles, make sure you join in on his forum thread.

Continue reading “Output Up To 768 PWM Signals From One Arduino”