Traditionally, the useless machine is a simple one that invites passersby to switch it on. When they do, the machine somehow, some way, turns itself off; usually with a finger or finger-like object that comes out from the box in what feels like an annoyed fashion. Honestly, that’s probably part of what drives people to turn them on over and over again.
 But [Bart Blankendaal] has managed to turn the useless machine on its head. When this machine is switched to the on position, unseen forces inside the box will spin the toggle switch around 180° to the off position.
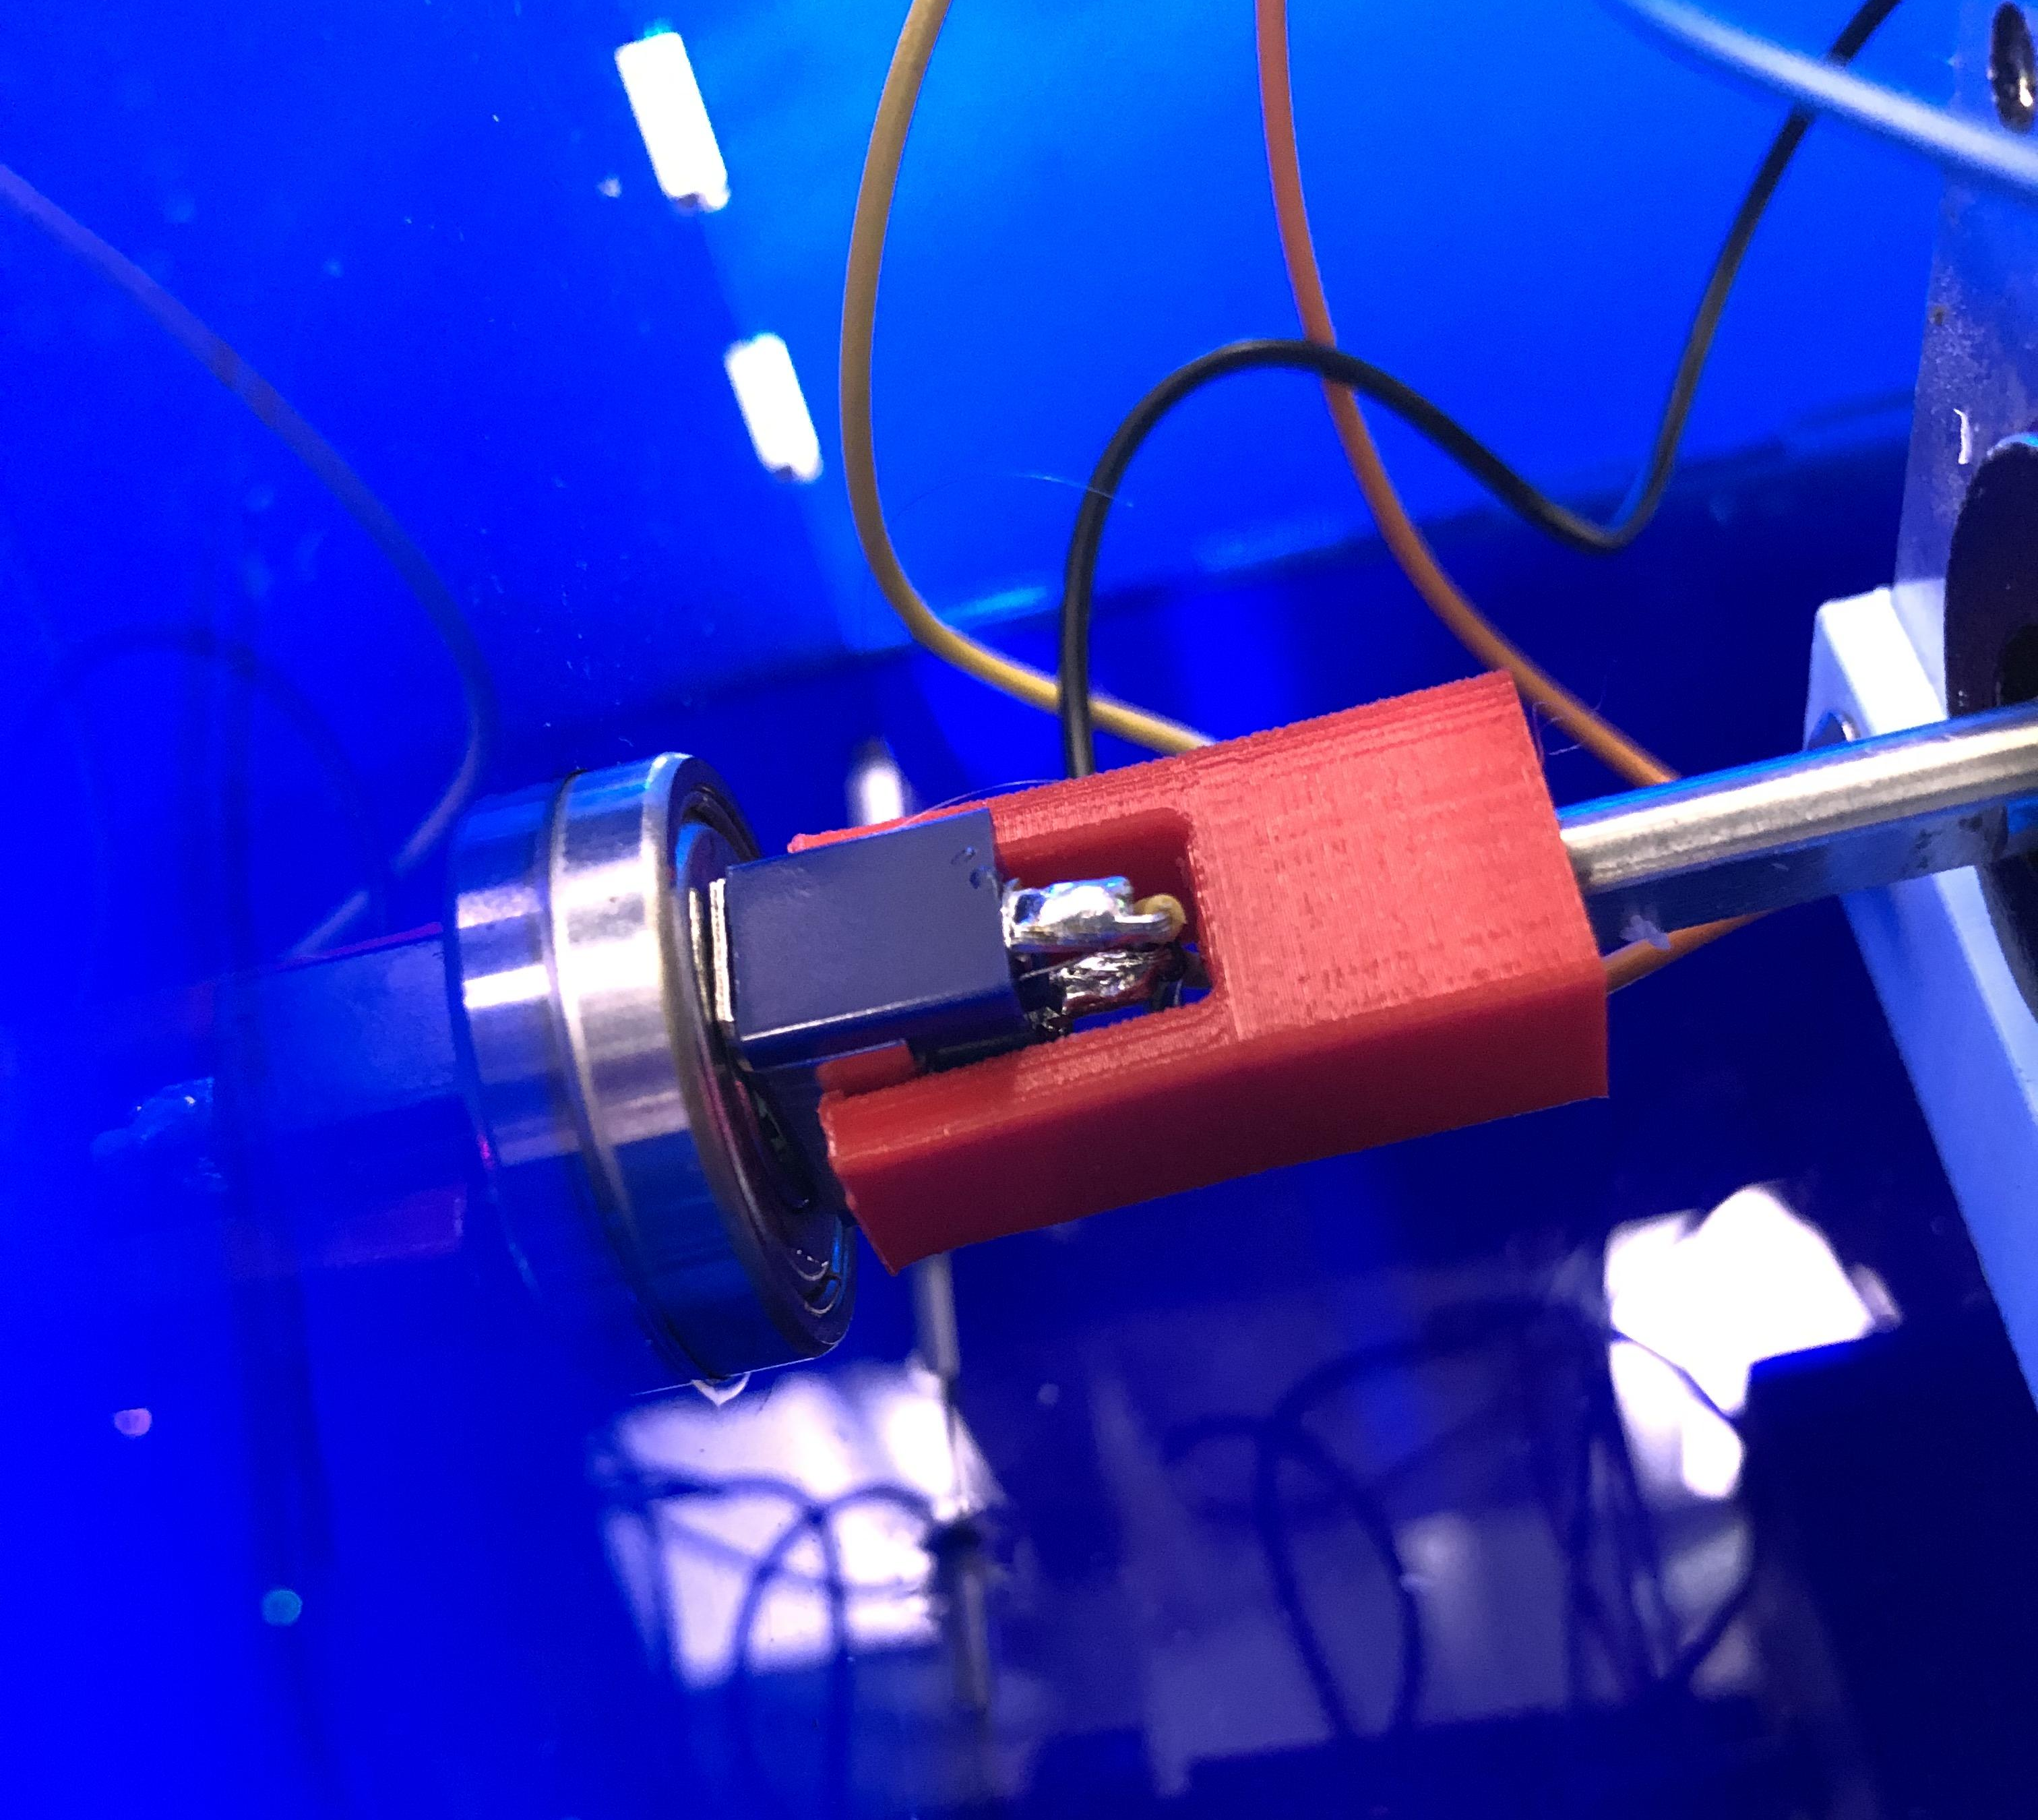
What’s really happening is that an Arduino is getting a signal from the toggle switch, and is then rotating it on a ball bearing with a stepper motor driven through an H-bridge.
It shouldn’t be too hard to make one of these yourself, given that [Bart] has provided the schematic and STLs. If we weren’t living in such touchy times, we might suggest building one of these into your Halloween candy distribution scheme somehow. Sell the switch as one that turns on a candy dispenser, and then actually dispense it after three or five tries.
Many see useless machines as tangible examples of existential quandary. Here is one that takes that sentiment a bit further by snuffing out a candle.