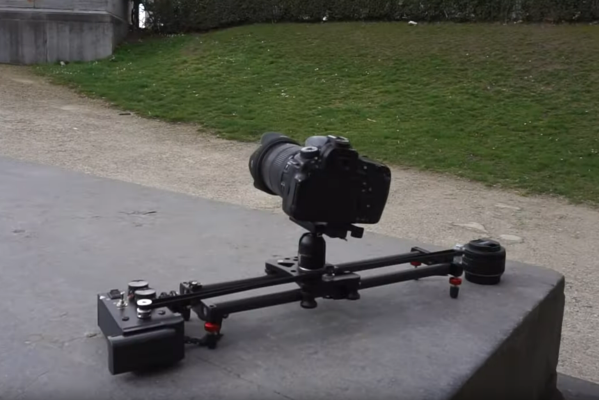
There’s a great reason 3D printers are made with things like extruded aluminum rails and other commodity, off-the-shelf parts. These things are designed not only for ease of construction and prototyping, but they’re also fairly strong especially given how modular they are. And they are excellent platforms for other projects as well. [CNCDan] has been using plenty of on-hand 3D printer parts to build a three-axis camera slider to film parts of his other projects, and this video documents his build and the latest upgrades to this platform.
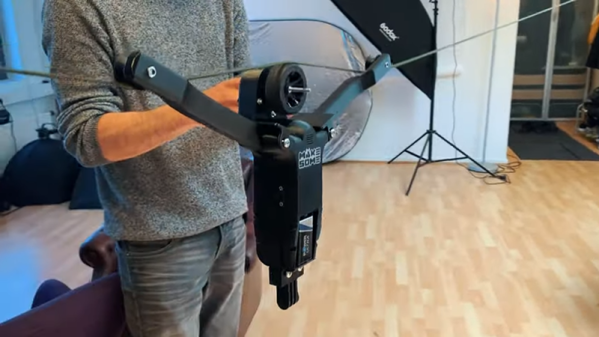
After sorting out some issues with underpowered motors by improving their gear ratios, he found that many of the sizes and clearances on the existing platform changed enough that he needed to redo other parts of the carrier, including the mounting plate. He cut a new plate from steel and pressed bearings in, and then started putting together the other axes including a quick release mechanism for his camera. With a camera that weighs about 1.4 kg, getting the motors to move the camera smoothly was its own challenge. He re-worked all of his driver code over the course of a few weeks and eventually got his new system working much better than the original version.
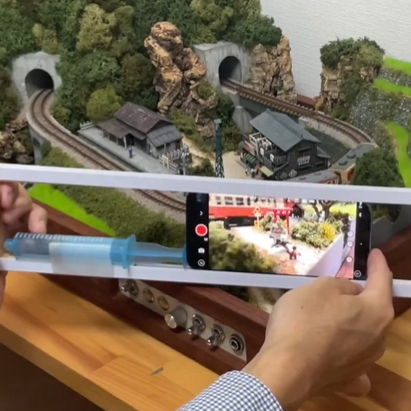
With everything said and done, the camera slider can be controlled wirelessly with a GUI on another computer. Everything runs on an ESP32, and the slider can support other cameras besides his heavier one, including smartphones. He notes that this wasn’t the easiest way to build a project like this, but worked for him eventually because he had the parts and tools on hand to make it work. He’s also put the project files up on a GitHub page for anyone interested. Camera sliders like these have some niche uses as well; take a look at this high-speed camera slider for some examples.
Continue reading “Three-Axis Camera Slider From 3D Printer Parts”