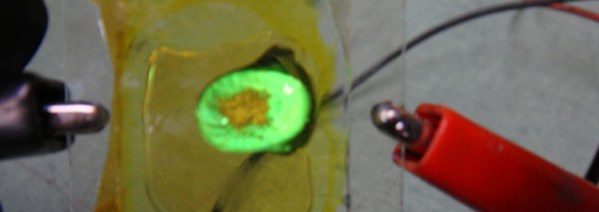
On Hackaday, we usually end up featuring projects using building blocks (components, platforms…) that can be bought on the market. We however don’t show many hacks that rely on basic physics principles like the one shown in the picture above.
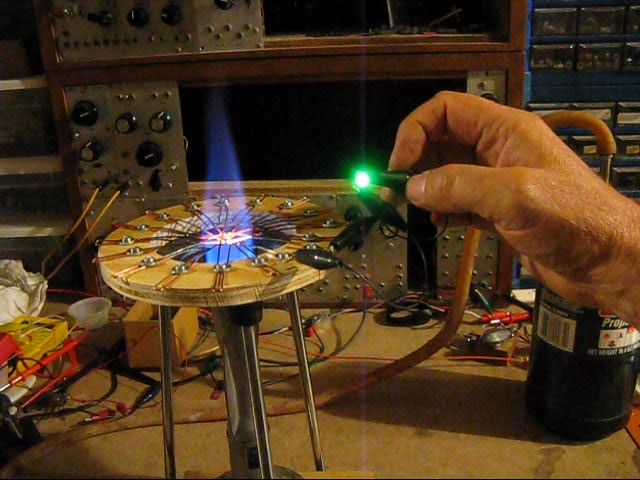
In the video embedded below, [nylesteiner] explains that copper oxide can be formed when heating a copper wire using a propane flame. When two oxidized wires are placed in contact with each other, an electrical current is produced when one wire is heated much hotter than the other. The trade-off is that the created thermocouple generates a small voltage but a ‘high’ current. However, when you cascade 16 junctions in series you can generate enough voltage to light up an LED. Even though the complete system isn’t particularly efficient at converting heat into electricity, the overall result is still quite impressive in our opinion. We advise our readers to give a look at [nylesteiner]’s article and blog to discover his interesting adventures.
Continue reading “Copper Oxide Thermoelectric Generator Can Light An LED”
 It’s a remarkable thing when ad agencies manage to help people in the course of advertising. The University of Technology and Engineering Peru (UTEC) was looking for ways to increase enrollment. They went to the Peruvian offices of agency DraftFCB and came away with the idea to install
 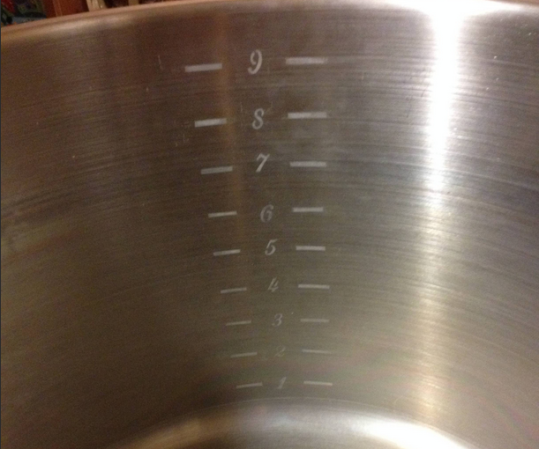 What do you do when you have a 10-gallon brew kettle (or any other stainless steel or aluminium thing) with no volume markings (or Hack a Day logos)? If you’re [Itsgus], you use science to
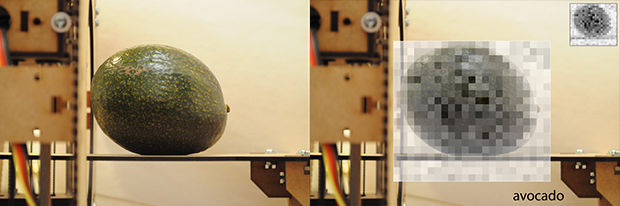
 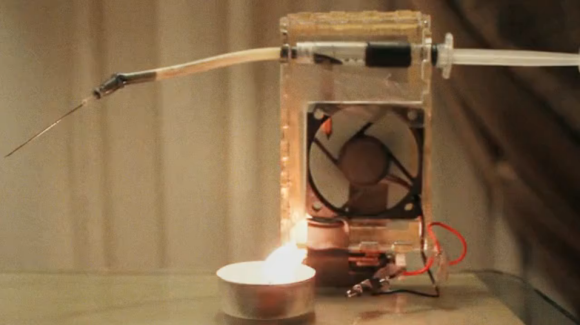 [Anirudh] and his friends were sitting around reminiscing about India. In particular, they recalled riding around in auto-rickshaws in stifling heat, watching their skin turn black from the exhaust. They started thinking about all of the soot and pollution in crowded cities the world over and wondered whether the stuff could be re-purposed for something like printer ink. That’s how they came up with