When working with chemical reactions it may be necessary to test the purity of the components you’re using. This is especially true with hobby chemists as they often acquire their raw materials from the hardware store, garden center, or pool supply. [Ken] figured out how to get around the $500 price tag of a commercial unit by building this DIY melting point test apparatus.
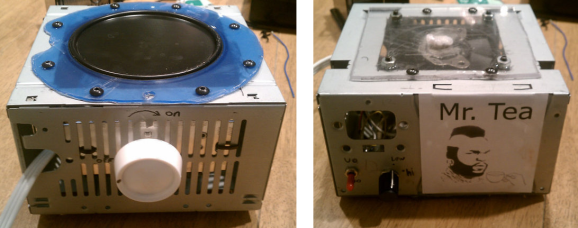
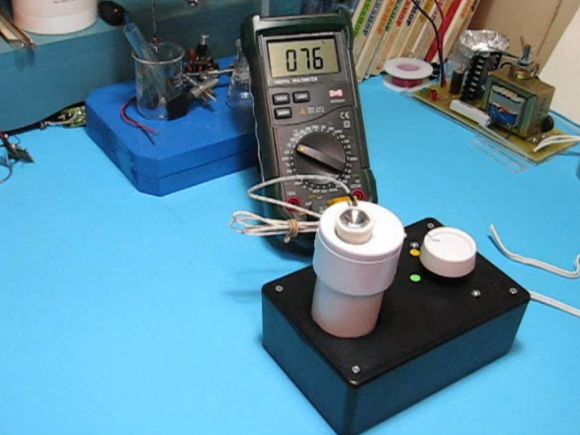
In this image he’s using a thermocouple to monitor the temperature of the melting surface, but mentions that you can do this with an inexpensive dial thermometer and will still have great results. That melting surface is the hexagonal head of a bolt which he drilled out to provide a concave surface for the test compound. Inside the PVC pipe is the heating element from a 40W hot glue gun. He wrapped it in fiberglass fabric which is sold in the plumbing supply to protect the area around pipe joints during soldering. The rotary light dimmer feeds the electricity to the element, allowing for adjustments to the ramping speed.