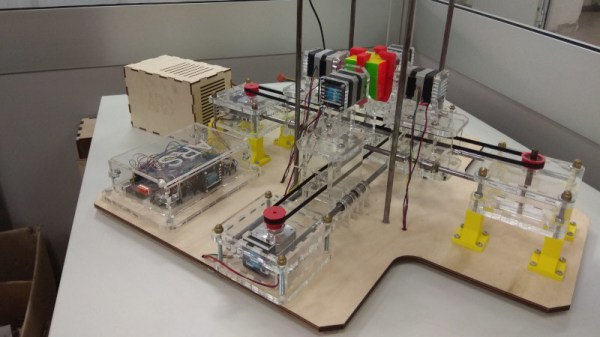
Wyze are a company that produces a variety of home automation products. Their Wyze Sense package is a system of contact and PIR home security sensors, that piggy backs off their Wyze Cam product. In the interests of being able to use this hardware outside the prescribed corporate ecosystem, [Xuan Xing] got down to hacking.
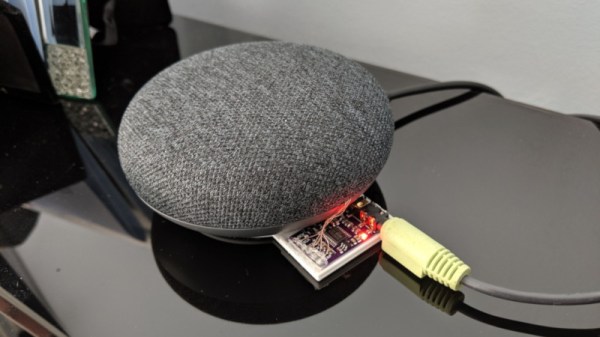
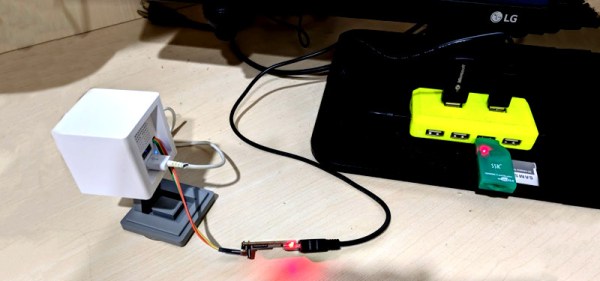
The project starts by tearing down the Wyze Cam, and getting serial console access. This was made easier by an existing Github project, which develops custom firmwares for smart cameras. With that in place he was able to see what was going on under the hood, and read the camera’s system logs.
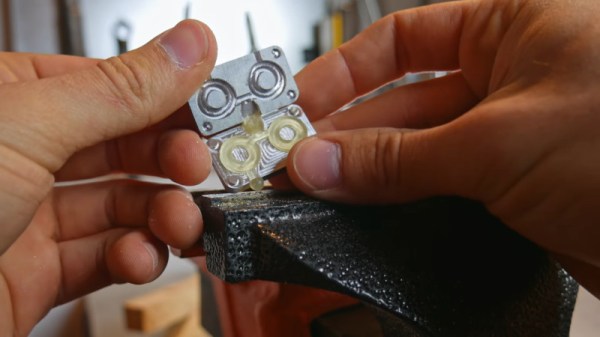
By poring over these logs, and examining the disassembled Wyze Sense dongle, he’s well on the way to discovering how the sensors communicate with the Wyze Cam. The end goal is to enable the Wyze security sensors to be used with the Raspberry Pi platform, and to share the code on Github for other makers to experiment with.
Home automation platforms come and go quicker than the seasons change. This makes the hardware a popular target for hackers trying to get things running independently of any one company’s servers.