A rite of passage in decades past for the electronics experimenter was the crystal radio. Using very few components and a long wire antenna, such a radio could pick up AM stations with no batteries needed, something important in the days when a zinc-carbon cell cost a lot of pocket money. The days of AM broadcasting may be on the wane, but it’s still possible to make a crystal set that will resolve stations on the FM band. [Andrea Console] has done just that, with a VHF crystal set that whose circuit also doubles as a regenerative receiver when power is applied.
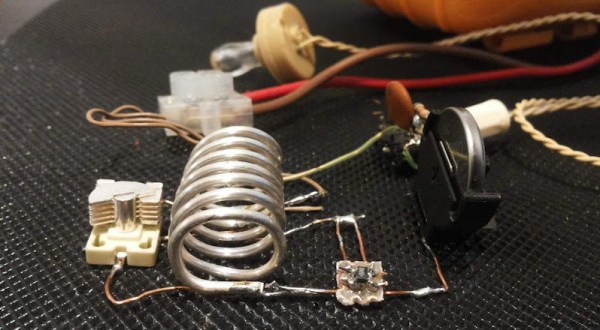
The key to a VHF crystal set lies in the highest quality tuned circuit components to achieve that elusive “Q” factor. In this radio that is coupled to a small-signal zero voltage threshold FET that acts as a detector when no power is applied, and the active component in a regenerative radio when it has power. The regenerative radio increases sensitivity and selectivity by operating at almost the point of oscillation, resulting in a surprisingly good receiver for so few parts. Everyone should make a regenerative radio receiver once in their life!