We agree with [Mário Saleiro] that the motors from a car’s power windows make for a fantastic high-torque solution to your next project. If you have a you-pick junkyard in your town they’ll be dirt cheap after you put in a bit of time to find and removing the parts from the yard. But you’ll probably want to add a few extra steps to get them ready, and he’s done a great job of documenting how he augmented them with wheels and rotary encoders.
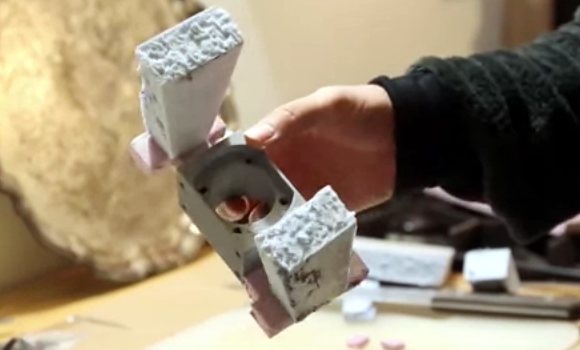
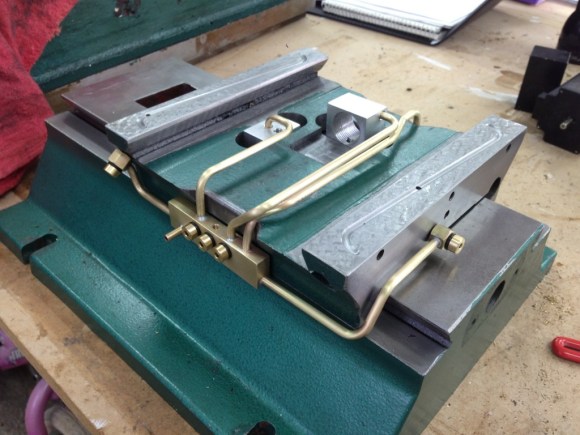
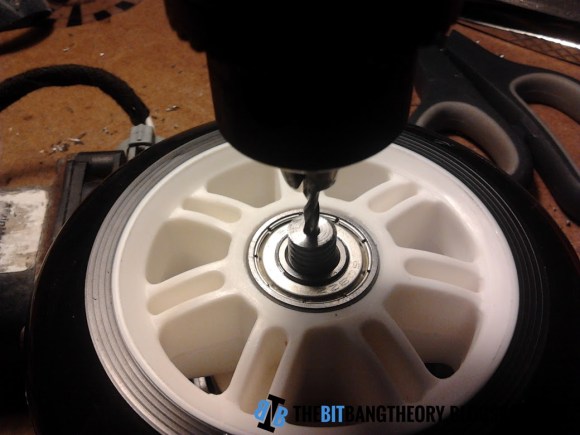
One aspect of the project which really struck home with us was his machine-shop-101 style tricks to mate the axle of the motor with the wheel. He has a process which ensures you will find the exact center of a cylinder as you work. This starts by lining up a bench vice on his drill press. He then inserts a drill bit upside down in the drill chuck, lowers it and clamps the vice on the bit. After loosening the chuck he ends up with the bit pointing up at the exact center of the chuck. Next he chucks up a piece of threaded rod, drilling a perfectly centered hole by lowering it into the drill bit while the drill press is rotating. The image above shows him using this machined part as a guide to continue the hole into the motor’s axle. Click through the link above to learn the rest of the tricks he uses.