Moore’s Law Of Raspberry Pi Clusters

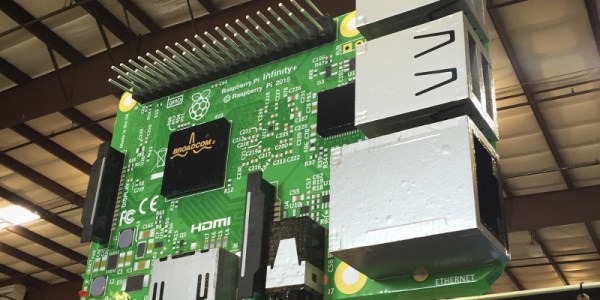
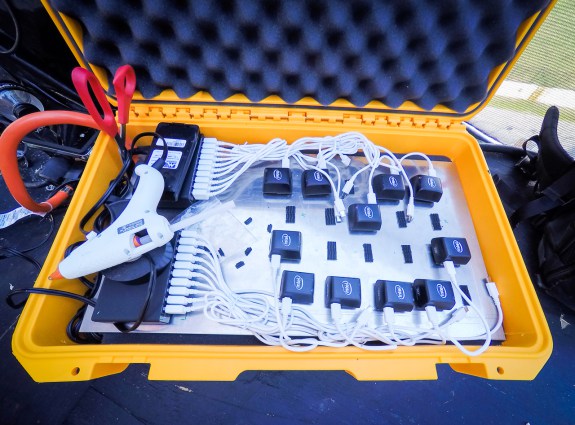
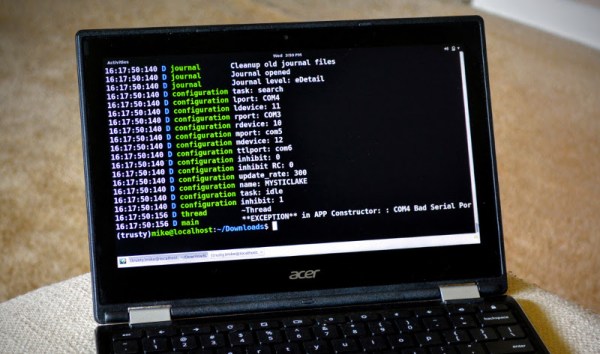
[James J. Guthrie] just published a rather formal announcement that his 4-node Raspberry Pi cluster greatly outperforms a 64-node version. Of course the differentiating factor is the version of the hardware. [James] is using the Raspberry Pi 2 while the larger version used the Model B.

We covered that original build almost three years ago. It’s a cluster called the Iridris Pi supercomputer. The difference is a 700 MHz single core versus the 900 Mhz quad-core with double-the ram. This let [James] benchmark his four-node-wonder at 3.048 gigaflops. You’re a bit fuzzy about what a gigaflops is exactly? So were we… it’s a billion floating point operations per second… which doesn’t matter to your human brain. It’s a ruler with which you can take one type of measurement. This is triple the performance at 1/16th the number of nodes. The cost difference is staggering with the Iridris ringing in at around £2500 and the light-weight 4-node built at just £120. That’s more than an order of magnitude.

Look, there’s nothing fancy to see in [James’] project announcement. Yet. But it seems somewhat monumental to stand back and think that a $35 computer aimed at education is being used to build clusters for crunching Ph.D. level research projects.

Smallest Computer

What Is This? A Computer For Ants!?

How can we be expected to teach children use a computer if they can’t even see it? I don’t wanna hear your excuses! The computer has to be at least… three times bigger than this!

Developed by the University of Michigan, the Michigan Micro Mote (M3) is quite possibly the world’s tiniest computer. It’s about the size of a grain of rice.

The multi-layered PCB (shown after the break) features 7 layers of components, surrounded in epoxy for protection. Drawing only 2 nano Amps during standby, the computer can be powered by a 1 millimeter squared solar cell. It’s designed to be glued to a window for use. It’s capable of input data via sensors, the ability to process and store the data, and then output the data wirelessly. Its range is only 2 meters at the moment, but they hope to extend it to about 20 meters.

Continue reading “What Is This? A Computer For Ants!?”

The RUM 80 – A Home Brew Z80 Computer Built From Scratch

[M] recently tipped us off about hacker [Lumir Vanek] from the Czech Republic. Between 1985 and 1989, [Lumir] built his own home brew, Z80 based computer. The list of home computers available in the 1980’s is extensive. Those living in western Europe and the Americas could choose offerings from Acorn, Apple, Commodore, Atari, Radio Shack, and Sinclair Research to name just a few. Even the erstwhile Czechoslovakia had home computers available from Didaktik and Tesla.

[Lumir]’s built was based around the Z80 processor and is built using regular, double-sided, prototyping board. It featured the 8-bit Z80 processor CPU, 8kB EPROM with monitor and BASIC, two Z80 CTC timers, an 8255 parallel interface for keyboard and external connector, 64kB DRAM, and Video output in black & white, 40×25 characters, connected to a TV. The enclosure is completely made from copper clad laminate. [Lumir] documented the schematics, but there is no board layout – since the whole thing was discrete wired. He even built the membrane keyboard – describing it as “layers of cuprextit, gum, paper with painted keys and transparent film”. When he ran out of space on the main board, he built an expansion board. This had an 8251 serial interface for cassette deck, one 8-bit D/A converter, and an 8255 parallel port connected to the “one pin” BT100 printer.

On the software side, he wrote his own monitor program, which allowed simple interactions, such as displaying and modifying registers, memory, I/O ports and to run programs. He wrote this from scratch referring to the Z80 instruction set for help. Later he added a CP/M emulator. Since the Z80 had dual registers, one was used for user interaction, while the other was reserved to allow background printing. Eventually, he even managed to port BASIC to his system.

Check out [Martin Malý]’s awesome article Home Computers behind the Iron Curtain and the follow up article on Peripherals behind the  Iron Curtain, where you can read more about the “one pin” BT100 printer.

Continue reading “The RUM 80 – A Home Brew Z80 Computer Built From Scratch”

A VU-meter Indicator For A Commodore 1530 Datasette

For present-day owners of vintage Commodore computers, keeping data and programs safe and backed up is top priority. Disk drive storage was more common in the US, whereas in Europe, the audio cassette was the preferred medium of storage.

The Datasette device was what allowed interfacing the cassettes to the computer. Tape head alignment was critical to successfully writing and reading data to the cassette. Some models of the Datasette came with a small hole above the keys, to allow access to the adjustment screw of the tape head azimuth position. Tweaking this while looking at a signal meter could help you improve the signal from a bad cassette and prevent load errors. [Jani] tried a commercial solution called “Load-IT” which had a LED bargraph, but it couldn’t help much dealing with tapes with very bad signals. So he built a signal strength meter for his Datasette. He calls it the VU-sette since it uses an analog style meter quite similar to the VU-meters found in many audio equipment.

The hardware is simple and uses commonly available parts. The analog meter is extracted from a Battery Checker sourced from eBay. An op-amp drives the analog meter, and another transistor drives a separate speaker. This can be used to listen in on the cassette, if the speaker is enabled via a push button. [Jani] first breadboarded and tested the circuit before ordering out prototype boards.

To test performance, [Jani] used FinalTAP, a tool for examining, cleaning and restoring digitized data cassette tapes (TAP files) for the Commodore 64 computer. The “LOAD-IT” version worked well with tapes that were in fairly good condition. But his VU-sette version allowed him to adjust the head more precisely and get out a much better read from bad tapes. While on the subject, check out this nice 7-segment bubble LED digital counter for the 1530.

Continue reading “A VU-meter Indicator For A Commodore 1530 Datasette”

Even More Emulated Microcomputers: 8080 On A Stellaris Launchpad

[Steeeve] just sent us his work on emulating a handful of 8080-based microcomputers on a Stellaris Launchpad, including the bare-metal to run Space Invaders. We know what you’re thinking: Is that all you folks are doing these days?!?!? There must be something in the water.

[Steeeve]’s build is based on the Launchpad with an external 64kB of SPI RAM, a nice little TFT display, and a built-in SD card for all of your storage needs. Add in an 8080 emulator and a keyboard and you’ve got a tiny microcomputer. (Is that redundant?)

What’s really neat about [Steeeve]’s project is that he’s cloned not just one target computer, but a whole bunch of computers including (GitHub links follow) the 8080-based UK101/Superboard, the CPM/80, and the machine that ran Space Invaders, as well as the 6502-based Commodore PET and Apple-1.  And as a bonus, you can save the state onto the built-in SD card so that you can hibernate the microcomputer and pick up right back where you left off at a later date. Snazzy.

He’s also built a library which provides an emulation framework if you want to build on this work yourself. And did we mention he can play Space Invaders? Bravo [Steeeve]!

Restoring A Vintage PDP-11/04 Computer

[MattisLind] spent one and a half years to complete restoration of a Digital Equipment Corporation (DEC) PDP-11/04 including peripherals like a TU60 tape drive and a LA30P Decwriter printing terminal. The computer is now able to run CAPS-11 which is a very simple operating system and also CAPS-11/BASIC. Just like the project itself, his blog post is quite long filled with interesting details. For a tl;dr version, check the video after the break.

This system originally belonged to Ericsson and [MattisLind] received it from Ericsson computer club, EDKX. He was lucky to have access to online resources which made the task easier. But it still wasn’t easy considering the number of hardware faults he had to tackle and the software challenges too. The first task was obviously looking at the Power supply. He changed the big electrolytic capacitors, and the power supply seemed to work well with his dummy load, but failed when hooked up to the backplane of the computer. Some more digging around, and a replaced thyristor later, he had it fixed. The thyristor was part of a crowbar circuit to protect the system from over-voltages should one of the main switching transistors fail.

With the power supply fixed, the CPU still wouldn’t boot. Some sleuthing around, and he pin pointed the bus receiver chip that had failed. His order of the device via a Chinese ebay seller was on the slow boat, so he just de-soldered a device from another board which improved things a bit, but it was still stuck in a loop. A replacement communications board and the system now passed diagnostics check, but failed memory testing. This turned out to be caused be a faulty DIP switch. He next tackled all the software challenges in getting the CPU board up to speed.

Continue reading “Restoring A Vintage PDP-11/04 Computer”

The Dan64: A Minimal Hardware AVR Microcomputer

[Juan] sent us his writeup of a microcomputer he built using an Arduino UNO (AVR ATmega328p) and some off-board SRAM. This one’s truly minimalistic.

Have a look at the schematics (PDF). There’s an Arduino, the SPI SRAM, some transistors for TV video output, and a PS/2 connector for the keyboard. That’s it, really. It’s easily built on a breadboard in a few minutes if you have the parts on hand. Flash the Dan64 operating system and virtual machine into the AVR and you’re good to go.

Now we’ve seen a few 6502-based retro computers around here lately that use a 6502 paired with a microcontroller for the interfacing, but they’ve all been bulky three-chip affairs. [Juan] wins the minimalism prize by using a 6502 virtual machine implemented in the AVR to reduce the parts count down to two chips for the whole shooting match.

Using a 6502 virtual machine was a crucial choice in the design, because there are 6502 cross compilers that will let you compile and debug code for the microcomputer on your macrocomputer and then load it into the micro to run. This makes developing for the micro less painful.

How does it load programs you ask? The old-fashioned way of course, using audio files. Although rather than using the Kansas City Standard as in days of yore, he encodes the data in short and long pulses of square waves. This might be less reliable, but it sure saves on external hardware.

Continue reading “The Dan64: A Minimal Hardware AVR Microcomputer”